Einleitung

The ins and outs of replacing your IR board.

  1. Aew5W1SyZmXwiIpC
    • Before you work on the computer, unplug the computer and press the power button for 20-30 seconds to drain the stored energy in the power supply.

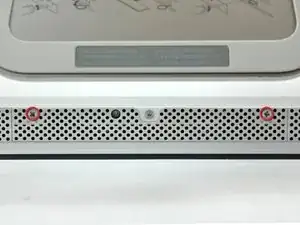
    • Loosen the two Phillips screws securing the access door to your iMac.

    • These screws are captive in the access door.

  2. sgn5MWowvBqWBHTa
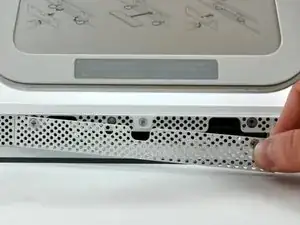
    • Remove the access door from your iMac.

  3. VSg2SDmHlb6LeIcc
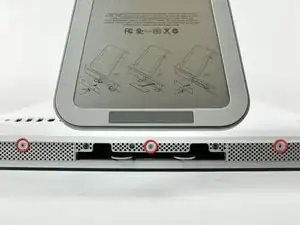
    • Remove the three T8 Torx screws securing the front bezel to the rear panel.

  4. yDINeBPXAToRUhia
    yDINeBPXAToRUhia
    MHTpeXSgmBpLcfmO
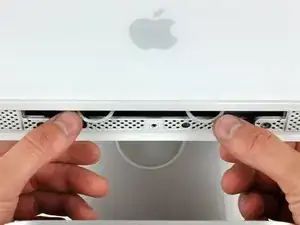
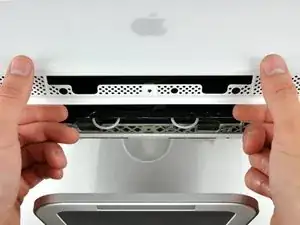
    • Orient the iMac face-up, on its backside.

    • Use your thumbs to press both RAM arms in past the front bezel for enough clearance to lift it off the rear case.

  5. yYxPBhiYPLBWhcPJ
    • While holding the RAM arms in with your thumbs, lift the lower edge of the front bezel enough to clear the rear case.

  6. hlSTYKaegjL4nCbA
    hlSTYKaegjL4nCbA
    RlBPIITef4YhTLWJ
    DBMIAdUDgFvhGqgo
    • Re-orient your iMac so it sits upright on the stand.

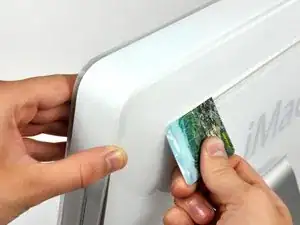
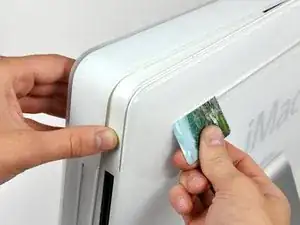
    • Insert a plastic card up into the corner of the air vent slot at the top of the rear case.

    • Push the card toward the top of the iMac to release the front bezel latch.

    • Pull the front bezel away from the rear case.

    • Repeat this process for the other side of the front bezel.

    • It may be necessary to apply several layers of duct tape to the top of the access card to aid in releasing the latches.

    • If the bezel refuses to release, try pressing the lower edge back onto the rear case and repeat this opening process.

    Using a strongish magnet will grab and release the latches.

    darkstar448 -

    Zitat von darkstar448:

    Using a strongish magnet will grab and release the latches.

    Are you sure it's safe to do this? How close is the hard drive, won't magnets interfere with it?

    Sarah -

    It's almost certainly fine. Modern hard drives are very resistant to magnetic fields.

    zschroeder6212 -

  7. vgnHWHc6vItDofqx
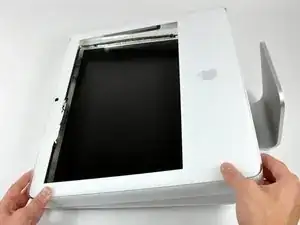
    • Lay your iMac stand-side down on a table.

    • Lift the front bezel from its lower edge and rotate it away from the rest of your iMac, minding the RAM arms that may get caught.

    • Lay the front bezel above the rest of the iMac.

  8. Zk4f3XFRC5C4mRJl
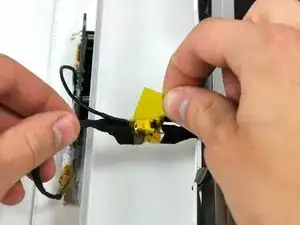
    • If necessary, remove the piece of kapton tape wrapped around the microphone and camera cables.

  9. mN1kWf5KYlsoZsjY
    mN1kWf5KYlsoZsjY
    SIofHNDswAVgClNU
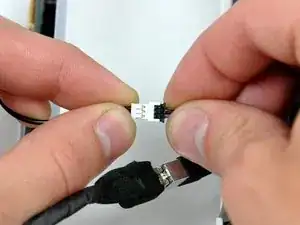
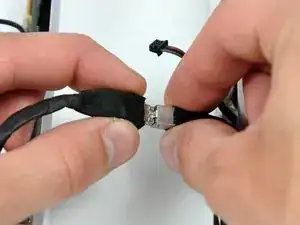
    • Disconnect both the camera and microphone cables.

  10. 13kJcWSFfC3OsLjQ
    • Peel back the aluminum EMI shield up off the lower three edges of the rear case.

    • It is not necessary to peel the EMI shield off the display.

    • We found it helpful to tape the EMI shield up against the display to keep it out of the way.

  11. CYQSJgJOPPFHynVV
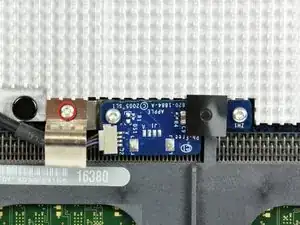
    • Remove the single T6 Torx screw securing the IR board bracket to the logic board.

    • The IR board and cable finger are now free from the logic board and may fall.

  12. TSZkH5kOuHSABmqY
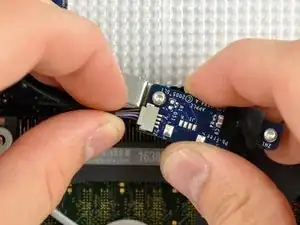
    • Pull the IR Board cable connector straight away from its socket on the IR board.

  13. SbGAagZpGx2CKQAW
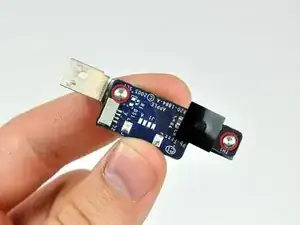
    • Transfer the two T6 Torx screws and the IR bracket to your new IR board.

Abschluss

To reassemble your device, follow these instructions in reverse order.
Walter Galan

685540 Reputation

0 Kommentare