Einleitung

  1. UsWUKUmMHNgTZG6Y
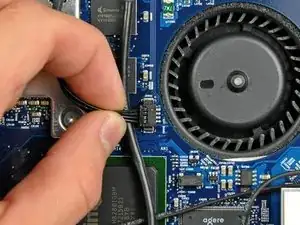
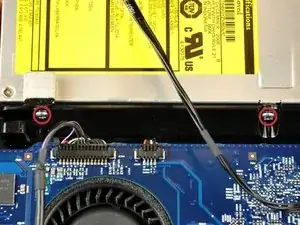
    • Disconnect the optical drive thermal sensor cable by pulling its connector away from the socket on the logic board.

    • Pull the connector parallel to the face of the logic board.

  2. MFe6FWGgK1J1cGPa
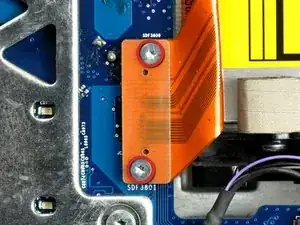
    • Remove the two 3.6mm T6 Torx screws securing the optical drive ribbon cable connector to the logic board.

  3. QPKpSSjLoQGEcCOE
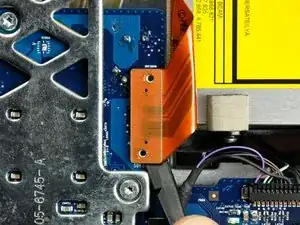
    • Use the flat end of a spudger to pry the optical drive ribbon cable connector up off the logic board.

    • The connector is most easily removed when prying from the top or bottom of the connector.

    • Bend the optical drive ribbon cable back away from the logic board.

    • Be very careful when moving the optical drive ribbon cable as it is delicate and easily ripped.

    justa a question, I cant figure… is this connection on iMac board a SATA or PATA (IDE)? I was thinking on add a second ssd on my old iMac 20, 2.16 so I can make a raid 0.

    Vitor -

  4. fxVJdIQnbkTOILJ6
    fxVJdIQnbkTOILJ6
    RbQq5dDyXwfNF4nk
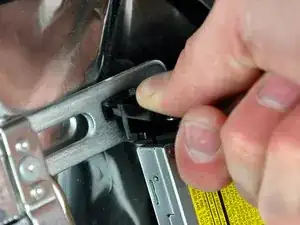
    • Apple's "engineers" didn't learn much about deflection and material stiffness when they went to "college", so this optical drive is particularly difficult to remove because the bracket flexes too much. The next few steps require some patience and a good amount of force.

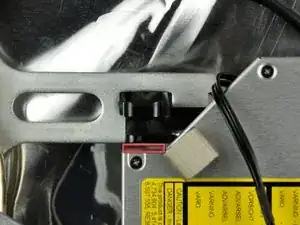
    • Insert the flat end of a spudger into the gap between the optical drive and its bracket until it contacts the chassis.

    • Grab the spudger as close to the surface of the optical drive as you can, then depress the release tab with your thumb while pulling toward yourself.

    • The wedge shape of the spudger may cause it to slip out of the gap toward yourself. Be sure to press the spudger in toward the rear case while squeezing the release tab.

    Just take out the rear screw by the latch near the logic board, then concentrate on releasing the latch on the other side by the method shown in the pic,when you have relased that side of the drive hold the drive up enough so that you can release lower latch with a long bladed thin screwdriver by going under the drive and pushing downwards on the latch leg to release it and pulling up gently on the drive,works like a charm !

    Supadupa -

  5. lLonQqIBRef4kOWF
    • Remove the two 6mm T10 Torx screws from the side of the optical drive.

    • It's a good idea to lay your iMac flat on a table before removing these screws to avoid them falling behind the logic board.

    It seems that you can wait to remove these two screws until step 29, since you release the optical drive from the chassis with the plastic

    fabiendaguerre -

    Agreed, no need to do this step with the drive in the computer since you're taking it out. Reduces the chance of dropping a screw inside and having to remove it.

    maccentric -

  6. Q2RGCewiRpUkJBsG
    Q2RGCewiRpUkJBsG
    JNDyrkjTeL1y6uLA
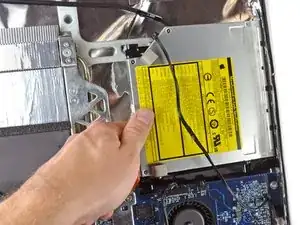
    • Reach behind the chassis and use your finger to unclip the lower optical drive tab from the chassis.

    The pictures and description on this step need help. What it's trying to tell you is to undo the clip like the one in step 20, this time do the side near the fan.

    maccentric -

  7. HQX1hwH2Cbm3atwE
    HQX1hwH2Cbm3atwE
    yWqPZRfqtj5aVf2E
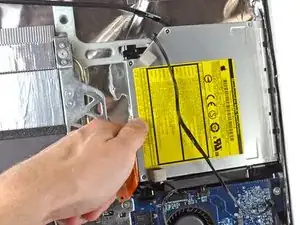
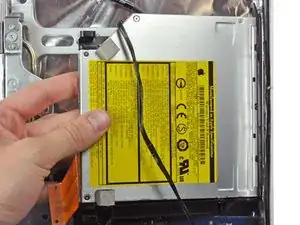
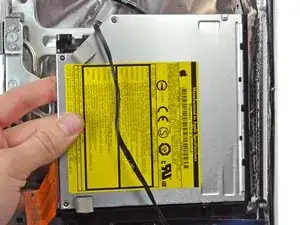
    • Maneuver the optical drive out of the rear case, minding the two plastic pins molded into the rear case near the open end of the optical drive that can break off.

Abschluss

To reassemble your device, follow these instructions in reverse order.
Walter Galan

685540 Reputation

0 Kommentare