Einleitung
Diese Anleitung zeigt dir, wie du die Festplatte austauschen kannst, um mehr Speicherplatz zu gewinnen.
Werkzeuge
Ersatzteile
-
-
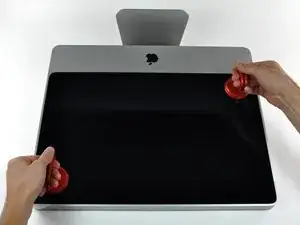
Lege den iMac mit der Vorderseite nach unten auf einen Tisch, so dass die Unterkante zu dir zeigt.
-
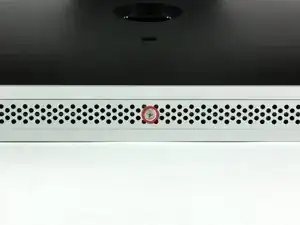
Löse die einzelne Kreuzschlitzschraube in der Mitte der Abdeckung.
-
Entferne die Abdeckung vom iMac.
-
-
-
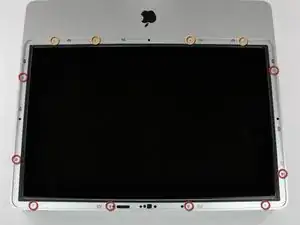
Entferne folgende zwölf Torx Schrauben, welche die Frontblende am Rückgehäuse befestigen:
-
Acht 13 mm T8 Schrauben
-
Vier 25 mm T8 Schrauben
-
-
-
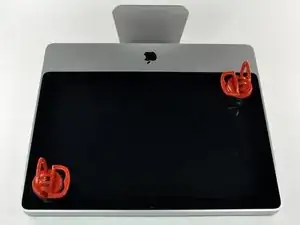
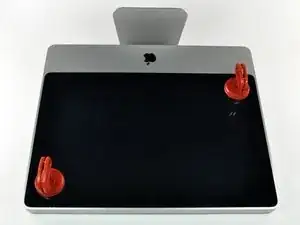
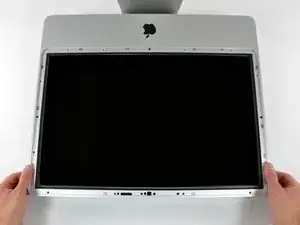
Hebe die Frontblende vorsichtig vom oberen Rand her aus dem Gehäuse.
-
Wenn der obere Rand frei ist, kannst du die Frontblende zum Fuß hin kippen und aus dem Gehäuse heben.
-
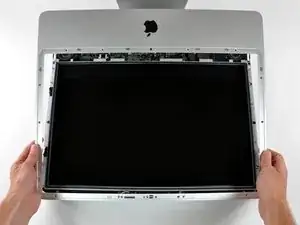
Drehe die Frobtblende weg vom restlichen Gerät und lege sie über die Oberkante des iMac.
-
-
-
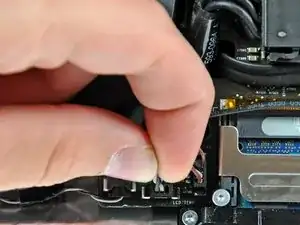
Ziehe den Stecker vom LCD Thermosensor gerade aus seinem Sockel auf dem Logic Board.
-
(am 24" Modell befindet er sich oben am Logic Board)
-
-
-
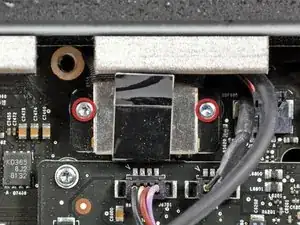
Entferne die beiden Torx T6 Schrauben, welche das Displaydatenkabel am Logic Board befestigen.
-
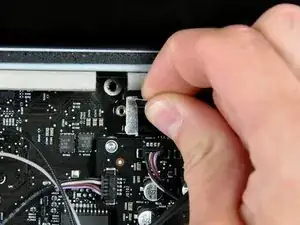
Ziehe den Verbinder des Displaydatenkabels an der schwarzen Lasche gerade weg vom Logic Board.
-
-
-
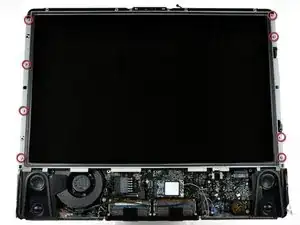
Entferne die acht Torx T8 Schrauben, welche das Display am Gehäuse befestigen.
-
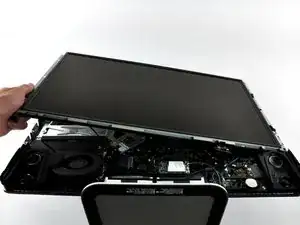
Hebe das Display an der linken Kante an und drehe es zur rechten Kante des iMac.
-
-
-
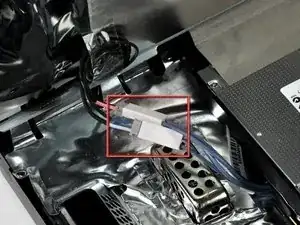
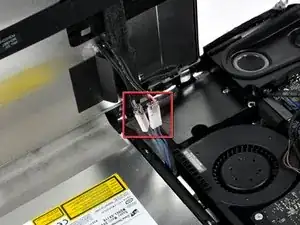
Während das Display immer noch angehoben ist, kannst du die vier Inverterkabel lösen.
-
(beim 24" Modell sind sie in einem einzigen Stecker verbunden)
-
-
-
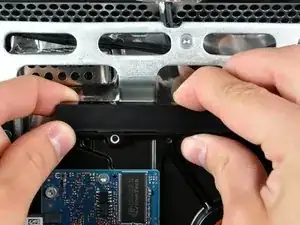
Um die Halterung der Festplatte zu entfernen, musst du das Mittelteil gegen die Seite der Festplatte drücken und gleichzeitig die obere linke Kante zu dir drehen.
-
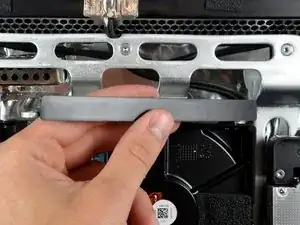
Wenn die linke Kante frei ist, musst du die Halterung zur rechten Kante der Festplatte hindrehen.
-
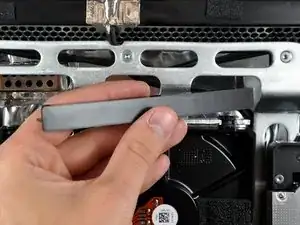
Hebe die Halterung der Festplatte gerade aus dem Gestell heraus.
-
-
-
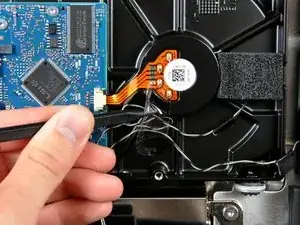
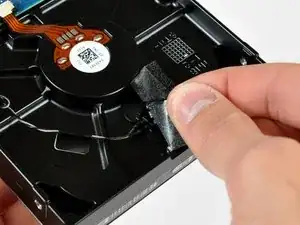
Entferne, falls vorhanden, das kleine Stückchen Klebeband, welches die Kabel zu den Thermosensoren der Festplatte und des optischen Laufwerks bedeckt.
-
-
-
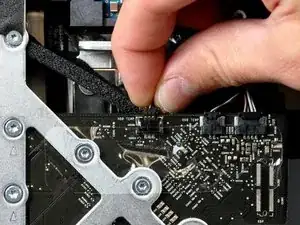
Ziehe das Kabel zum Thermosensor der Festplatte gerade aus seinem Sockel auf dem Logic Board.
-
-
-
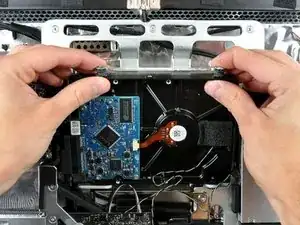
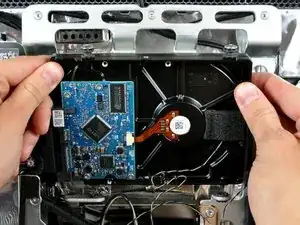
Drehe die Oberkante des Laufwerks zu dir , hebe dann die Festplatte gerade aus den unteren Stiften.
-
-
-
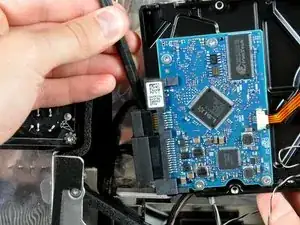
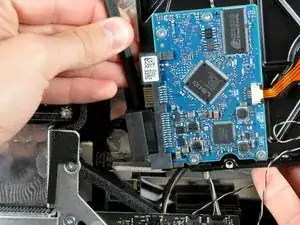
Setze das flache Ende des Spudgers zwischen SATA Datenkabel und der Kante der Festplatte.
-
Verdrehe den Spudger, um das SATA Datenkabel von der Festplatte zu trennen.
-
Löse das SATA Datenkabel von der Festplatte.
-
Hebe die Festplatte aus dem iMac heraus. Achte dabei darauf, dass sich das Kabel zum Thermosensor nicht verfängt.
-
-
-
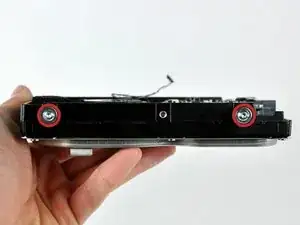
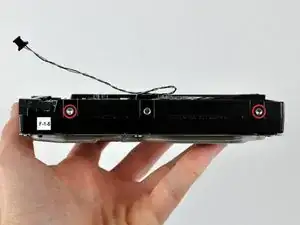
Entferne die beiden Torx T8 Schrauben und die daran befestigen Gummitüllen von der Festplatte.
-
-
-
Entferne die beiden Torx T8 Bolzen an der Seite der Festplatte in der Nähe der Stecker für Datenkabel und Stromversorgung.
-
-
-
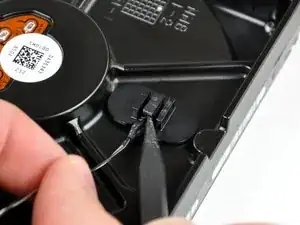
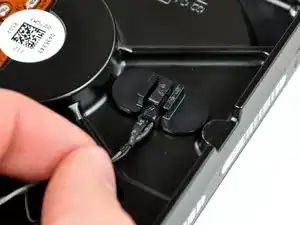
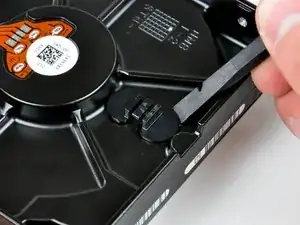
Um den Thermosensor der Festplatte zu entfernen, musst du den mittleren Finger der Halterung des Thermosensors mit dem scharfen Ende des Spudgers anheben und gleichzeitig leicht am Kabel zum Thermosensor ziehen.
-
-
-
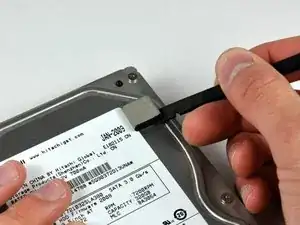
Hebele die Halterung des Thermosensors der Festplatte mit dem flachen Ende des Spudgers aus der Klebeverbindung zur Festplatte.
-
Um dein Gerät wieder zusammenzusetzen, folge den Schritten in umgekehrter Reihenfolge.
19 Kommentare
Because there are no instructions for the 24", I used these and they worked fine. I shelled out $10 for the suction cups ifixit provides, but honestly the glass is really thin and lightweight, so cheapo suction cups from Home Depot should work just fine.
Len -
I couldnt agree more. The "Glass" is of couse plastic. I bought some whimpy suction cups in multi pack from Target and after i stuckem to the glass, it came off almost to easy. I was expecting a fight, i didnt get one.
I am about as untechnically proficient as you can imagine, yet replacing the hard drive was not as daunting as it first seemed when following these FANTASTIC step by step instructions. I was forced to do this because of a lack of money, but having done it, I'm glad I did. Even if I had the money, it's not worth the $500 it costs to have an Apple dealer or Apple themselves replace the hard drive. Just take your time and don't force anything, and you should be done in no more than an hour. Kudos ifixit!
Len -
On my 24" iMac, I only needed to disconnect the first LCD Cable (before removing the LCD's torx screws), then I was able to pivot the LCD up 90 degrees, to get access to the hard disk. It was nice not having to disconnect (and reconnect the 2nd and 3rd cables. Now I have 3TB! (Seagate Barrracuda ST3000DM001). Note: I first tried putting the 3TB disk into an SATA USB enclosure, so I could transfer the data before opening up the iMac, but I found out the some of the older USB enclosures don't work with >2TB disks.
Jeff D -
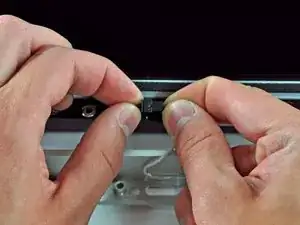

The grid won't fall off by itself. You'll have to help it. Use the smallest screwdriver you have; the Torx 6 worked fine for me. It should enter in one of the many holes composing the grid. Use it as a lever to ploy the grid a little bit. You may catch it with your fingers and that's it.
Be carefull not to damage the hole by a too strong leverage.
Laurent -
much more safer to use duct tape, instead of torx 6. (glue it along the length of the grid and pull). it will loose instantly and smooth;)
Hofmann78rus -
Anyone know a guide to replace the plastic piece this screw connects to? I accidentally forgot this step - went to remove the front bezel and bent the plastic piece the access door connects to.
Jason Augustin -