Einleitung
Gib dem iMac wieder seine iSight Fähigkeiten zurück, indem du die Kameraplatine austauschst.
Werkzeuge
-
-
Lege den iMac mit der Vorderseite nach unten auf einen Tisch, so dass die Unterkante zu dir zeigt.
-
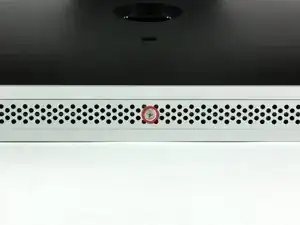
Löse die einzelne Kreuzschlitzschraube in der Mitte der Abdeckung.
-
Entferne die Abdeckung vom iMac.
-
-
-
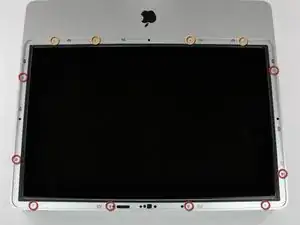
Entferne folgende zwölf Torx Schrauben, welche die Frontblende am Rückgehäuse befestigen:
-
Acht 13 mm T8 Schrauben
-
Vier 25 mm T8 Schrauben
-
-
-
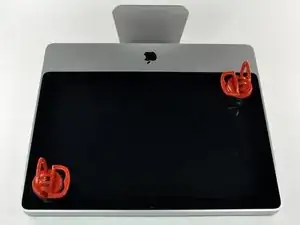
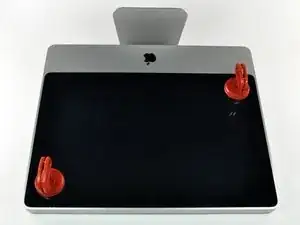
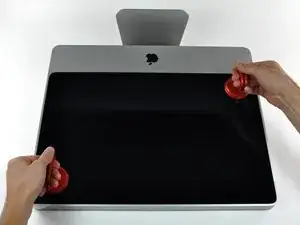
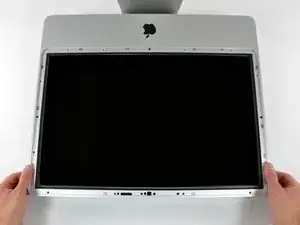
Hebe die Frontblende vorsichtig vom oberen Rand her aus dem Gehäuse.
-
Wenn der obere Rand frei ist, kannst du die Frontblende zum Fuß hin kippen und aus dem Gehäuse heben.
-
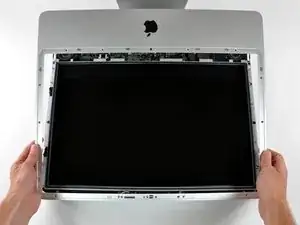
Drehe die Frobtblende weg vom restlichen Gerät und lege sie über die Oberkante des iMac.
-
-
-
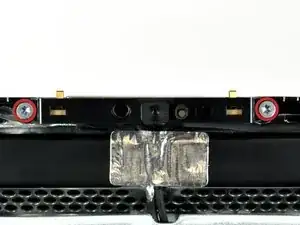
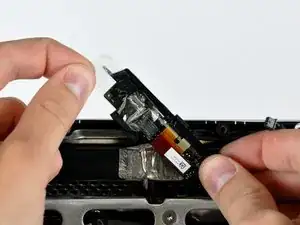
Hebe die Kameraplatine ein wenig aus dem Rückgehäuse.
-
Entferne, wenn nötig, das Stückchen Klebeband, welches den Verbinder des Kamerakabels bedeckt.
-
Um dein Gerät wieder zusammenzusetzen, folge den Schritten in umgekehrter Reihenfolge.
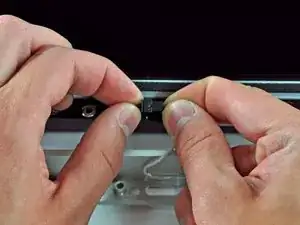


The grid won't fall off by itself. You'll have to help it. Use the smallest screwdriver you have; the Torx 6 worked fine for me. It should enter in one of the many holes composing the grid. Use it as a lever to ploy the grid a little bit. You may catch it with your fingers and that's it.
Be carefull not to damage the hole by a too strong leverage.
Laurent -
much more safer to use duct tape, instead of torx 6. (glue it along the length of the grid and pull). it will loose instantly and smooth;)
Hofmann78rus -
Anyone know a guide to replace the plastic piece this screw connects to? I accidentally forgot this step - went to remove the front bezel and bent the plastic piece the access door connects to.
Jason Augustin -