Einleitung
Grundständige Anleitung
Werkzeuge
-
-
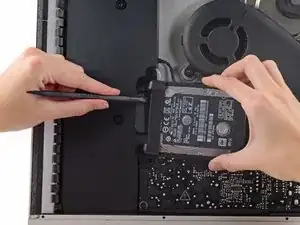
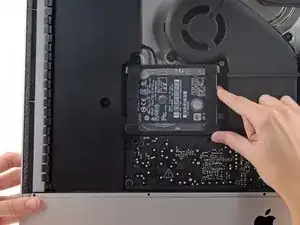
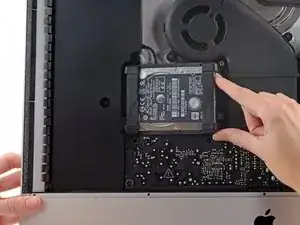
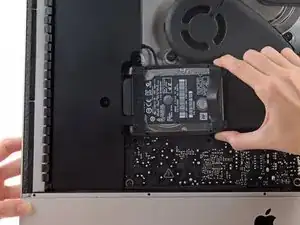
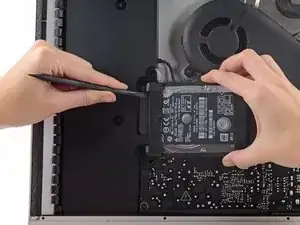
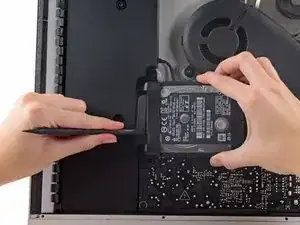
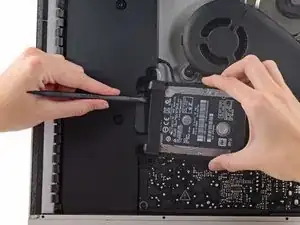
Hebe die Festplatte an der Kante nahe am Logic Board hoch und ziehe sie etwas aus ihrer Vertiefung heraus.
-
Abschluss
Um dein Gerät wieder zusammenzusetzen, folge den Schritten in umgekehrter Reihenfolge.
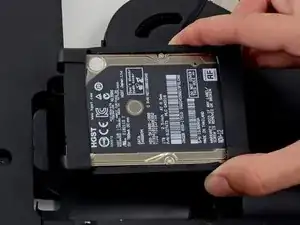

During the reassembly process I found it very difficult to plug the power/data cable on to the new hard drive. On my machine it’s very short and the fact that the cable comes into the plug from below at 90 degrees means it’s hard to keep straight on to the drive. I found this process could be made much easier by undoing 2 x T10 screws and CAREFULLY (there are cables attached) moving the adjacent speaker assembly a little away from the drive, reattaching once done. Hope this helps
Jerry Frost -
Moving the speaker helped tremendously! Thanks
lucas -