Einleitung
Having display backlight issues? Use this guide to replace a blown inverter board.
Werkzeuge
-
-
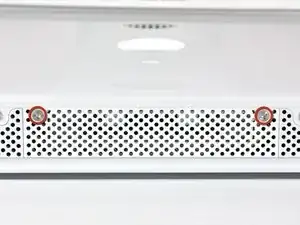
Loosen the two Phillips screws securing the access door to your iMac.
-
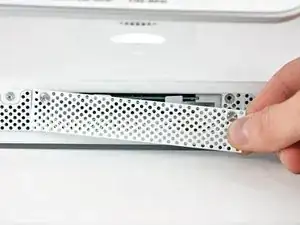
Remove the access door.
-
-
-
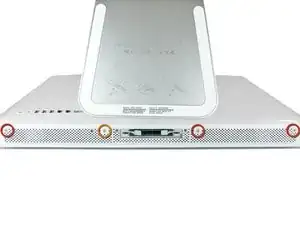
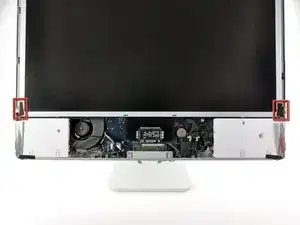
Remove the following screws along the lower edge of your iMac:
-
Three 6 mm T8 Torx screws
-
One 8 mm T8 Torx screw
-
-
-
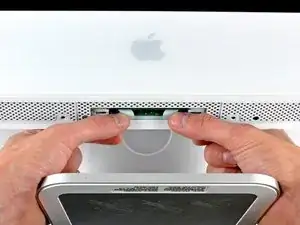
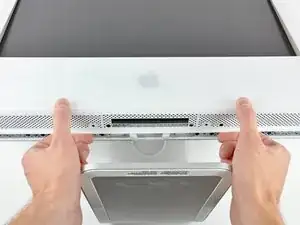
To lift the front bezel off the iMac, simultaneously:
-
Use your thumbs to press in the RAM arms and hold the iMac down.
-
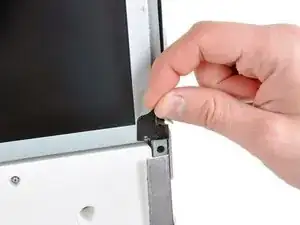
Use your index fingers to pull the small bridge of material on the front bezel toward yourself.
-
Pull the front bezel up with your index fingers.
-
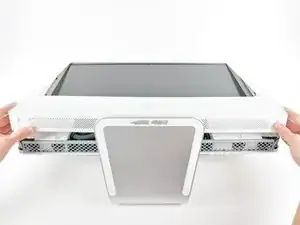
Once the small bridge of material has cleared the RAM arms, lift the front bezel by its lower edge just enough to clear the bottom edge of the rear case.
-
-
-
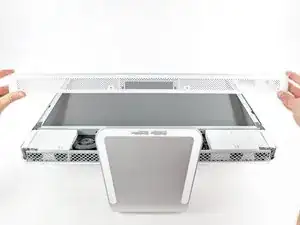
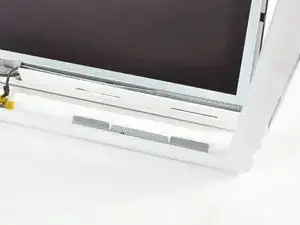
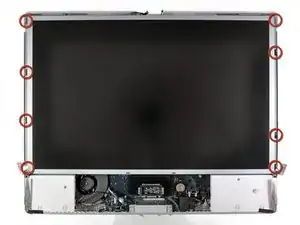
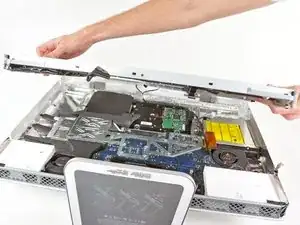
Lift the front bezel off the rear case and rotate it away from the bottom edge of the iMac, minding the camera and microphone cables still attached to its upper edge.
-
-
-
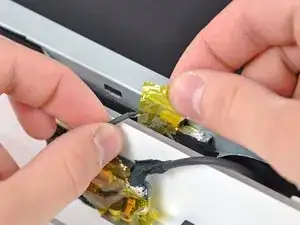
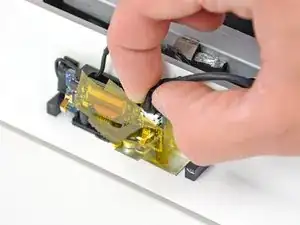
Disconnect the microphone cable.
-
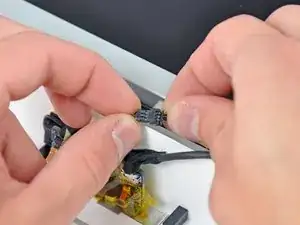
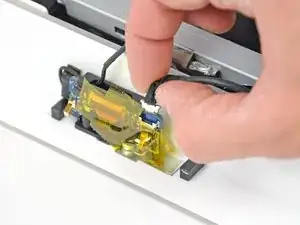
Disconnect the camera cable by pulling its connector away from the socket on the camera board.
-
-
-
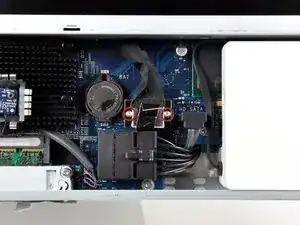
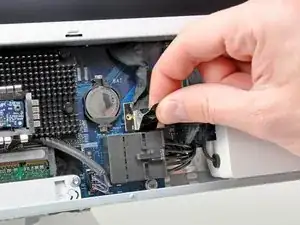
Pull the black plastic tab attached to the display data cable connector to disconnect it from the logic board.
-
-
-
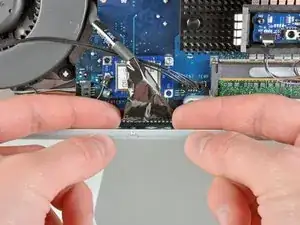
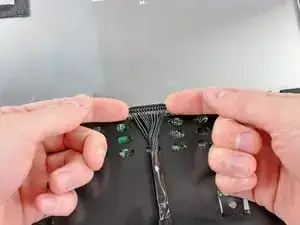
Use your fingertips to pull both sides of the wide inverter cable connector out of its socket on the logic board.
-
De-route the inverter cable from its location next to the CPU fan.
-
-
-
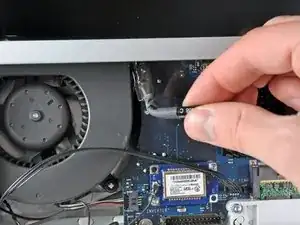
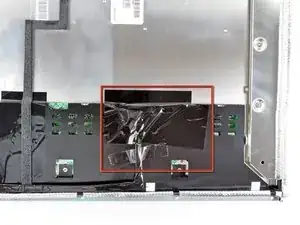
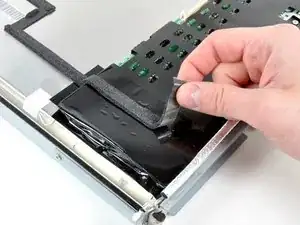
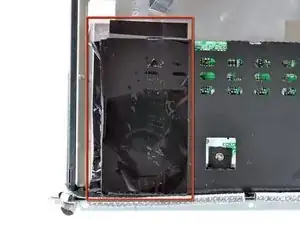
Remove the large piece of tape covering the inverter cable connector and any tape securing the cable to the inverter board.
-
-
-
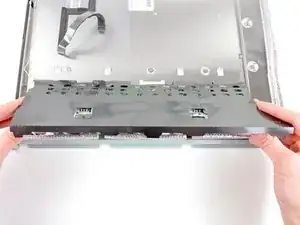
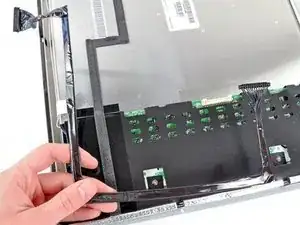
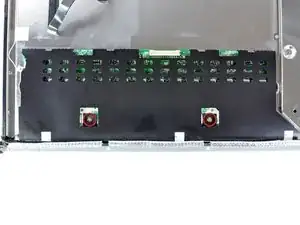
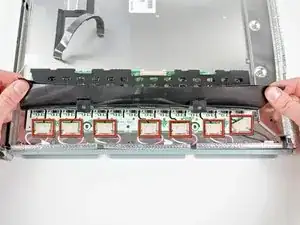
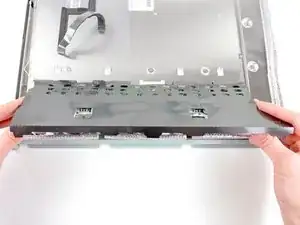
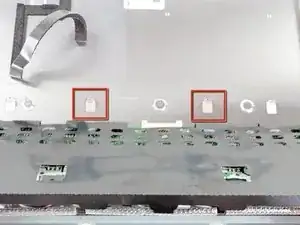
Carefully lift the black cover off the inverter board from the side closest to the edge of the LCD.
-
Disconnect the seven locking connectors from the side of the inverter board.
-
To reassemble your device, follow these instructions in reverse order.
