Einleitung
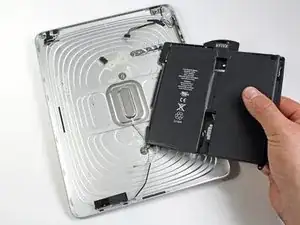
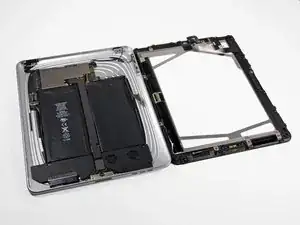
Use this guide to replace your iPad's battery.
If your battery is swollen, take appropriate precautions.
Werkzeuge
Ersatzteile
-
-
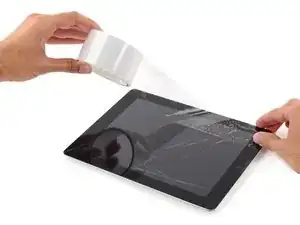
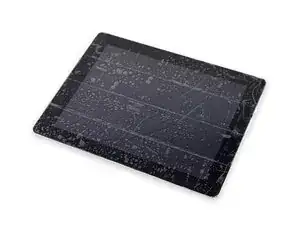
If your display glass is cracked, keep further breakage contained and prevent bodily harm during your repair by taping the glass.
-
Lay overlapping strips of clear packing tape over the iPad's display until the whole face is covered.
-
Do your best to follow the rest of the guide as described. However, once the glass is broken, it will likely continue to crack as you work, and you may need to use a metal prying tool to scoop the glass out.
-
-
-
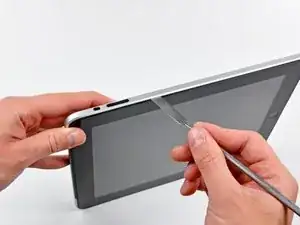
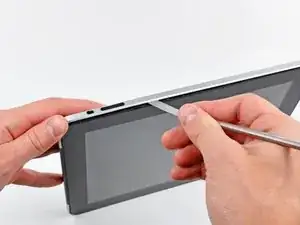
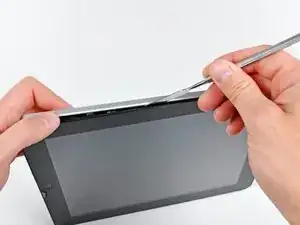
Insert a metal spudger between the right edge of the display assembly and the rear panel assembly.
-
Rotate the spudger away from you to release the tabs along the top edge of the display.
-
-
-
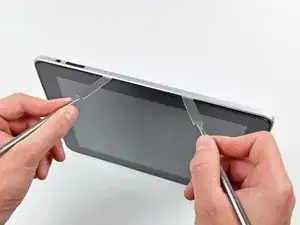
Insert a second metal spudger between the top edge of the display assembly and the rear panel assembly to keep the tabs from snapping back into place.
-
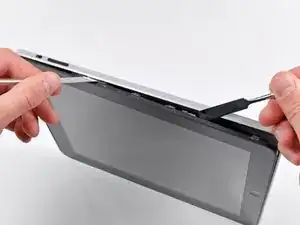
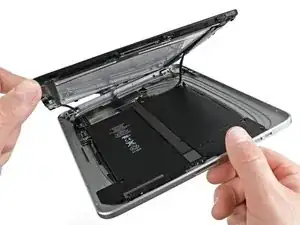
Pry the display assembly away from the rear panel.
-
-
-
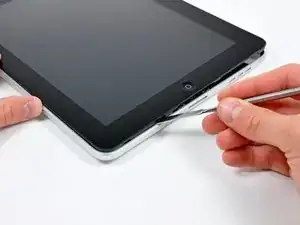
Continue prying the display assembly away from the rear panel along the bottom and left edges of the iPad.
-
-
-
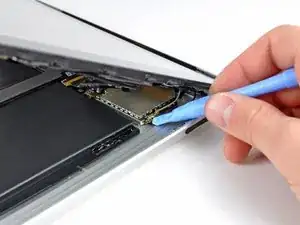
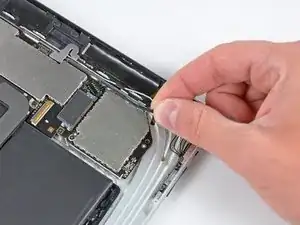
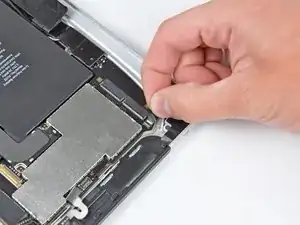
Use the flat end of a spudger to pry the antenna connector closest to the bottom of the iPad up off its socket on the communications board.
-
-
-
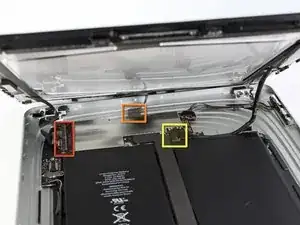
In the following steps, you will disconnect the three cables attaching the display assembly to the logic board. The cables are for the following components:
-
Digitizer
-
Ambient Light Sensor
-
Display Data Cable
-
-
-
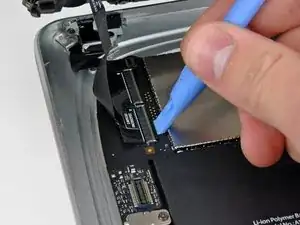
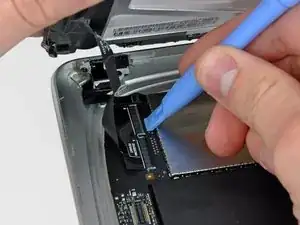
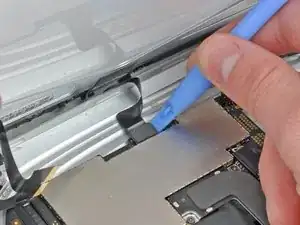
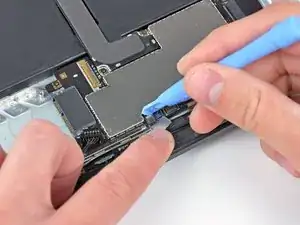
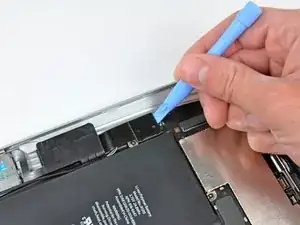
Use the edge of an iPod opening tool to flip up the retaining flaps holding the digitizer ribbon cables in their sockets on the logic board.
-
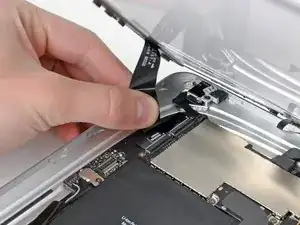
Pull the digitizer ribbon cables straight out of their sockets.
-
-
-
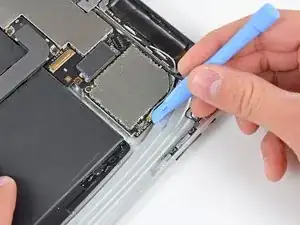
Use an iPod opening tool to remove the ambient light sensor connector from its socket by gently prying upward.
-
-
-
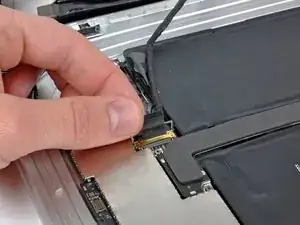
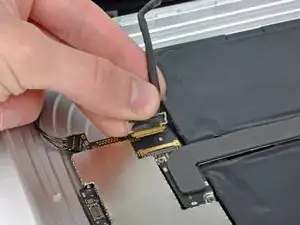
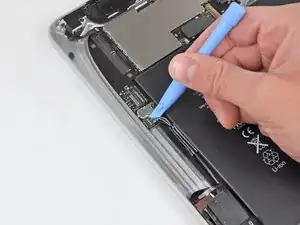
Disconnect the display data cable from the main board by flipping up the metal retainer by its black plastic pull tab.
-
Pull the cable connector away from its socket.
-
-
-
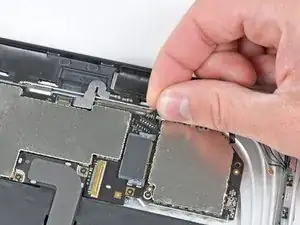
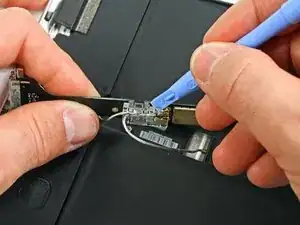
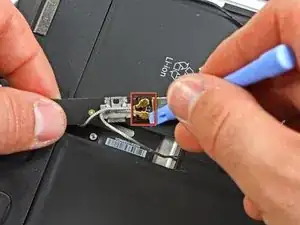
Use the edge of an iPod opening tool to carefully pry the remaining antenna connector up off the communications board.
-
-
-
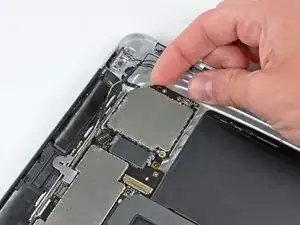
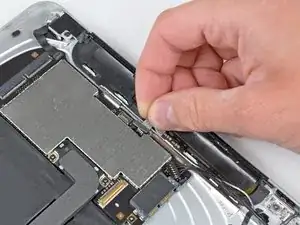
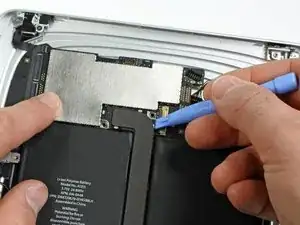
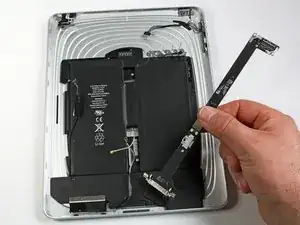
De-route the control button cable along the top edge of the communications board.
-
Pull the communications cable upward to lift its connector up and out of the socket on the logic board.
-
-
-
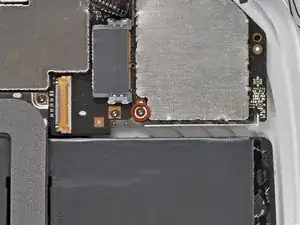
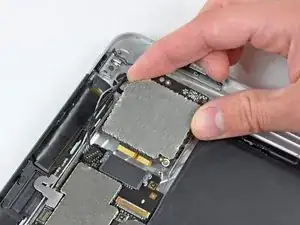
Carefully peel back the rubber EMI shield covering the GPS antenna socket.
-
Use the edge of an iPod opening tool to flip up the GPS ribbon cable retaining flap attached to the GPS cable's socket on the logic board.
-
-
-
Use the edge of an iPod opening tool to pry up the retaining flap on the headphone jack/microphone socket.
-
Pull the headphone jack/microphone ribbon cable out of its socket.
-
-
-
Use an iPod opening tool to pry the SIM board connector up off its socket on the logic board.
-
-
-
Fold the SIM cable toward the bottom of the iPad to access the speaker connector.
-
Use the edge of an iPod opening tool to pry the speaker connector up and out of its socket on the logic board.
-
-
-
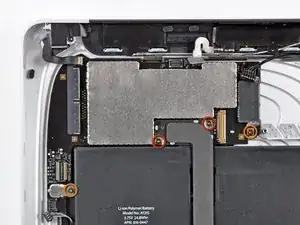
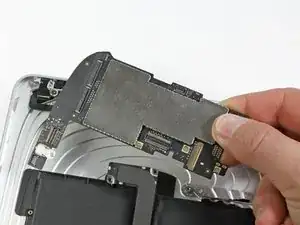
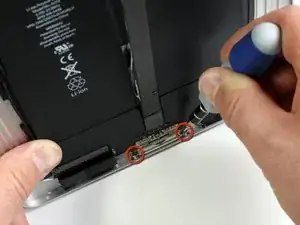
Remove the following screws securing the logic board to the rear panel assembly.
-
Two 4.56 mm T5 Torx screws.
-
Two 3.76 mm T5 Torx screws.
-
-
-
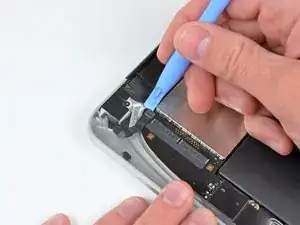
Use the edge of an iPod opening tool to carefully pry the dock cable connector straight up off the logic board.
-
-
-
Use the edge of an iPod opening tool to release the SIM board from the adhesive securing it to the rear case.
-
Remove the SIM board from your iPad.
-
-
-
Remove the two 2.84 mm T5 Torx screws securing the speaker assembly to the rear panel assembly.
-
Remove the single T5 Torx screw securing the middle of the dock cable to the rear panel assembly.
-
-
-
Remove the two 2.84 mm T5 Torx screws securing the dock connector cable to the rear case.
-
-
-
Using an iPod opening tool, carefully remove the plastic cover shielding the WiFi/Bluetooth board and dock connector cable.
-
-
-
Carefully pry the Wi-Fi and Bluetooth antennas up from their respective sockets on the Wi-Fi/Bluetooth board.
-
-
-
De-route the speaker cable from the left side of the battery case.
-
De-route the Wi-Fi antenna through its channel in the speaker assembly.
-
-
-
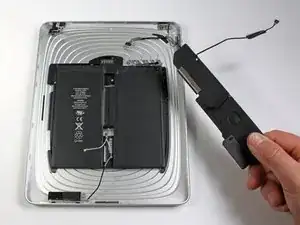
Lift the speaker assembly and push it forward until the ports clear the bottom side of the lower case.
-
Remove the speaker assembly from the rear panel assembly.
-
-
-
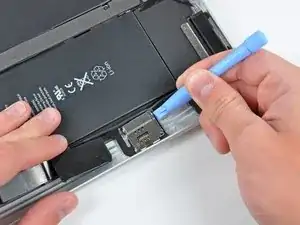
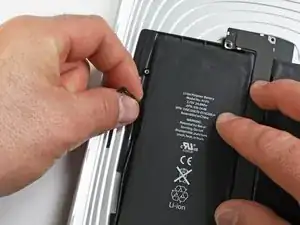
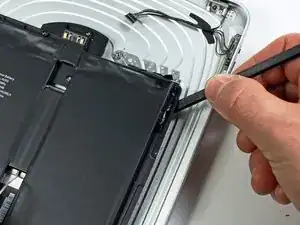
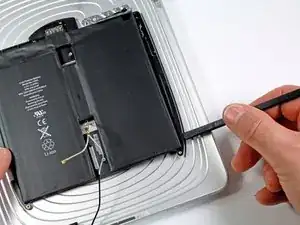
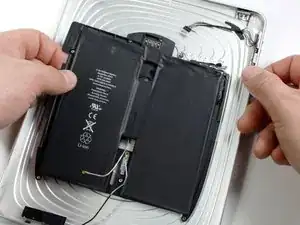
Use the flat end of a spudger to gently pry the battery up from the the lower case.
-
Gently continue to enlarge the gap by wiggling the spudger and running it along the right side of the battery.
-
Continue to pry until the right side of the battery is free from the rear panel.
-
-
-
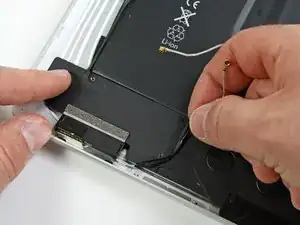
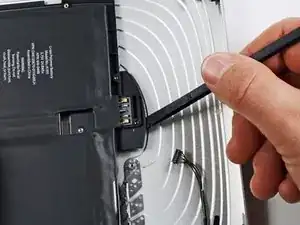
Insert the flat end of a spudger under the top edge of the battery and continue to separate the adhesive.
-
Continue doing so until the top of the battery is free from the rear panel.
-
-
-
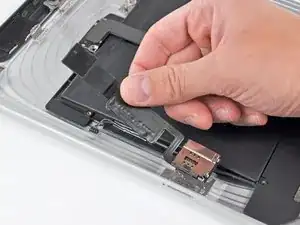
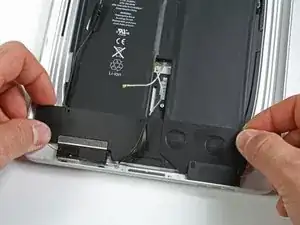
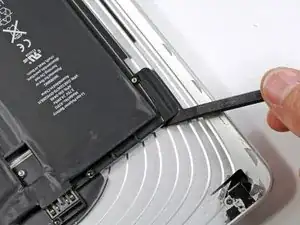
When there is enough clearance, use your hands to peel the battery off any adhesive still securing it to the rear panel.
-
Remove the battery from the rear panel.
-
To reassemble your device, follow these instructions in reverse order.
12 Kommentare
Everything done, battery charges but screen not responsive to touch when trying to input password. It switches on/off fine and I'm able to swipe the lock button but can't input password. Any suggestions? Thanks.
Battery replacement of my son's 2011 iPad 1. Once more invaluable help from ifixit as with an earlier G5 Dual 2.5 and also an iMac 27.
After the battery replacement some non responsive areas on the touch screen. Review revealed I had not relocked the digizer cable and once I did this with yet more replacement clips applied then a return to perfect function. Thanks for the invaluable help. Steve Henderson, Perth, Australia.
Great tutorial.
One thing i am not sure how to do is the battery pack itself, Where will i find the adhesive ? Thank you.
Cedric H.
tipex -
You don’t need adhesive with a new battery pack. It will hold in place with the existing adhesive and once the iPad is reassembled, it won’t fall apart.
I replaced the battery in my old iPad 1 Cellular model. What a PITA. You’ll break most of the clips, but it still holds together pretty well. There is a high risk of breaking the cellular antenna wires because the photo in this guide opening the display is for the Wi-Fi version, leaving out the location of the cellular board and the short length of the antenna wires. So one of the cellular wires broke the moment I raised the display, unaware that the wires were short. The wire pulled right out of the copper connector. No big deal. I replaced the battery just for fun to see if I could resurrect this old iPad that would no longer turn on. So I did it and it is back together and everything works except cell service, but I would never use cell service with it anyway. Wi-Fi works because the antenna is the Apple logo. Nice to boot up iOS 5.1.1, but it is worthless these days.
