Einleitung
Diese Anleitung zeigt dir, wie du die Displayeinheit eines geöffneten iPads wieder verkleben kannst.
Werkzeuge
-
-
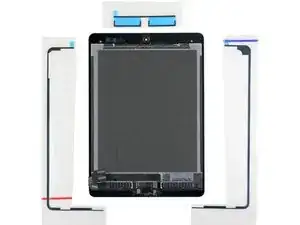
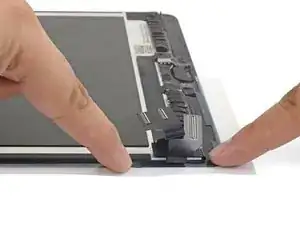
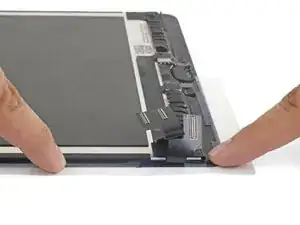
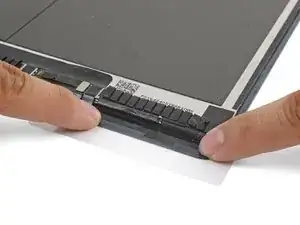
Bevor du neuen Kleber anbringen kannst, musst du erst die Displayeinheit und den Rahmen gründlich von allen Rückständen befreien.
-
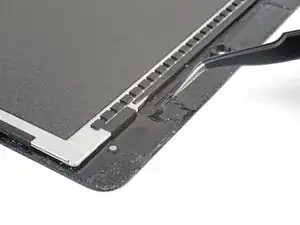
Ziehe Reste von Klebestreifen mit einer Pinzette ab.
-
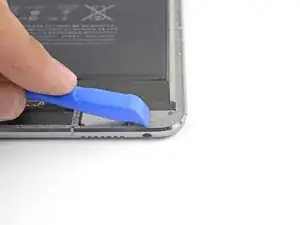
Schabe Kleberreste mit einem Plastiköffnungswerkzeug oder einem Spudger ab. Du kannst den Kleber mit hochkonzentriertem Isopropylalkohol (mehr als 90%ig) aufweichen.
-
Wische die Rückstände nur in einer Richtung ab, das verhindert ein Geschmiere.
-
-
-
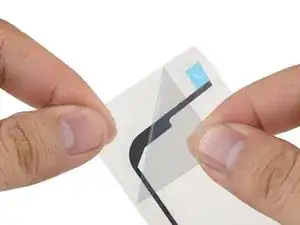
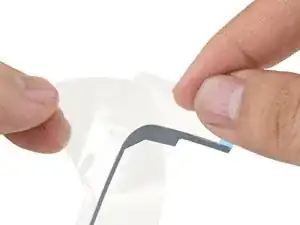
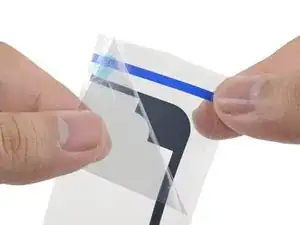
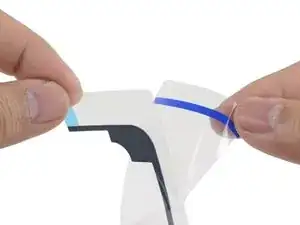
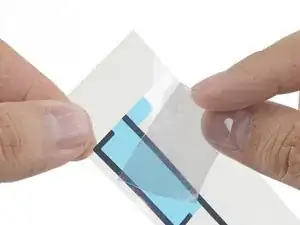
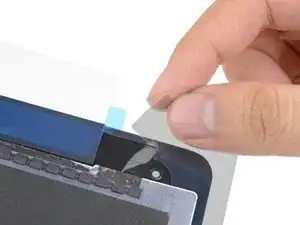
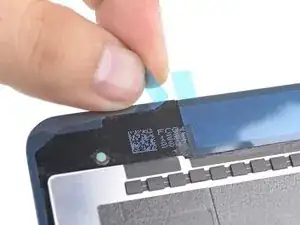
Ziehe die oberste Plastikschicht vom linken Klebestreifen ab.
-
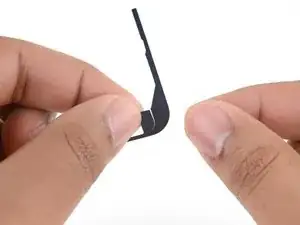
Ziehe die untere Plastikfolie vom Streifen ab.
-
-
-
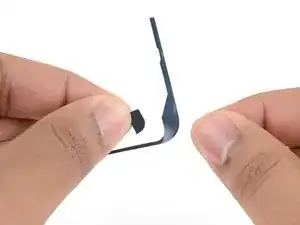
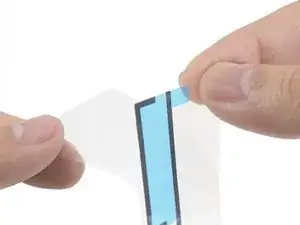
Wenn sich auf dem Streifen Extrateilchen befinden, die du für dein iPad-Modell nicht brauchst, dann entferne sie jetzt.
-
-
-
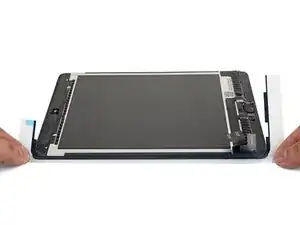
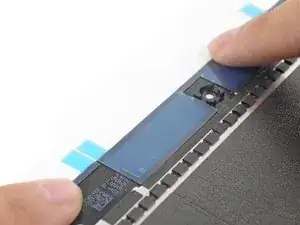
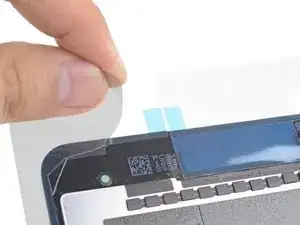
Richte den linken Klebestreifen an der linken Kante der Displayeinheit aus.
-
Fange an einer Ecke an und lege den Klebestreifen auf die Displayeinheit. Drücke ihn dann fest.
-
-
-
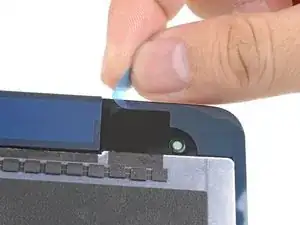
Ziehe den obersten Klebefilm vom Streifen ab.
-
Ziehe die Schutzfolie an der Unterseite vom Streifen ab.
-
Richte den Streifen an der rechten Kante der Displayeinheit aus.
-
Beginne an einer Ecke und lege den Streifen auf die Displayeinheit. Drücke ihn dann fest.
-
-
-
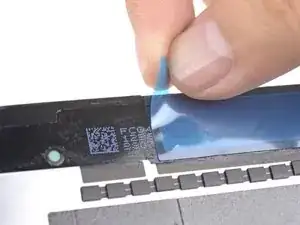
Ziehe den obersten Klebefilm vom Streifen ab.
-
Ziehe die Schutzfolie an der Unterseite vom Streifen ab.
-
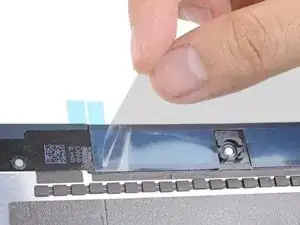
Richte den Streifen an der Oberkante der Displayeinheit aus, sodass die gerade Klebelinie die Lücke zwischen dem linken und dem rechten Streifen überbrückt.
-
Drücke den Streifen fest.
-
-
-
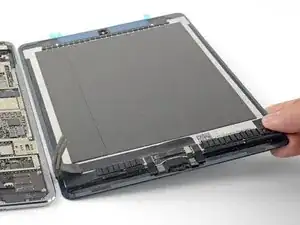
Ziehe die drei farbigen Schutzfolien ab, so dass die Klebeschicht freigelegt wird.
-
Schließe das Gerät und staple ein paar schwere Bücher darauf. Lasse sie dort für dreißig Minuten, so dass der Kleber gut abbinden kann.
-

Hat die Reparatur nicht den gewünschten Erfolg gebracht? In unserem Antwortenforum findest du Hilfe bei der Fehlersuche.

10 Kommentare
Thanks, I was able to fix my wife’s shattered digitizer screen on the iPad 6th gen with this guide!
I managed to get it done, but this was a personal nightmare for me and more difficult than replacing the battery in my ipad. There are too many instruction that say “remove plastic” and I have no idea which layer; there was nothing on the packaging to indicate which side was up or which side was the front and I ended up guessing the wrong direction because it “looked” right, but wasn’t. A simple sticker on the packaging indicating a direction would have removed all of the frustration. I only managed to figure it out by removing all of the plastic so that the sticky side of the adhesive was exposed and then I could finally see how it was supposed to fit and how I was supposed to press down with the other side of the plastic to push the adhesive side into the frame.
Fixed a cracked iPad 4 mini screen; I agree with twizzlercraze72. Some kind of labeling would have saved so much peeling and re-sticking. I ended up with a gap next to my home button. An expensive lesson to learn.
I followed these instructions and used 99.9% isopropyl alcohol to clean off the glue around the display - but the isopropyl leaked under the screen and ruined it! Replacement screen more than the iPad’s worth. Use tiny amounts and don’t allow for any seepage, or try to manage without and just carefully scape. My iPad’s now a write-off… :-(
Alex Harness -
Hi Alex!
I’m really sorry to hear about your experience. Can you describe a little more how the alcohol ruined the screen? This info can help with future guides!
Arthur Shi -
Use goof off or xylene on cotton swab outdoors to remove adhesive. Do it outside so you don’t smell up the house. Better than rubbing alcohol.
macman2 -
Goof-off will unfortunately leave a residue that can eventually weaken the replacement adhesive. Be sure to fully clean off the surface with alcohol after you use Goof-off.
Arthur Shi -
I used a hair dryer to soften the adhesive.
OK, you still leave a very small, microscopic, layer of adhesive after removing the black tape, but really, new tape will still stick to that. We’re not trying to make the iPad water proof - we’re simply trying to make the components secure and not fall apart. Shame Apple couldn’t have used screws instead!
Billinski -
Used CRC Brakleen PRO SERIES. Applied sparingly with a Q-tip 2 inches at a time. Softened the adhesive was easily squeezed off with a plastic spudger.
dklj -