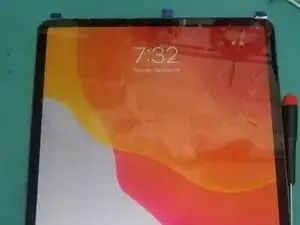
Einleitung

Hast du bisher keine Anleitung gefunden, wie du das Display deines iPad Pro 12,9" der 3. Generation reparieren kannst?

In der Anleitung steckt sehr viel Arbeit, du kannst diese gerne als Referenz nehmen. Kommentare sind Willkommen!

  1. LAOnFJL61tVrU2ML
    • iPad Pro 3. Generation A1895

    • Schalte das iPad aus: drücke zuerst die Lauter-Taste und lasse sie los, verfahre dann genauso mit der Leiser-Taste.

    • Halte die Seitentaste gedrückt, bis sich das Display ausschaltet.

    • Benutze den Slider, wenn möglich.

    • Wenn du das Gerät nicht ausgeschaltet hast, kannst du die LCD-Bildschirmbeleuchtung beschädigen, wie an anderen iPhones und iPads auch.

    Correction; press and release volume up button, press and release volume down button then press and HOLd the power button o n the top right corner of the tablet, then slide the power off bar.

    Gregg Stanley -

  2. XQbkfyg41IpL2YLm
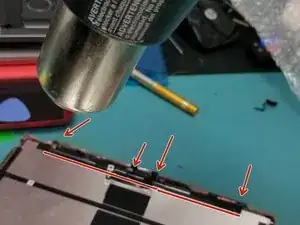
    • Benutze ein Heißluftgebläse oder eine andere geeignete Methode, im das Display zu erwärmen.

    • Das Erwärmen des kompletten Displays ermöglicht ein sicheres Entnehmen des Displays.

  3. 1AaLyDAvPNJjgJOy
    • Erwärme das Display 15 Minuten lang, dann ist es heiß genug um den starken Kleber zu lösen.

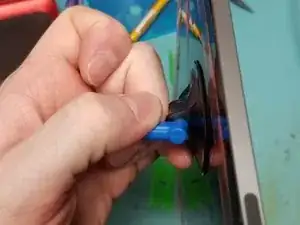
    • Bringe einen iFixit-Saugheber an der Scheibe an. Ziehe sie dann soweit hoch, bis du ein Plektrum einsetzen kannst.

    Das war hier leider der falsche Tipp! Für das abheben des Displays, ausschließlich eine Plastikkarte verwenden Mit dem Jimmy habe ich mein Display zerkratzt, außerdem bin ich etwas zu tief geraten. Zum Glück nur in einer kleinen Ecke, trotzdem schade ums Display.

    Ich musste nur den USB-C port tauschen, das Display habe ich wiederverwendet.

    arno -

    I actually came here to say the exact thing as @arno . I advise to NOT use anything metal when trying to release the adhesive on these models of ipads, the LCD screen is only 3-5mm away from the edge and you will puncture it easily with ANYTHING metal. Just just plastic, I barely hit the LCD panel with my metal opening tool like in the walkthrough and now I have to get a new screen. I know it was the metal tool because I only used it to get started and switch to plastic for the majority of the removal. The panel only got damaged where I used the metal, but while i could see contact lines on the panel itself with the plastic picks they didnt hurt it.

    DONT USE METAL OPENING TOOLS ON THIS DEVICE

    RYAN EVERS -

    the screen is already broken and this video is only about replacing a broken screen. Don't why we shouldn't use metal

    cajolino -

    I fixed the mistake in the step.

    guardian10 -

    Thanks for the tip Ryan!

    Ted Everhart -

  4. lDZTLYkZJqGW4gXM
    lDZTLYkZJqGW4gXM
    kDDOBiEVgQNaUDqg
    IESBXlGbyavUbJDQ
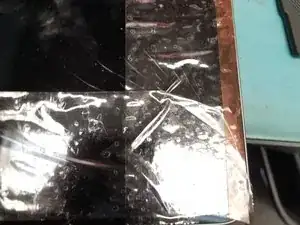
    • Überklebe zerbrochene Stellen mit durchsichtigem Paketband.

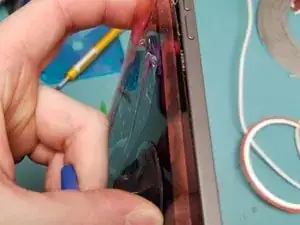
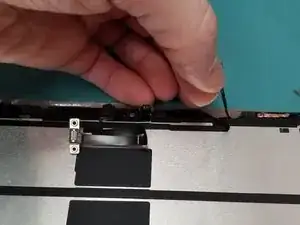
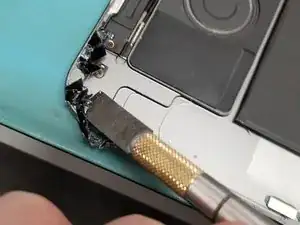
    • Hebe das Metallhebelwerkzeug hoch, wodurch das Glas am Klebeband haftet. Arbeite dich um die gebrochene Seite entlang.

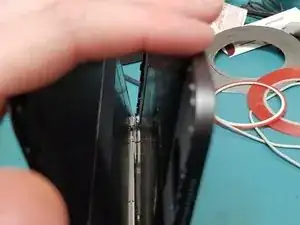
    • Wackle die Scheibe aus der Klebeverbindung heraus, benutze mehrere Plektren.

    • Ziehe die Scheibe noch nicht ganz ab!

    Also, need to be super careful cutting around the top of the screen near the FaceID sensor and camera.

    David Wiles -

  5. vxLcjQ6ZTe6LD4nf
    vxLcjQ6ZTe6LD4nf
    IENGhFcR1ljoQnqp
    FEXQteKMAvSs6JA3
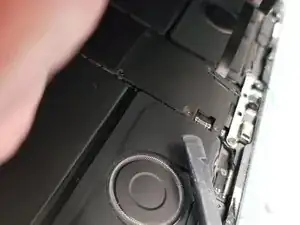
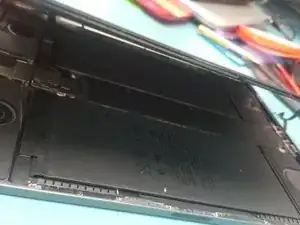
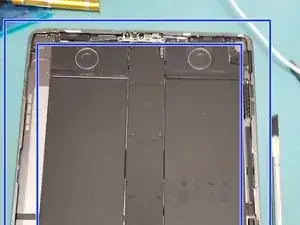
    • Hebe die Scheibe noch nicht ganz ab, sie ist noch mit empfindlichen Kabeln angeschlossen. Diese Kabel sind ziemlich kurz.

    • Trenne zuerst den Annäherungssensor/die Frontkamera oben am Display ab.

  6. TPdhcbtub1EyrCPg
    TPdhcbtub1EyrCPg
    XCBBNGhNt6OUHVSX
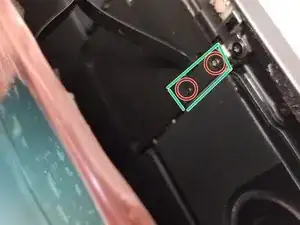
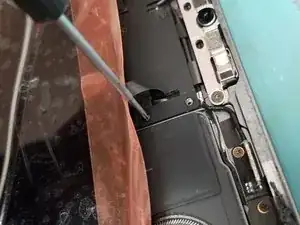
    • Lege das Display flach hin und ziehe es soweit herunter, dass du die beiden Kreuzschlitzschrauben #00 an der Halterung abschrauben kannst.

    • Entferne die Halterung und das Kabel mit dem flachen Ende des Spudgers vom Logic Board.

  7. xuRDtAcRQBDnGNHR
    xuRDtAcRQBDnGNHR
    5xZgQWBFCMIejaju
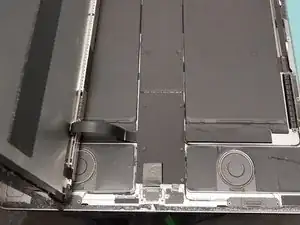
    • Klappe nun das Display wie gezeigt nach links.

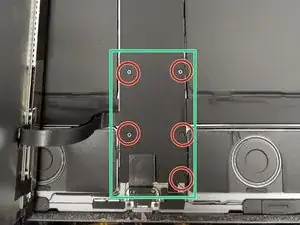
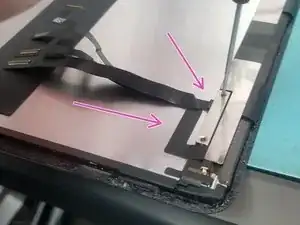
    • Löse fünf Kreuzschlitzschrauben #000 von den Kabeln zur Stromversorgung und zum Display.

  8. OYvvD5F1oMsailDE
    OYvvD5F1oMsailDE
    m3sNpRdVdP2D2aNf
    YoMmKKAnANtVfZlj
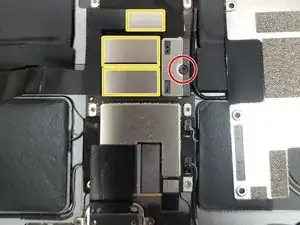
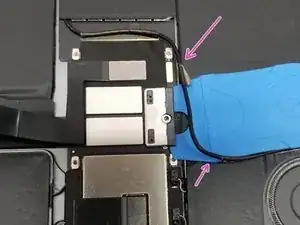
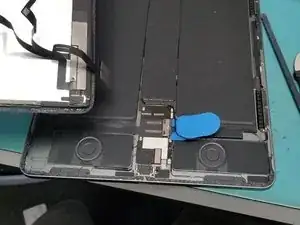
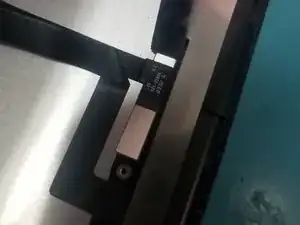
    • Entferne die Kreuzschlitzschraube # 000 am Akkuanschlusshalter.

    • Versuche nicht, den Akku ganz abzutrennen.

    • Biege das kleine Kabel hoch, das an den Kanten festgeklebt ist, so dass du den Akkuanschluss abtrennen kannst.

    • Schiebe ein dünnes Kunststoffwerkzeug unter den Akkustecker. Die Kontakte des Steckers werden dadurch aus dem Anschluss angehoben und abgetrennt.

    • Wenn der Akku abgetrennt ist:

    • Löse alle drei Kabel mit dem flachen Ende des Spudgers vom Logic Board ab.

    Be extra careful when sliding the pick under to disconnect the battery. I haven’t had problems doing this until this iPad, but damaged the battery connector.

    Chris Limb -

    I wish this was said in the picture , its making it seem like its supposed to come off, which i tried to do just now, and now its broken. what should i do.

    Noah -

    Would be great to have more detail on the battery connector, like what it looks like after it has been disconnected.

    John Mangan -

    A better Description of this disconnection of battery should be slide in to break the connection of the batterie. As it looks like this pops off just like the ribbons. Be extra carful

    Matthew Lawson -

    Why do I have to unplugg the battery?

    Jan Wieland -

    You can blow a circut causing iPad not to work

    Mark D Schlossman -

  9. tmeSioH3BuqMdpXP
    tmeSioH3BuqMdpXP
    nFubNPxaF1EiJyJk
    6luiYLKaJqA4mQvL
    • Erwärme den Face ID Sensor - aber nicht zu stark - so dass du ihn vom alten Display ablösen kannst.

    • Wenn der Annäherungssensor beschädigt wird, kann dies True Tone bei Ersatzteilen von Fremdlieferanten beeinflussen.

    • Schiebe behutsam ein Werkzeug unter die Klebeverbindung am Glas.

    Removing sensor flex is not the worst part...finding the right glue/adhesive to install onto the new screen is, you need to make sure it stays put and not wiggle around

    Gorilla -

    Liquid adhesive and clamps

    Mark D Schlossman -

  10. XbcPoyiURvuI6rQM
    XbcPoyiURvuI6rQM
    hosGrG24Ejr2waJy
    vpuAZGTWVZWhRTC2
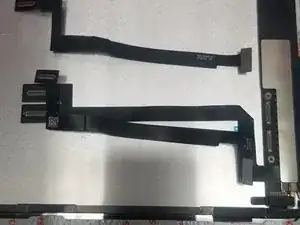
    • Entferne die Halterung vom alten Display und übertrage es zum neuen.

    • Übertrage die Kabel und die Halterungen zum neuen Display.

  11. HnUnTjjSvP1XyQPL
    HnUnTjjSvP1XyQPL
    NF4LgJRkYhoQPFtr
    ORubTU3CiZruIMjB
    • Setze das neue Display probeweise ein, ohne es festzukleben und teste das Display und Face ID.

    • Nimm es nach dem Test wieder heraus.

    After replacing the screen, was True Tone still present? I know with iPhones, replacing the screen made the feature go away unless a programmer was used. Was wondering if iPad Pros were the same.

    jappleseed481 -

  12. mpUgFGHfS3DrqM16
    mpUgFGHfS3DrqM16
    ja2XkV6vijBu4QFP
    • Reinige die Klebeflächen gut von alle Rückständen.

    • Reinige die Glasscheibe, so dass der Annäherungssensor vom alten Display eingebaut werden kann.

    • Klammern sind nicht zu empfehlen, sondern eher flache und schwere Gegenstände.

    • Wenn noch Glassplitter vorhanden sind, wird das neue Display brechen!

Abschluss

Um dein Gerät wieder zusammenzubauen, folge den Schritten in umgekehrter Reihenfolge.

Mark D Schlossman

Mitglied seit: 25/09/19

4824 Reputation

28 Kommentare

My Face ID no longer works?

Steve Pisano -

Most likely you may have damaged the flex of proximity sensor.

Check connector

Check placement with flash light make sure everything is aligned correctly

Mark D Schlossman -

why not get a new flex cable from ebay or aliexpress

imab -

What adhesive do you use to reattach their screen?

puppitkey -

What size of that tape do you need for this iPad? Thanks
Daniel Smith -

What tool do you use to restore true tone ?

Damien Nojac -

I do not think there is a way without OEM Screen or serial transferring such as with iPhone X MAX screen repairs you would use

I will have to look into it when I have time for you

Mark D Schlossman -

I have the original screen. It’s still working, the glass is just completely shattered.

Damien Nojac -

Is face id working

Mark D Schlossman -

Yes, it’s working

Damien Nojac -

Thanks couldnt find a guide for the 11 and the facial id threw me off

jimmy dixon -

Was working on one for the 11 but I am to busy repairing lately. But they are identical pretty

Mark D Schlossman -

Is the glass adhered to the LCD like the phones?

emholden -

Yes it is just like phones only on the iPad Air 2&3 and the Pro Series

Mark D Schlossman -

Mine didn’t start after screen replacement when using the power button. Was scared, but after connecting it to the charger it worked!

bartijn -

I forgot to turn off the power of the ipad and the LCD backlight went out. How can I fix it?

Valu -

It would be a board level repair you can send out for microsoldering iPad rehab can do

Mark D Schlossman -

Thanks for the great tutorial! I replaced my iPad Pro screen with no issues!

Sara -

Thanks for the feed back

Mark D Schlossman -

The cable that was supposed to be reused was damaged during the swap. Where can i get a replacement?

goober2432 -

what glue do you use to attach the face id flex to the new screen?

paul.lynch1 -

Hi Mark,

I have lost two screws and I am wondering what are the dimensions of all the screws in my iPad pro 12.9 3rd Gen so I can replace them? I don't want to put the wrong ones in because I have heard that's bad!

Rebecca Gray -

@rebeccaperth I might have a recycled ipad pro at my work I can sell you the screws email me at info@icarefargo.com

Mark D Schlossman -

Question, if I rip the digitizer flex cable to the LCD. (The one with two pins) can you solder the flex cable back together?

Andere Edward -

Quick question even though it might sound stupid but could the 2021 screen work with the 2018/2020 model?

Shaun Eworh -

The guide doesn't show the part regarding the face ID. And it's the most sensitive one. Good guide despite that though.

Rafael Munoz -

Thank you for making the guide. It really helped me replace a friend's iPad Pro 12.9 4th generation cracked screen. I did it yesterday, and it only took me a whole day! 😆

jean rodriguez -