Einleitung

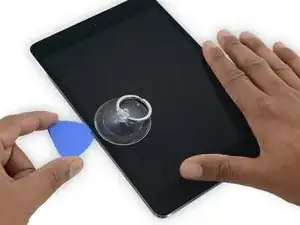
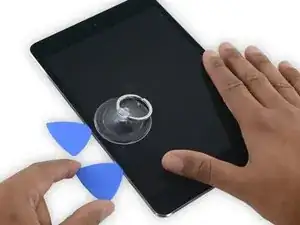
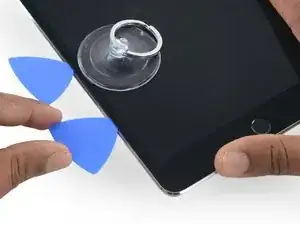
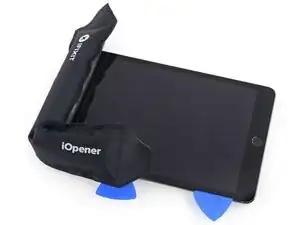
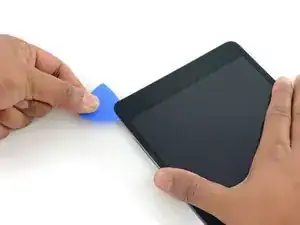
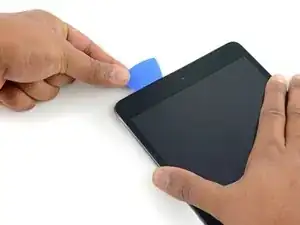
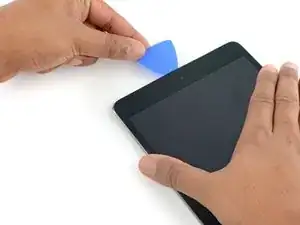
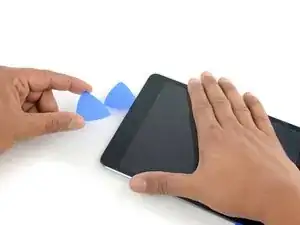
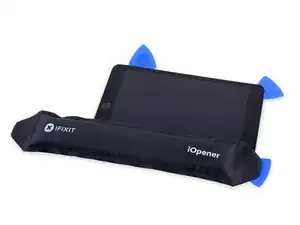
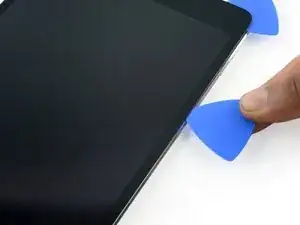
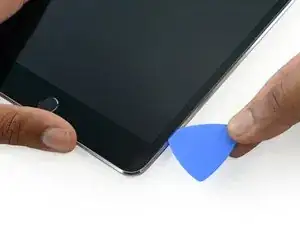
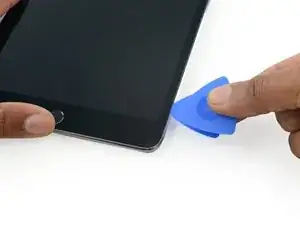
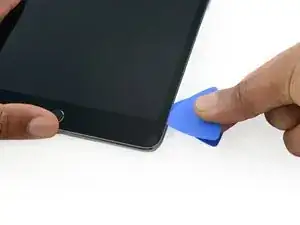
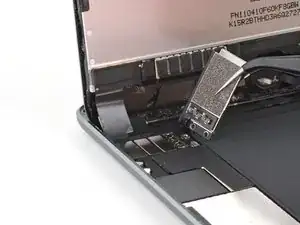
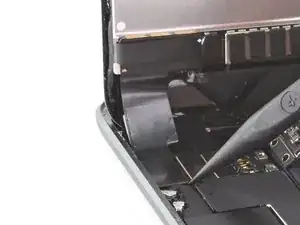
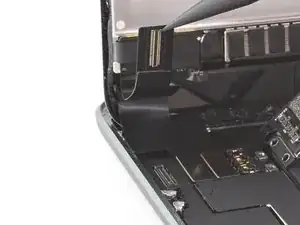
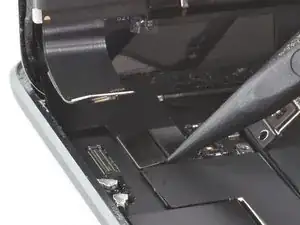
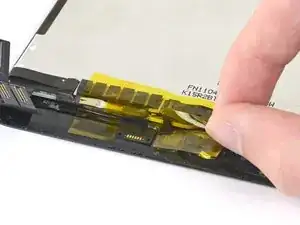
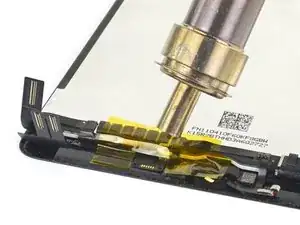
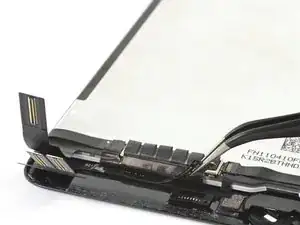
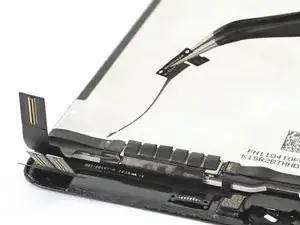
Follow this guide to remove or replace the magnetic sensor on an iPad mini 5 Wi-Fi. You may need to do this repair if the sleep and wake function is no longer working while using a Smart Cover.

This repair requires advanced soldering skills. The magnetic sensor cable is soldered to the screen. Make sure to follow soldering safety procedures such as wearing eye protection, working in a well-ventilated area, and washing your hands with soap and water after soldering.

For your safety, discharge the battery below 25% before disassembling your device. This reduces the risk of a dangerous thermal event if the battery is accidentally damaged during the repair. If your battery is swollen, take appropriate precautions.

Some photos in this guide are from a different model and may contain slight visual discrepancies, but they won't affect the guide procedure.

  1. tRdI2UIft2qxOFIN
    tRdI2UIft2qxOFIN
    5RBFjAKwPDlb4xeD
    6CI34V1KjOV1jdDS
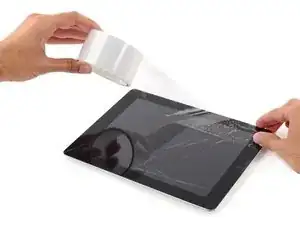
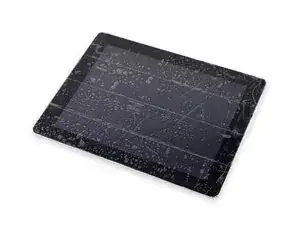
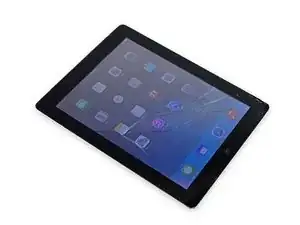
    • If your display glass is cracked, keep further breakage contained and prevent bodily harm during your repair by taping the glass.

    • Lay overlapping strips of clear packing tape over the iPad's display until the whole face is covered.

    • This will keep glass shards contained and provide structural integrity when prying and lifting the display.

    • Do your best to follow the rest of the guide as described. However, once the glass is broken, it will likely continue to crack as you work, and you may need to use a metal prying tool to scoop the glass out.

    • Wear safety glasses to protect your eyes, and be careful not to damage the LCD screen.

  2. HaIxvTqYrjFRYmFf
  3. 13rFSRL3NS4fCQUu
    13rFSRL3NS4fCQUu
    C61ZvErpTPRvm3FK
    1TsMJjmwTMVmHTIa
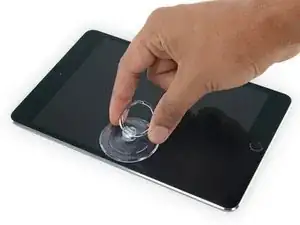
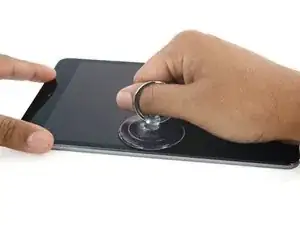
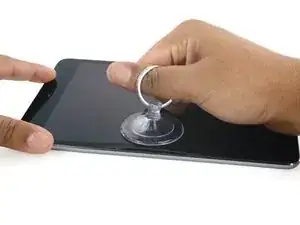
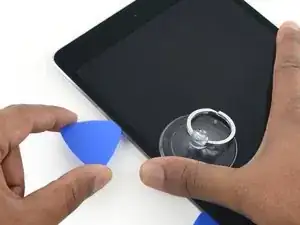
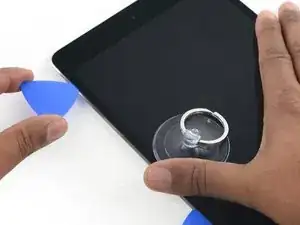
    • Apply a suction cup halfway up the heated side.

    • Be sure the cup is completely flat on the screen to get a tight seal.

    • While holding the iPad down with one hand, pull up on the suction cup with strong, steady force to create a gap.

    • Depending on the age of your device, this may be difficult. If you have trouble, apply more heat and try again.

    • Be careful to only lift the glass enough to insert an opening pick—any more and you risk cracking the glass.

  4. ohUAS1Ykl4EUbSwG
    ohUAS1Ykl4EUbSwG
    ScjggYUdT4DXsNOK
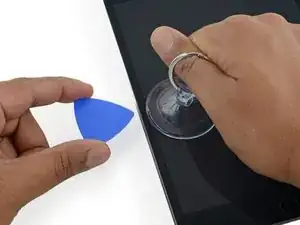
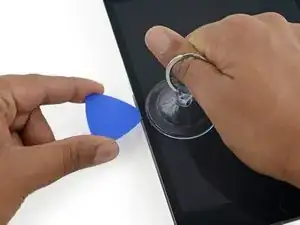
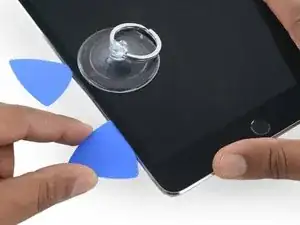
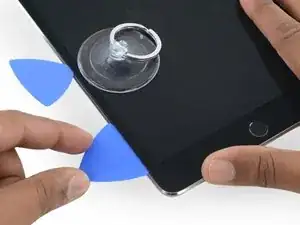
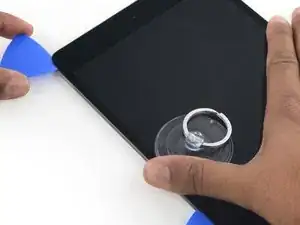
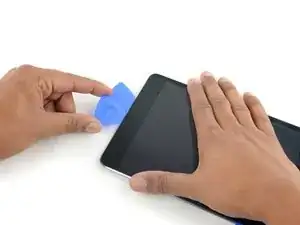
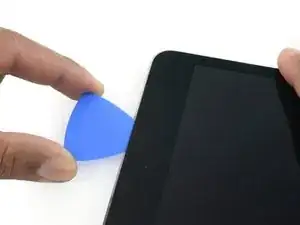
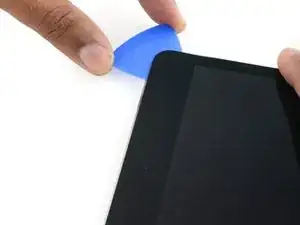
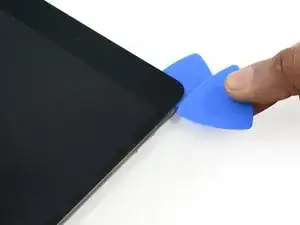
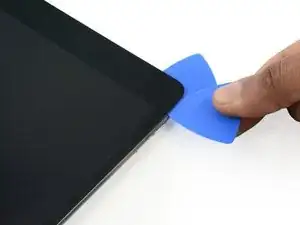
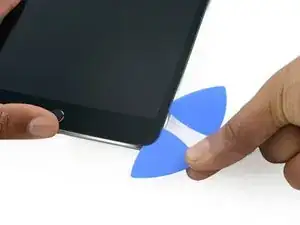
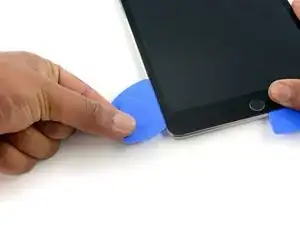
    • While holding the glass up with the suction cup, insert the point of an opening pick into the gap between the glass and body of the iPad.

    • Don't insert the opening pick any deeper than 2 mm into the side of the display. Inserting the pick deeper than 2 mm could damage the backlight assembly, LCD display, or touchscreen.

    “Don't insert the opening pick any deeper than the black bezel on the side of the display. Inserting the pick too far may damage the LCD.”

    Unfortunately, you only know you have inserted it too far when you have, and you start seeing little bubble veins form between the glass screen and the LCD.

    The adhesive can be very stiff/hard, and if pushing through it can result in the pick plunging into the LCD when the adhesive finally gives way.

    Take your time, use alot of heat, and if you need to try and push the pick in, try and do so in a slicing motion along the edge, use the wide edge, or hold the pick so that your finger will hit the edge of the screen before the pick tip will pass the bezel.

    lucanos -

    Adhesive strips are only 1mm wide on sides. Up to 5mm wide top and bottom. I used the Isclack. Screen seemed ok bending without breaking. Worth looking for a photo of the replacement adhesive strips so you know what you have to separate. Be extra careful at the lower right corner where the cables are.

    ian cheong -

    This is a failure of a guide as it doesn’t tell you to insert at a downward angle so you don’t potrude into the LCD… Now I have to spend more money to replace the screen as I pushed adhesive between the LCD and the screen even though I went no farther than a millimeter short of the screen...

    Alec -

    can you open the right side if the left is too cracked to use a suction cup on?

    clark overhiser -

    This guide needs amending urgently.

    You MUST NOT put the pick or whatever you are using more than 2mm under the sides of the screen, or you will cut through the adhesive tape securing the backlight assembly to the LCD glass.

    This will push adhesive into the viewable area of the LCD and cause the backlight assembly to no longer be secured against the LCD fully.

    I now need a new screen.

    This line below from the guide is absolutely INCORRECT and will ruin your expensive display:

    ”Don't insert the opening pick any deeper than the black bezel on the side of the display.”

    The black bezel is 5mm to 6mm wide; you MUST NOT insert anything to that depth or you will destroy your display. 2mm maximum!

    jamesqb2001 -

    thanks. will take this into account for my repair

    Adab Abu -

    I too damaged my display because of this absolute nonsense (The German version, which I used, still had this INCORRECT portion in it). I can't believe how long it took iFixit to update this, even though people have been reporting this for years on end. Sadly iFixit still haven't updated a variety of other things that are still at the very least high risk instructions. I just messaged them the other day, but they don't seem to care about or understand the remaining issues that this guide has. At least they updated one of the most severe things, but they just plainly told me 'I'm wrong' about the rest. I liked iFixit it so far, and I've worked on a variety of (difficult) repairs - but this experience was a very huge let down.

    Mac Stevenson -

    A few thoughts after opening a number of Mini 4’s.

    1) if the display is warm enough you can squeeze the digitizer and LCD back together after a minor incursion with the opening pick and it will reseal.

    2) I’ve started going in at the top just to the right of the camera (I use an iFlex to get in then switch to a pick). Then I run down either side with my fingers choked up on the pick so there only a mm or 2 sticking out. Usually after running down one side, I can get the display open enough to get the pick in behind the LCD when I do the other side

    Stow -

  5. TUkUdEMQJclDVNsZ
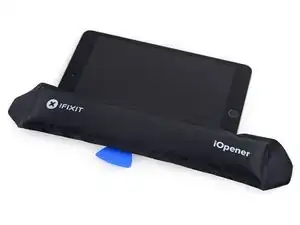
    • Reheat and reapply the iOpener to the left edge for a few minutes.

    • Be careful not to overheat the iOpener during the repair procedure. Always wait at least ten minutes before reheating the iOpener.

    If your iPad is cold, consider leaving the iOpener on for longer than 5 minutes. The aluminum housing is a very large thermally dissipating mass and will quickly cool off the glass and make you have to start over and wait the 10 minutes to reheat. There’s a very slim window in which you’re able to insert the pick into the glass adhesive before it solidifies once again. I’ve been fighting with it for like 20 minutes following these instructions and it’s not working. You really need to leave it for longer than just 5 minutes to get the back housing hot too.

    Crystal S -

    Heat is essential. I used a 3d printer’s heated set at 65 degrees. Chris Storer’s stip above saved me as you really need to let it sit for quite a while to soften the adhesive. Since I was doing a battery change, I heated both sides as the aluminum back is a huge heatsink that really sucks up the heat. Don’t try forcing it; if the suction cup isn’t pulling a gap in the screen, leave it on the heater for additional time.

    garbage911garbage -

    Love the 3d printer idea, I hadn’t thought of that! I have used a heat gun as well but you have to be very careful to not use too much heat. Also watch for inserting the pick too far, it is really easy to delaminate glass from the display!

    russ -

  6. CqMR4hHhWIXsHe31
    CqMR4hHhWIXsHe31
    cxBVHNUwDC4RX1cZ
    Jnv4Ppg4Y5ZUBVkB
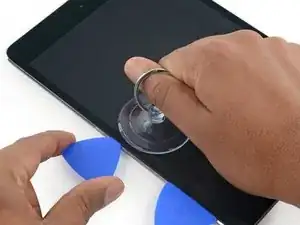
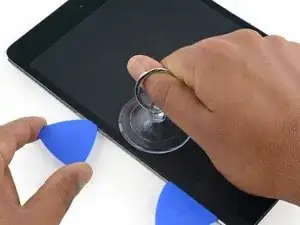
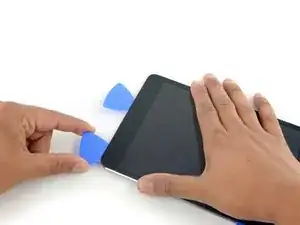
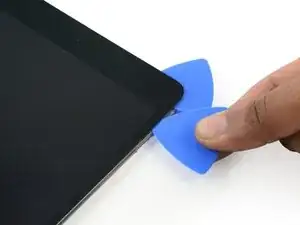
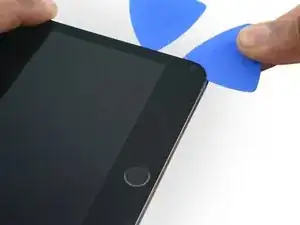
    • Insert a second opening pick alongside the first and slide the pick down along the edge of the iPad, releasing the adhesive as you go.

    • Throughout the rest of the procedure, if you encounter significant resistance while sliding the pick, stop and reheat the section you're working on. Applying too much pressure with the pick can crack the glass.

    I have found that wedging a blue pry tool in between the frame and the glass can give you a better edge enough to slide the pick in.

    Crystal S -

  7. WOS4ZM3eJLkCskJC
    WOS4ZM3eJLkCskJC
    Hnga6OLRAMAifQgv
    ypBjyNU4PUckUhxI
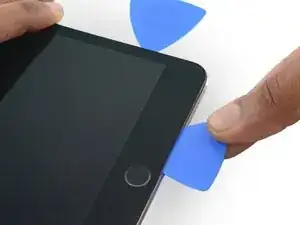
    • Continue moving the opening pick down the side of the display to release the adhesive.

    • If the opening pick gets stuck in the adhesive, "roll" the pick along the side of the iPad, continuing to release the adhesive.

  8. g4K1TQaPG4Pcsian
    g4K1TQaPG4Pcsian
    nTaLoCMLNmMdWXfP
    • Take the first pick you inserted and slide it up toward the top corner of the iPad.

  9. UbCbTICAd1Qenj1D
    • Reheat the iOpener and place it on the top edge of the iPad, over the front-facing camera.

    • Be careful not to overheat the iOpener during the repair procedure. Wait at least ten minutes before reheating the iOpener.

    • If you have a flexible iOpener, you can bend it to heat both the upper left corner and the upper edge at the same time.

  10. ZMS55hkNx4hdDBSU
    ZMS55hkNx4hdDBSU
    Q5nLFBwJGyFQJD6K
    ajQfyycssK2puFRL
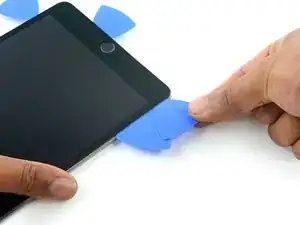
    • Slide the opening pick around the top left corner of the iPad to separate the adhesive.

  11. eoxpXig3yZbNJ5LM
    eoxpXig3yZbNJ5LM
    2UQdxX1TXSBtPnV1
    QJJjM65RQqa2bBUY
    • Slide the opening pick along the top edge of the iPad, stopping just before you reach the camera.

    • As you reach the front-facing camera, pull the pick out slightly and continue sliding it across the top edge.

    • Avoid sliding the opening pick over the front-facing camera, as you may smear adhesive onto the lens or damage the camera. The following steps will detail how to best avoid disturbing the front-facing camera.

  12. 2biNwid2uuwBB1dI
    2biNwid2uuwBB1dI
    upKYLNsBIufNuJLK
    lXpUpqTV2IROQlUM
    • Leave the opening pick in the iPad slightly past the front-facing camera.

    • Take a second pick and insert it to the left of the camera, where the first pick just was. Slide it back to the corner to completely cut any remaining adhesive.

    • Leave the second pick in place to prevent the corner adhesive from re-sealing as it cools.

  13. RBiTBQ1bfbLVlBEQ
    RBiTBQ1bfbLVlBEQ
    QoYVVDyCjOGlRV4w
    • Insert the previous pick deeper into the iPad and slide it away from the camera toward the corner.

  14. pIBSCEPokwTEi1cH
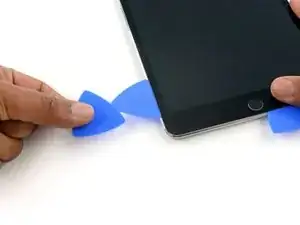
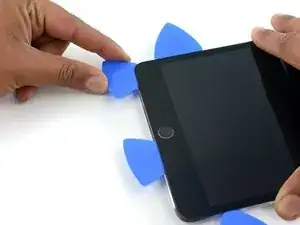
    • Leave the three picks in the corners of the iPad to prevent re-adhering of the front panel adhesive.

    • Reheat the iOpener and place it on the remaining long side of the iPad—along the volume and lock buttons.

  15. ICjU4SsE5PcBHfLj
    ICjU4SsE5PcBHfLj
    XHaDLfDSSEKIKO2S
    4MPJUfjxWS21GryD
    • Insert a new opening pick and slide it down the right edge of the iPad, releasing the adhesive as you go.

  16. EDS62uJdC4StMJC4
    EDS62uJdC4StMJC4
    6FSbjKEpCFQttuXP
    DYTVSLmFJPWPjOo6
    • Continue sliding the opening pick down the right edge of the iPad, reheating the edge using an iOpener if necessary.

    • Be careful not to slice too deep near the bottom right corner, or you risk damaging the display cable.

  17. WiN5Njbf4TAxgH6j
    • Leave the opening picks in place and reheat the iOpener.

    • Remember not to overheat the iOpener—no more than once every ten minutes.

    • Set the reheated iOpener on the home button end of the iPad and let it rest for a few minutes to soften the adhesive beneath the glass.

  18. KV3iXayvjLwbPJgy
    KV3iXayvjLwbPJgy
    tut5k1RijNURbajb
    krtEFHCd1XVwjLQp
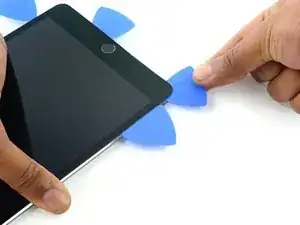
    • Insert a new opening pick at the bottom right corner of the display, below the last opening pick you used to slice down the right edge.

    • Rotate the new pick around the lower right corner of the device.

  19. fPQkoQKAuO4UQw52
    fPQkoQKAuO4UQw52
    njXRBDjMIAIN3kLl
    • Slide the pick from the bottom right corner along the lower edge of the device. Stop about half an inch shy of the home button.

  20. TyQ2yT4inXSfLZnt
    TyQ2yT4inXSfLZnt
    GJ3JqPpVjZVTbFjD
    • Insert a final opening pick at the lower left corner of the iPad, directly below the existing one.

  21. 6FCir6UTX1LB11oa
    6FCir6UTX1LB11oa
    I5wxHRns6QLtaanf
    • Slide the pick around the lower left edge of the iPad.

  22. xvXZkOKET1oQ1aeM
    xvXZkOKET1oQ1aeM
    YmcQTJpRREZ6EI6m
    dJISOpWxsTNHryjV
    • Continue sliding the pick at the lower left edge of the display toward the center of the iPad, until it is roughly half an inch from the home button.

  23. kKFZvGgiSl6PxHNZ
    kKFZvGgiSl6PxHNZ
    L6v3qnXBSmPS3yQc
    CAtEvbHqdCLRe6Xf
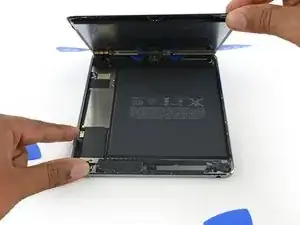
    • Twist the two picks at the top edge of the iPad to break up the last of the adhesive holding the display assembly in place.

    • Lift the display from the top edge to open the device.

    "Twist the two picks at the top edge of the iPadTwist the two picks at the top edge of the iPad "

    When I did this twisting motion, and I thought I was being gentle, one of the picks cracked nearly in half. That adhesive is very strong! I probably did not cut into it far enough before applying the twisting to open the screen.

    jharrison -

  24. TfvoSL3YHLpoCtkR
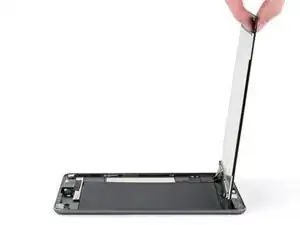
    • To avoid stressing any cables, hold the screen perpendicular to the frame.

  25. GYMS4lPoQB1byhNi
    • Continue to hold the screen perpendicular during this step.

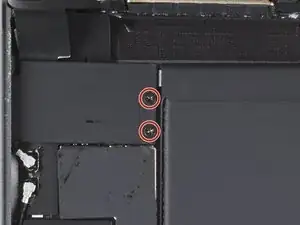
    • Use a Phillips screwdriver to remove the two 1.3 mm screws securing the display cable bracket.

    • Throughout this repair, keep track of each screw and make sure it goes back exactly where it came from.

  26. PXoXWNDV6tLEhEUO
    • You'll need to reposition the screen to access the bottom side of the display cable bracket.

    • Lower the screen to about 30 degrees above the frame.

  27. CO2OaflnXhA6Sqod
    CO2OaflnXhA6Sqod
    e4o4XBaQ6aNZdIRB
    • The battery press connector is attached to the underside of the display cable bracket on the screw hole side.

    • Insert the flat end of a spudger under the display cable bracket and lift up to disconnect the battery press connector from the logic board.

    • Take care to pry only under the edge of the connector to prevent damaging the socket itself and surrounding components.

    • To re-attach press connectors like this one, carefully align and press down on one side until it clicks into place, then repeat on the other side. Do not press down on the middle. If the connector is misaligned, the pins can bend, causing permanent damage.

    • Don't try to remove the display cable bracket as it's attached to the battery by the battery cable.

    The guide says "Don't try to remove the display cable bracket as it's attached to the battery by the battery cable.Don't try to remove the display cable bracket as it's attached to the battery by the battery cable.".

    Well then, please explain how to attach a new battery since my battery does not come with an attached display cable bracket. This point caused me a lot of confusion and finally I removed the bracket and installed it on the new battery. But the question remains about exactly what is the required steps.

    The bracket has conductive material fixed to the underside but the part that goes on the battery connector has a separate piece of adhesive which may or may not serve as to insulate. Without any available guidance, I installed the battery cable and the top of it rests on the conductive material, apparently providing a ground bond between the other 3 connectors and the bracket.

    More information should be provided here.

    jharrison -

  28. 4DcdUjKDRKTyKyuO
    4DcdUjKDRKTyKyuO
    FxoO2AgNxPAab2Pi
    HnFVyZHAFQpuwdyk
    • The display cable bracket is secured by a clip under the edge of the frame.

    • Use a pair of tweezers to pull the display cable bracket's clip out from under the frame's edge.

    • Rotate the display cable bracket toward the battery.

    • Don't bend the battery cable too much past vertical to avoid damaging it. You only need enough space to disconnect the display press connectors and prevent the battery connector from making contact with its socket during the repair.

  29. 5lZBZHIQAPUkinu5
    5lZBZHIQAPUkinu5
    jKtYdvBwCMJX2bLB
    • Use the pointed end of a spudger to disconnect the digitizer press connector from the logic board.

  30. NbFPsxLuZtgknMVU
    NbFPsxLuZtgknMVU
    NldYaDESbWAcCnuB
    hCDYBGUITGlbMStV
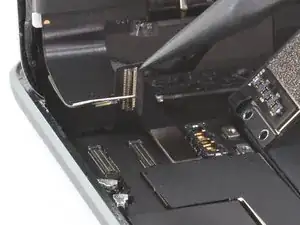
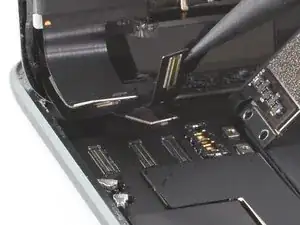
    • Use the pointed end of a spudger to disconnect the second and third display press connectors.

  31. XruAhh2GCtHFxHgH
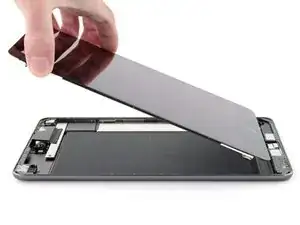
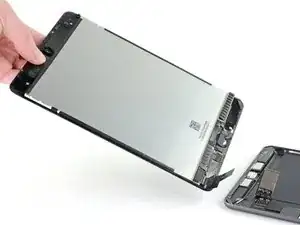
    • Lift and remove the screen.

  32. KTdr2JiCVpSELI6i
    KTdr2JiCVpSELI6i
    yRlldKHpn3n12LSE
    2bIsJmpDs4fEqWcg
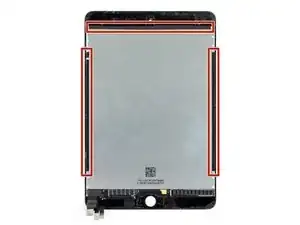
    • During reassembly, remove any remaining adhesive and residue from the perimeters of the frame and the screen. Then, apply new adhesive to secure the screen to the frame.

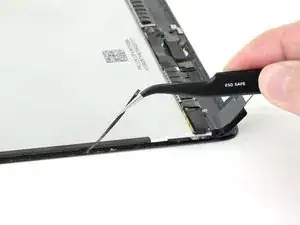
    • Don't remove the black tape on the left, right, and upper edges of the display. These hold the display to the front glass.

    • Follow this guide if you are using a pre-cut adhesive card. Follow this guide if you are using custom-cut adhesives.

  33. Or1Vb1LaPrMCXNbq
    Or1Vb1LaPrMCXNbq
    TKWjHgikUThIEdRh
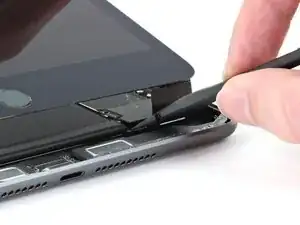
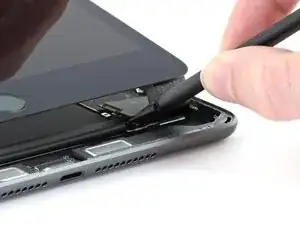
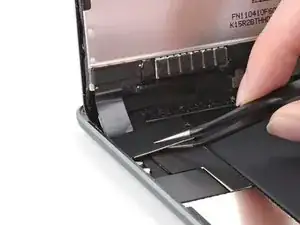
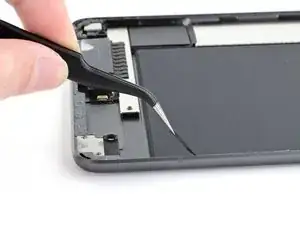
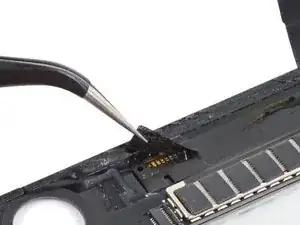
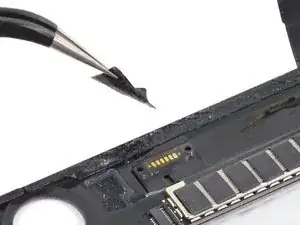
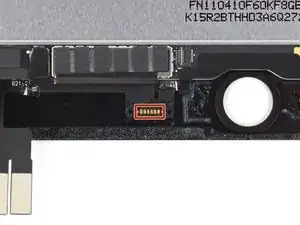
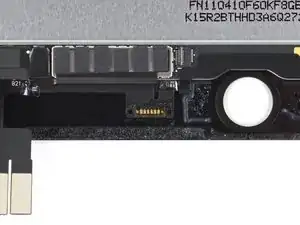
    • Use a pair of tweezers to remove the sticker covering the magnetic sensor solder pads.

  34. L1Stj5j6BAKvNjG6
    L1Stj5j6BAKvNjG6
    KdYjyqLRoaTm3lGH
    • In the next steps, you'll desolder the six solder pads securing the magnetic sensor to the screen.

  35. CUwVHbyZwYlP2aGU
    CUwVHbyZwYlP2aGU
    iCYSoSEOR5oyhdok
    X6SnKeSO3dCvnEHX
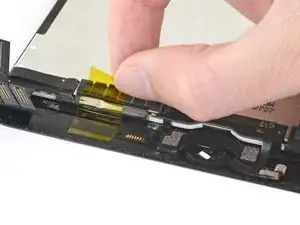
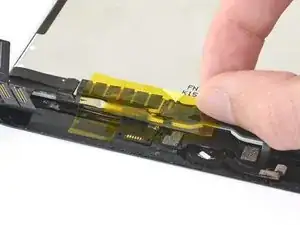
    • Apply polyimide tape to the area around the magnetic sensor solder pads to protect the components from heat.

  36. hZoIFsP62LCQLyp5
    • Use a soldering iron or hot air gun to apply heat evenly to the six magnetic sensor solder pads.

  37. VnjUGj4QrCQBg15e
    VnjUGj4QrCQBg15e
    3wALs2SMhrBsGeix
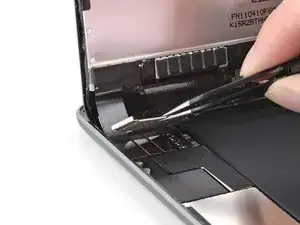
    • When the solder on the solder pads is melted, use a pair of tweezers to separate the magnetic sensor from the screen.

    • If the solder isn't melted, apply more heat and try again.

    • When the area is cool enough to touch, remove the polyimide tape.

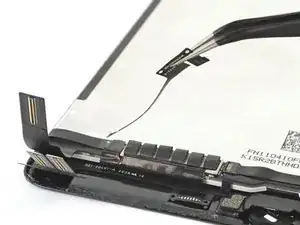
    • Use a pair of tweezers to remove the magnetic sensor cable.

    • The magnetic sensor cable is secured to the screen with light adhesive. Remove the magenetic sensor cable slowly to avoid damaging the cable under it.

    • During reassembly, apply a piece of polyimide tape under the solder pads while soldering the magnetic sensor to avoid damaging the screen.

Abschluss

Compare your new replacement part to the original part—you may need to transfer remaining components or remove adhesive backings from the new part before installing.

To reassemble your device, follow these instructions in reverse order.

Take your e-waste to an R2 or e-Stewards certified recycler.

Repair didn’t go as planned? Try some basic troubleshooting, or ask our iPad mini 5 Answers community for help.
Kyle Smith

Mitglied seit: 01/02/21

35834 Reputation

0 Kommentare