Einleitung
Use this guide to replace the plastic power button cover, not the electronic power button itself.
Werkzeuge
Ersatzteile
-
-
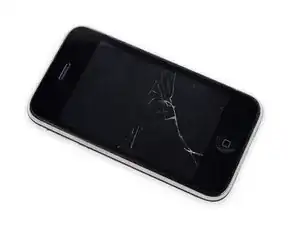
If your display glass is cracked, keep further breakage contained and prevent bodily harm during your repair by taping the glass.
-
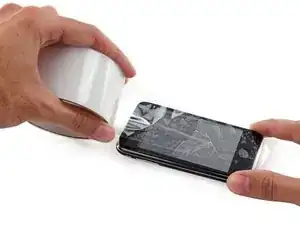
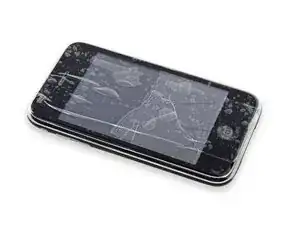
Lay overlapping strips of clear packing tape over the iPhone's display until the whole face is covered.
-
-
-
Remove the metal handle from the suction cup. It's easier and safer to grip the suction cup's base instead of the metal handle.
-
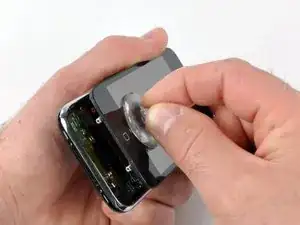
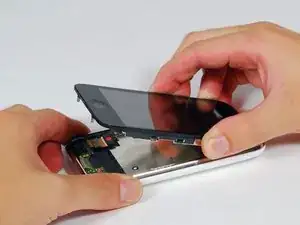
Use a small suction cup near the Home button to gently pull up the bottom portion of the iPhone's display assembly.
-
-
-
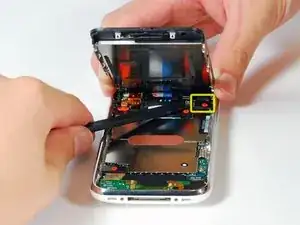
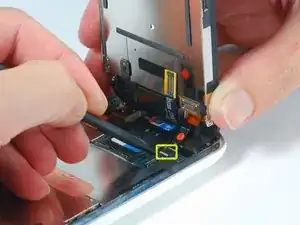
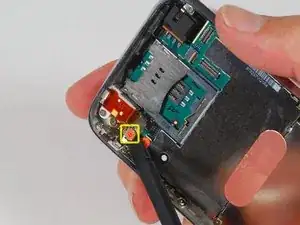
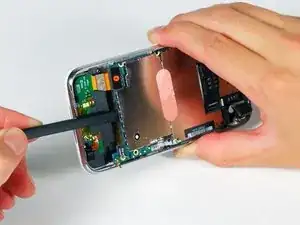
Continue to hold the display assembly with one hand, and use your other hand and a spudger to disconnect the black ribbon cable labeled "1". (Cable 1 is for the display)
-
-
-
Rotate the display assembly up until it is roughly vertical. This will allow easier access for disconnecting the remaining cables.
-
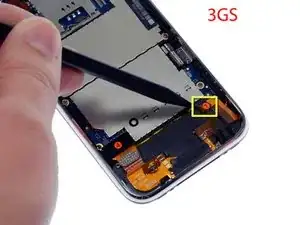
Use a spudger to disconnect the black ribbon cable labeled "2". (Cable 2 is for the capacitative touch panel)
-
-
-
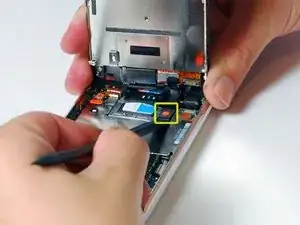
Use a spudger to flip up the white plastic tab holding the ribbon cable "3" in place. The white tab will rotate up 90 degrees, releasing the ribbon cable.
-
Slide the black ribbon cable out of its connector, and remove the display assembly from the iPhone.
-
-
-
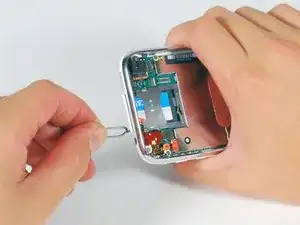
Insert your SIM eject tool or a paper clip into the hole next to the headphone jack.
-
Press down on the tool until the SIM card tray pops out.
-
Grasp the SIM card tray and slide it out of the iPhone.
-
-
-
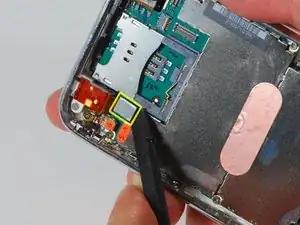
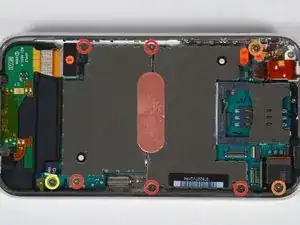
Remove the following 8 screws:
-
Five 2.3 mm Phillips #00 screws with partial threads securing the logic board to the rear case.
-
Two 2.3 mm Phillips #00 screws with full threads securing the logic board and camera.
-
One 2.9 mm Phillips #00 screw from beneath the "Do not remove" sticker.
-
Note for re-assembly:
-
The screw that goes next to the camera (bottom right orange highlighted screw) also has a metal strip that holds the camera in place.
-
-
-
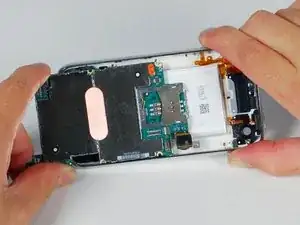
Slide the logic board towards the dock connector and out of the iPhone.
-
When replacing the logic board after installing battery, connect the camera to the logic board before inserting it into the case. Then make sure to set the top section of the logic board (where the SIM tray is) in place before settling the rest of the board in place. This is important, as sometimes the SIM card slot will not align into place. Once the top section is in place, the bottom section can be maneuvered into place. You will know the logic board is correctly installed when the SIM tray is aligned with the opening in the iPhone case and the camera module seats neatly into its place.
-
-
-
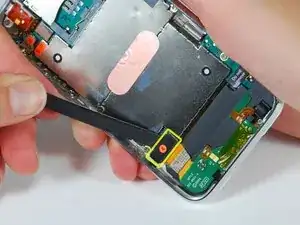
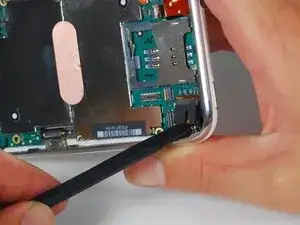
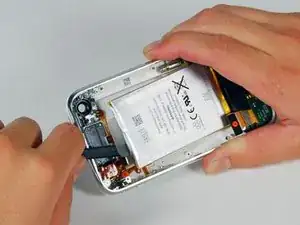
Use a spudger to pry the battery up from the rear case. The battery is attached with an adhesive strip around the perimeter of the battery.
-
-
-
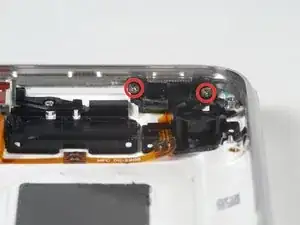
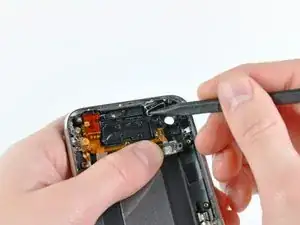
Gently pull the power button electronics away from the top edge of the rear case.
-
Use the tip of a spudger or your fingers to remove the power button from the rear case.
-
To reassemble your device, follow these instructions in reverse order.
4 Kommentare
This was really helpful - I didn't have (and couldn't easily source) a spudger. I used a small flathead screwdriver instead. Probably not recommended as it could easily damage surrounding components, but seemed to work OK.
I wasn't able to remove the battery, largely because of the above (and the warning in the guide about pulling on the plastic tab), but was easily able to remove the power button assembly and install a new button with the battery in-place.
Works great now, although my mute button was also misbehaving (prior to opening the phone!), but I wasn't confident about removing the last ribbon cable required to get at that when I wasn't sure exactly what was wrong with it.
I ended up not needing to remove the battery to replace the power button. I also noticed that there is a very small plastic tab on the old power button which I had to transfer to the new power button in order for the connection to work correctly. And finally, I had a heck of a time reattaching the screws that hold the power button into place. I suppose that might have been due to not removing the battery, but what ever the cause, it was not easy and I'm still not 100% sure they are in correctly. But everything is working ... for now at least.
jgerth -
I did all of these steps but now my Iphone is stuck as a black screen with the apple and wont do anything...HELP! i'm freaking out.
You haven't reconnected the screen ribbon cables correctly. Open it back up and make sure they're all in properly. I've had this issue a few times and that is definitely the solution.

