Einleitung
Use this guide to replace the electronic portion of power button and the attached ambient light/proximity sensors.
Werkzeuge
Ersatzteile
-
-
Power off your iPhone before beginning disassembly.
-
Your phone's rear cover may have two #000 Phillips screws or Apple's 5-Point "Pentalobe" screws. Check which screws you have, and ensure you also have the correct screwdriver in order to remove them.
-
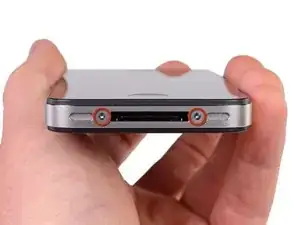
Remove the two 3.6 mm Pentalobe or Phillips #000 screws next to the dock connector.
-
-
-
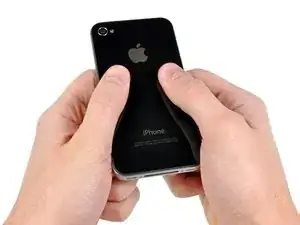
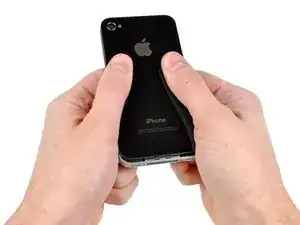
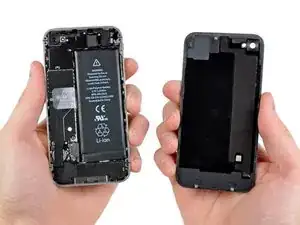
Pinch the rear panel with your fingers, and lift it away from the iPhone. Alternatively, use a Small Suction Cup .
-
-
-
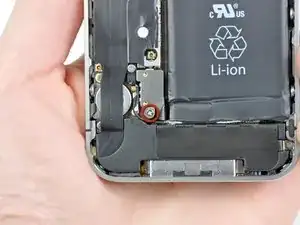
Remove the single 1.5 mm Phillips screw securing the battery connector to the logic board (if present).
-
-
-
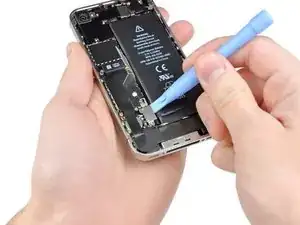
Use the edge of a plastic opening tool to gently pry the battery connector up from its socket on the logic board.
-
Remove the metal clip covering the antenna connector.
-
-
-
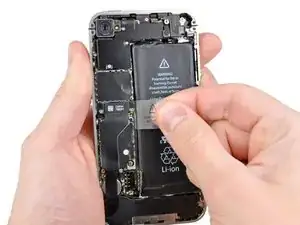
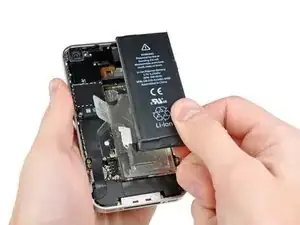
Pull up on the exposed clear plastic tab to peel the battery off the adhesive securing it to the iPhone.
-
If there's any alcohol solution remaining in the phone, carefully wipe it off or allow it to air dry before installing your new battery.
-
Remove the battery.
-
Before reassembly, clean metal-to-metal contact points with a de-greaser such as windex. The oils from your fingers have the potential to cause wireless interference issues.
-
Perform a hard reset after reassembly. This can prevent several issues and simplify troubleshooting.
-
-
-
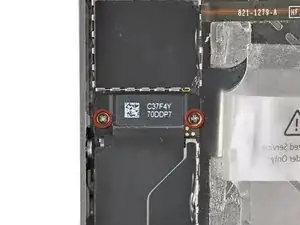
Remove the two 1.8 mm Phillips screws securing the dock connector cable to the logic board.
-
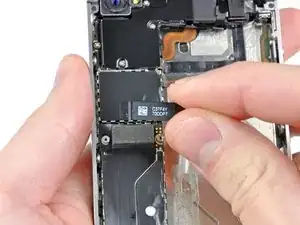
Remove the thin metal dock connector cable cover.
-
-
-
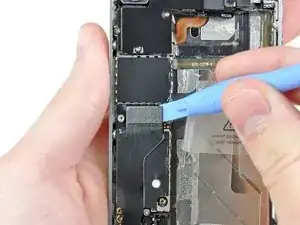
Use the edge of a plastic opening tool to pry the dock cable up from its socket on the logic board.
-
-
-
Peel the dock connector cable off the adhesive securing it to the logic board and the side of the speaker enclosure.
-
-
-
Remove the 1.6 mm Phillips screw securing the pressure contact to the logic board near the vibrator.
-
Remove the pressure contact.
-
-
-
Use the edge of a plastic opening tool to pry the cellular antenna cable up from its socket on the logic board.
-
De-route the cellular antenna cable out from under the metal fingers attached to the logic board.
-
-
-
Remove the following five screws:
-
Three 1.3 mm Phillips screws
-
One 1.5 mm Phillips screw
-
One 2.4 mm Phillips screw
-
-
-
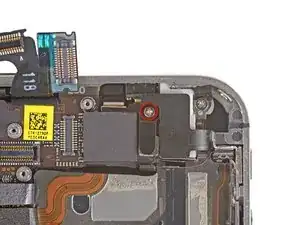
Lift the cable cover from its edge nearest the top of the iPhone.
-
Pull the cable cover tabs out of their slots cut into the EMI shield on the logic board and remove it from the iPhone.
-
-
-
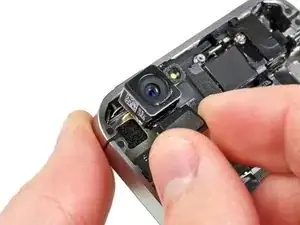
Use the edge of a plastic opening tool to pry the rear camera connector up from its socket on the logic board.
-
Remove the rear camera from the iPhone.
-
-
-
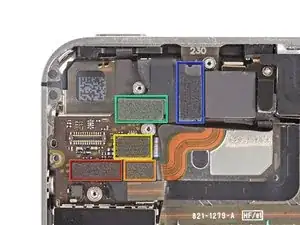
Disconnect the five cables near the top of the logic board in the following order:
-
Headphone jack/volume button cable
-
Power button cable
-
Front facing camera cable
-
Digitizer cable
-
Display data cable
-
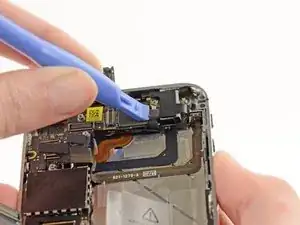
To disconnect the cables, use the edge of a plastic opening tool to gently lift their connectors up and out of the sockets on the logic board.
-
-
-
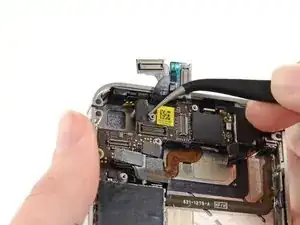
Use the edge of a plastic opening tool to disconnect the Wi-Fi antenna cable connector from the logic board.
-
-
-
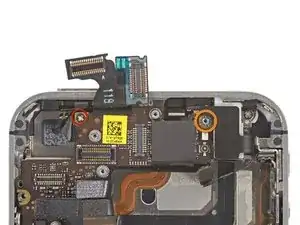
Remove the 2.5 mm Phillips #000 screw securing the logic board near the power button.
-
Remove the 4.8 mm standoff screw near the headphone jack.
-
-
-
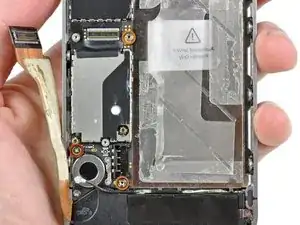
Remove the 3.4 mm Phillips screw near the vibrator motor.
-
Remove the two 3.6 mm standoff screws along the side of the logic board nearest the battery opening.
-
-
-
Carefully lift the logic board from the end closest to the speaker enclosure and slide it away from the top edge of the iPhone.
-
Remove the logic board.
-
-
-
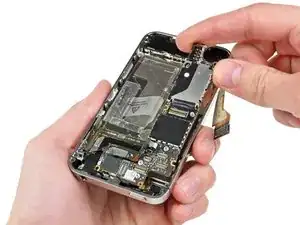
Use the edge of a plastic opening tool to peel the earpiece speaker off the foam adhesive securing it to the iPhone.
-
Remove the earpiece speaker.
-
-
-
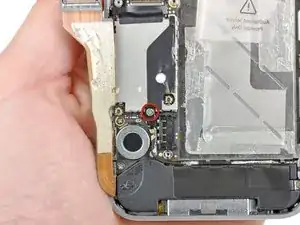
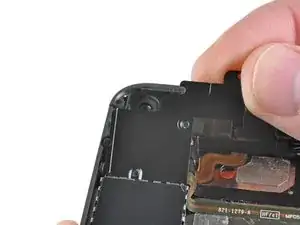
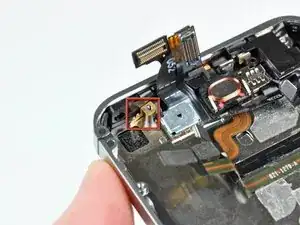
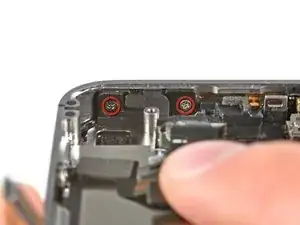
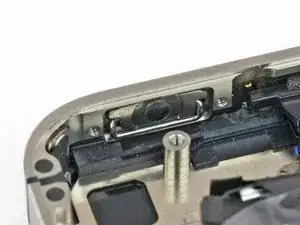
Remove the two 2.0 mm Phillips screws securing the power button bracket to the outer case.
-
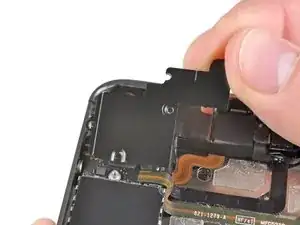
Slightly pull the power button cable bracket away from the outer case.
-
-
-
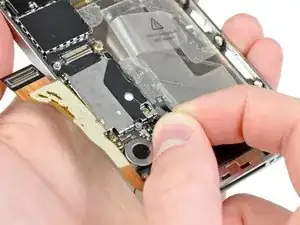
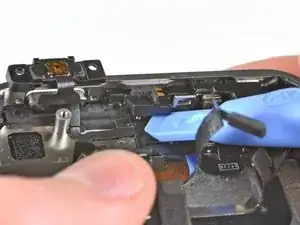
Use the edge of a plastic opening tool to gently pry up the bracket above the void where the earpiece speaker was installed.
-
-
-
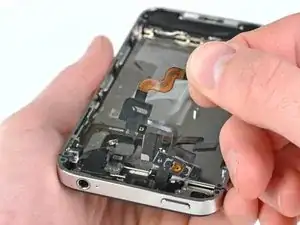
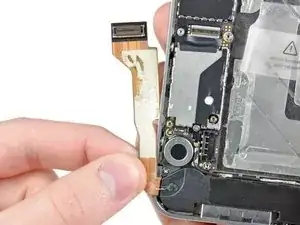
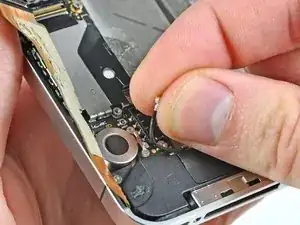
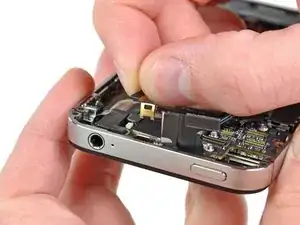
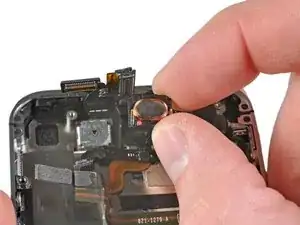
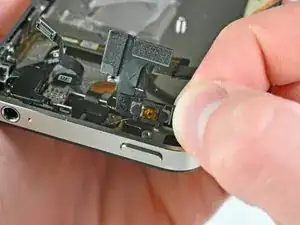
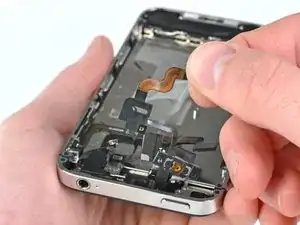
Use a plastic opening tool to gently peel up the power button cable from the outer case.
-
Remove the power button cable from the iPhone.
-
-
-
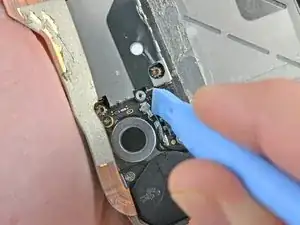
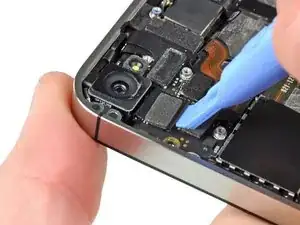
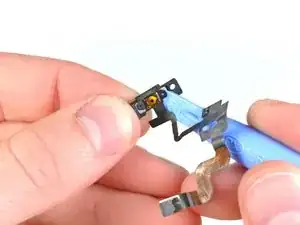
Use a plastic opening tool to remove the metal power button bracket from the power button switch.
-
To reassemble your device, follow these instructions in reverse order.
3 Kommentare
This one was a bit difficult with the routing of the cable, but overall easy for a first timer.
ltspenny -
My power button quit working. I bought the cable assembly and replaced it per these instructions. Everything seemed to work at first but later I noticed my phone kept trying to shut itself off. Any ideas what is causing this? It only seems to occur after I use the power button. It is almost as if it is getting stuck down.
rick -
Please remove your screen first, before replacing power button or sensor cable. I advise you to not dare attempt to remove those Step 25 screws (power button cable bracket ) while screen is mounted.
It is too risky! Display's ribbon cable interferes with driver access to these screws. While driving these screws, I unknowingly broke my display cable. It is actually a delicate circuit, not just a simple flexible ribbon. If I knew just how delicate is display cable, then I would not have ventured to perform this replacement. (In my case, only proximity sensor was not working; power and and ambient light sensor were both functioning. In my case, it was not worth breaking a pricy screen for sake of a cheap sensor.)
With a broken screen cable, iPhone endlessly repeats a diagnostic sound or vibration.
iPhone endlessly repeats the "power supply accepted" sound or vibration





Pra descarregar a bateria, antes de fazer o serviço, isso serve pra qualquer celular?
Gilmar Dutra -