Einleitung
Prerequisite guide.
Werkzeuge
-
-
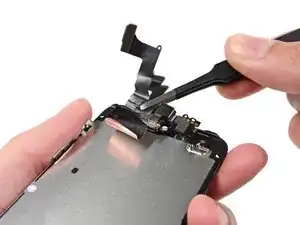
Die Frontkamera und das Sensorkabel sind mit einem milden Kleber auf dem Display befestigt.
-
-
-
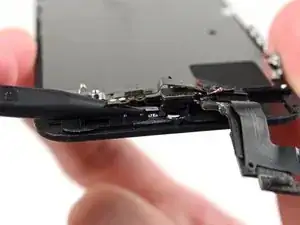
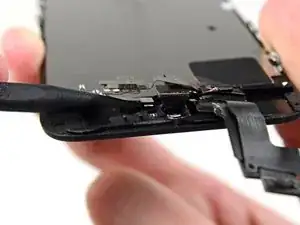
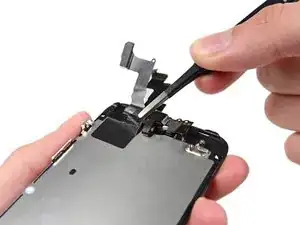
Benutze die Spitze eines Pinzettenarms oder einen Spudger aus Metall, um das Kontaktkabel des Ohrhörer-Lautsprechers vorsichtig nach oben zu hebeln, damit dieser Abschnitt des Kamerasensor-Kabels vom Kleber darunter getrennt wird.
-
-
-
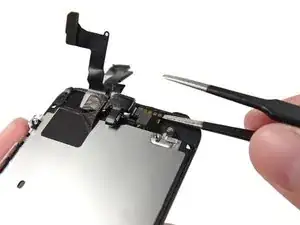
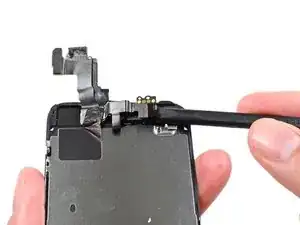
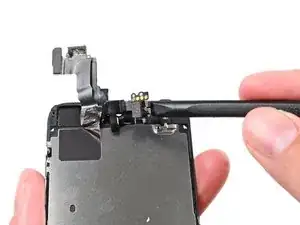
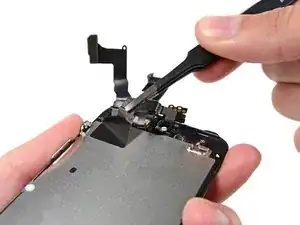
Benutze die Spitze eines Spudgers, um den Umgebungslichtsensor und den Näherungssensor aus ihrer Vertiefung in der Display Einheit zu hebeln.
-
-
-
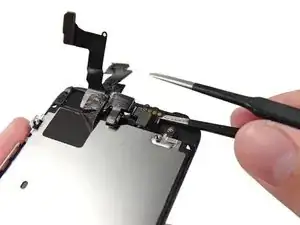
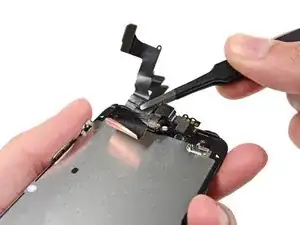
Benutze das flache Ende eines Spudgers, um vorsichtig den Kabelabschnitt der Frontkamera von der Display Einheit wegzuziehen.
-
Arbeite die Schritte in umgekehrter Reihenfolge ab, um dein Gerät wieder zusammenzubauen.
2 Kommentare
Be great if someone could put together some *reassembly* instructions for this. Particularly the section on the camera and sensors area.
It seems like a lot of steps have gone missing from this guide. The related guide (5SE) has much more explicit instructions for the same activity and should be used instead of this one. iPhone SE Frontkamera und Sensorkabel austauschen

If you just want to get underneath the LCD plate, e.g. to clean water/drinks that got in there, skip to step 34. There's no need to peel off those connectors or use the iOpener heat. Here's a photo: http://imgur.com/AKlFWed
Dan Dascalescu -
In my case, my front facing camera was just foggy, and I suspected dust had got in there (was correct in the end). In this step I had to remove the shield (which you can see still attached in Step 16), which is over the camera itself. It was then possible to gently lift the camera out of it's socket and clean.
Robert Colvin -
Robert -You were able to lift the camera just by itself? I would think the cable doesn't have any extra slack to allow the camera to move without detaching the cable on one end.
Paul Astrachan -
I had a foggy front camera too due to lots of dust ingress into the front camera housing. This was clearly visible in the front camera lens above the earpiece aperture - it was white instead of the pinpoint of blue lens. The best way to lift without the tricky lifting of the entire camera assembly is to peel back the large black sticky pad attached to the back of the metal display shield. Then you can roll the camera lens and proximity sensor out of the way and carbon fibre brush or air blast the dust out.
Simon -
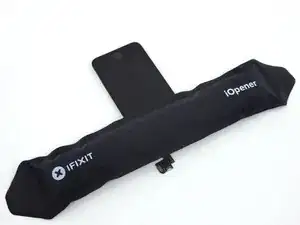
Quick tip: if you can't afford/wait for/don't want the iOpener, filling a small portion of an ankle cut cotton sock with rice (to about the size of a golf ball), tying it closed, and putting it in the microwave for about 25-30 seconds can work just as well!
ndauphin583 -
I used a cherry stone pillow to heat up the display. I though it could be nearly the same as the iOpener one. It worked out very well
Denis Kiesel -
Do not skip this step. The proximity sensor is very easy to peel off the flexible circuit board if the adhesive isn't loosened.
Cedric -
I always use UNDU adhesive remover instead of heat. Works great for all adhesively mounted parts. I have used on numerous iphones and an iPad. If the glue stays stuck to the right part, then it is reusable still sticky when the UNDU dries out. When used on Home/TouchID button, it made the rubber membrane soft and misshapen, but it returned to normal shape when it dried out.
3M thin VHB tape 5908 can be used to replace any needed little sticky bits.
B Louis -
If you don’t have a heating pad, a hair dryer or heatgun on a low setting also works well for heating up this area.
markfiorentino -
Here an important tip no one thought to include: Opposed to other connectors, this one happens to be Paper Thin!
Yes! Do consider that, prior to prying the entire lens out of the housing!
c0BRA -