Einleitung
Macht die Hauptkamera deines iPhone 7 keine guten Bilder mehr? Folge dieser Anleitung, um die Rückkamera (iSight) am iPhone 7 zu ersetzen.
Werkzeuge
Ersatzteile
-
-
Schalte das iPhone aus, bevor du es zerlegst.
-
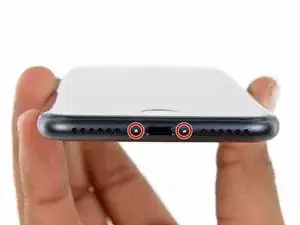
Entferne die zwei 3,4 mm Pentalobe Schrauben an der Unterkante des iPhones.
-
-
-
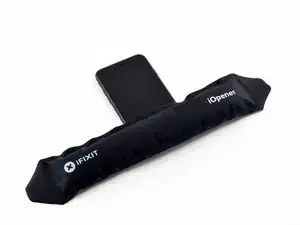
Benutze einen Haartrockner oder erwärme einen iOpener und lege ihn etwa eine Minute lang auf die untere Kante des iPhones, um den Kleber darunter aufzuweichen.
-
-
-
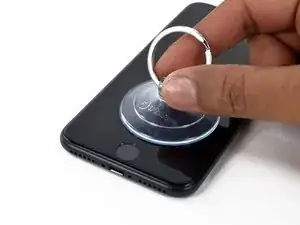
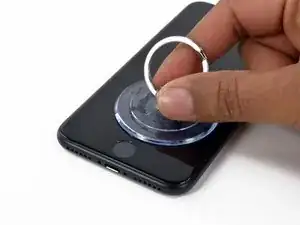
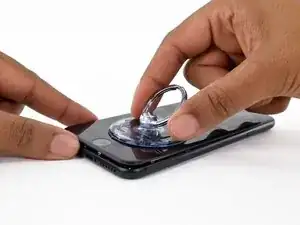
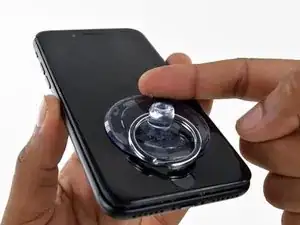
Setze einen Saugheber auf die untere Hälfte der Displayeinheit, knapp über dem Home Button.
-
-
-
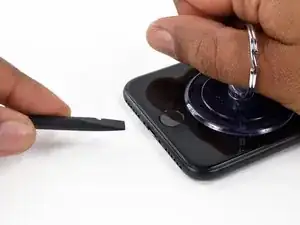
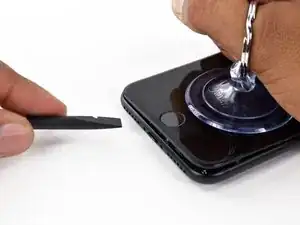
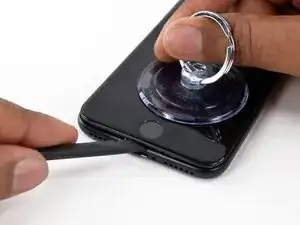
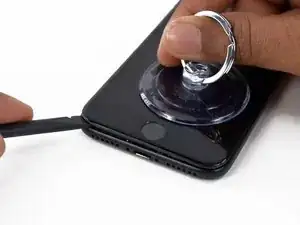
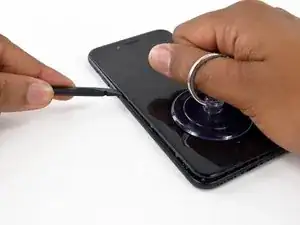
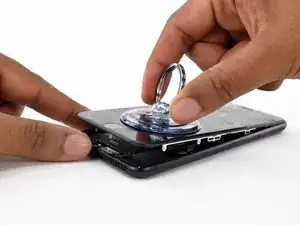
Ziehe etwas am Saugnapf, bis sich eine kleine Lücke zwischen der Displayeinheit und dem Rückgehäuse bildet.
-
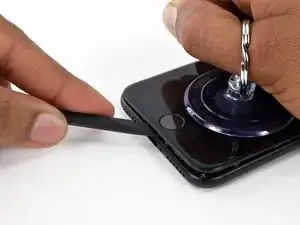
Führe die flache Seite eines Spudgers in diese Lücke ein.
-
-
-
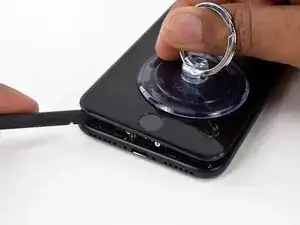
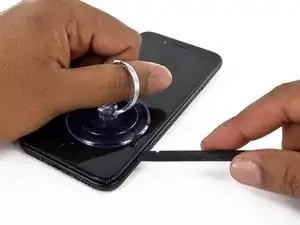
Ziehe das Werkzeug nach links, entlang dem unteren Rand des iPhones.
-
Drehe das Werkzeug, um die Lücke zwischen dem Display und dem Rückgehäuse weiter zu vergrößern.
-
-
-
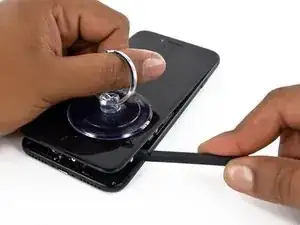
Ziehe das Werkzeug von der unteren Ecke die linke Seite hinauf zu den Lautstärketasten und dem Stumm-Schalter.
-
-
-
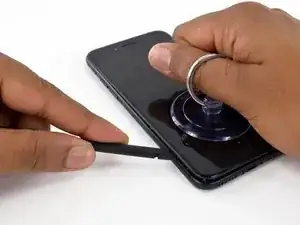
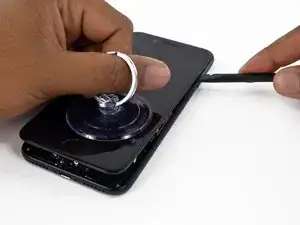
Führe das flache Ende eines Spudgers in die rechte untere Ecke des Geräts ein.
-
Drehe den Spudger, um die entstehende Lücke zwischen der Displayeinheit und dem Rückgehäuse zu vergrößern.
-
Ziehe die flache Seite des Spudgers entlang der rechten Seite nach oben, um den Klebestreifen zu lösen, der das Display fixiert.
-
-
-
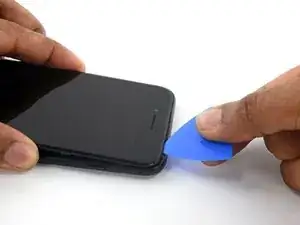
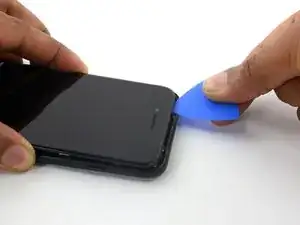
Fahre mit einem Opening Pick am oberen Rand des iPhones, zwischen dem Rückgehäuse und dem Front Panel entlang, um den restlichen Klebstoff, der das Display hält, zu lösen.
-
-
-
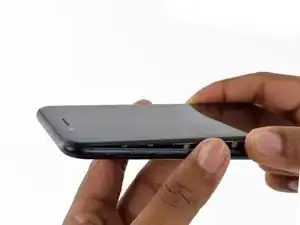
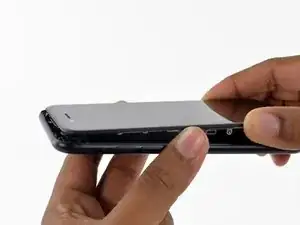
Ziehe die Displayeinheit etwas von der oberen Kante des Telefons weg, um die Clips zu lösen, die sie am Rückgehäuse halten.
-
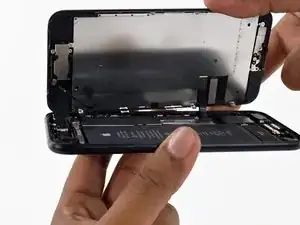
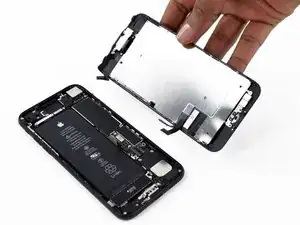
Öffne das iPhone, indem du das Display von der linken Seite her aufklappst, wie die Rückseite eines Buches.
-
-
-
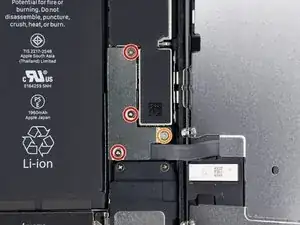
Entferne die vier Tri-Point Y000-Schrauben, die die Abdeckung der unteren Anschlüsse befestigen, sie haben folgende Längen:
-
Drei 1,2 mm Schrauben
-
Eine 2,4 mm Schraube
-
Passe während der ganzen Reparatur gut auf die Schrauben auf und sorge dafür, dass sie genau an ihren alten Platz zurück kommen, sonst kann das iPhone beschädigt werden.
-
-
-
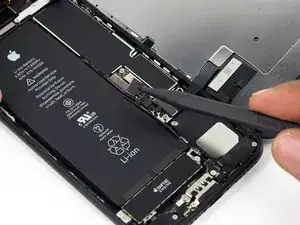
Mit der Spitze eines Spudgers kannst du den Stecker der Batterie vom Anschluss auf dem Logic Board heben.
-
-
-
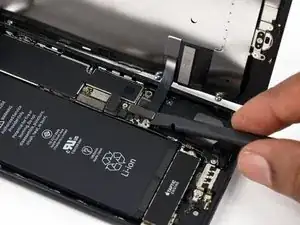
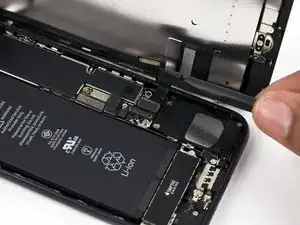
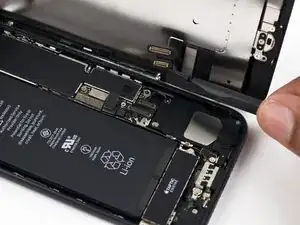
Nutze das Flache Ende deines Spudgers oder deinen Fingernagel, um die Anschlüsse des Flachbandkabels am unteren Ende des Displays zu lösen.
-
-
-
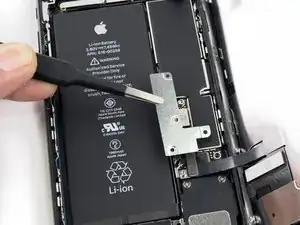
Entferne die beiden 1,3 mm Kreuzschlitzschrauben #000, mit denen die Abdeckung über dem Stecker der Frontsensoreinheit befestigt ist.
-
-
-
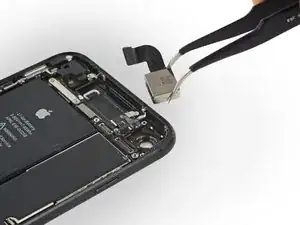
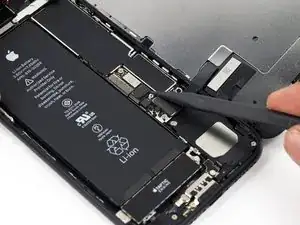
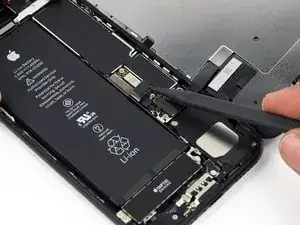
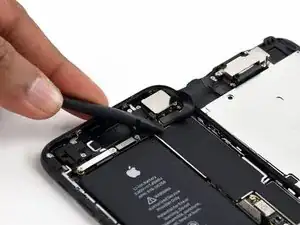
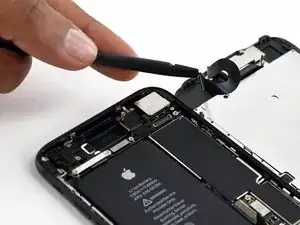
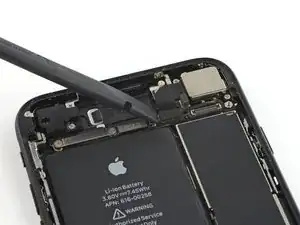
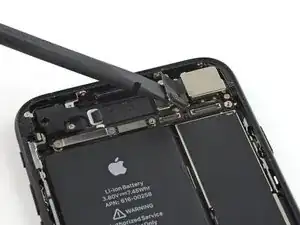
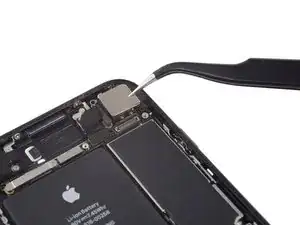
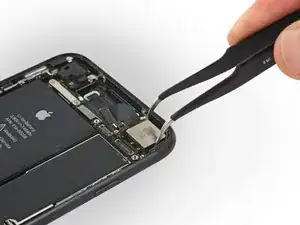
Löse den Steckverbinder der Rückkamera mit dem flachen Ende des Spudgers aus seinem Sockel auf dem Logic Board.
-
-
-
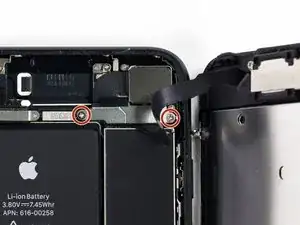
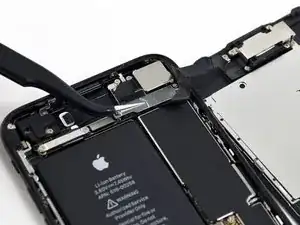
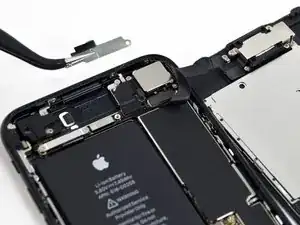
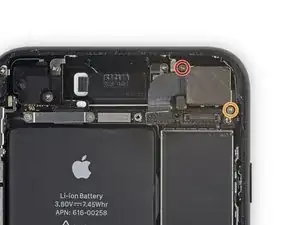
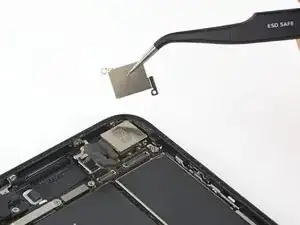
Entferne folgende Kreuzschlitzschrauben, die die Halterung der Rückkamera über dem Kameramodul befestigen:
-
Eine 1,3 mm Schraube
-
Eine 2,5 mm Schraube
-
Um dein Gerät wieder zusammenzusetzen, folge den Schritten in umgekehrter Reihenfolge.
7 Kommentare
Anybody knows how to replace the lens of the rear camera? Thanks in advance
Bit late but i fund this video for anyone still wondering how to just replace the glass (its pretty straightforward but can go wrong) https://www.youtube.com/watch?v=TeDktasa...
I wanted to ask if anyone can please assist me. Does the iPhone 7 rear camera fit the iPhone 8 camera because they are the same design and megapixel??
Tim -



Can anyone confirm 7/7P's pentalobe screws have a ring of seal near the screw head?
Cooper Chase -
Confirmed, the screws have a black ring seal around the head.
rcheing -
Can’t get the display front
Bernadette Pfeifer -
From personal experience, I highly recommend before doing this procedure or any other, that you do a backup of your phone (preferably local) in case your procedure goes south.
ballina5ny -
I purchased the repair tools with the replacement battery from iFixit. The tools include a screw driver and three heads none were labeled 3.4 mm. I think the one that fit the pentalobe screws was labeled Y000. The guide should identify the screw driver head supplied by the kit not 3.4mm.
Mark Lieberman -
in the iphone 7 replacement battery kit from iFixit, the screwdriver that fits the 3.4 mm pentalobe screws is labeled P2 (and not Y000)
Jan-Tijn Oppermann -
3.4 mm is the height of the screw and is not related to the screw driver code.
Ahmad Vaziri -
the screwdriver PH000 does not work i wasted two screws and now they dont have the 4 cross mark they are now a circle, i buyed it all from Paraguay and it doesnt work, had to assembly back the parts because i got stuck like i mention with some screws, well im just going to send to a professional to install, thanks
Martin Frutos, Nuñez -
The bottom screws are Pentalobe, not Phillips.
Bram Driesen -
Before starting, I would recommend backing up your Iphone’s data just in case.
Jon Moylan -
If you managed to make it to this section, just send the phone into apple for 50 + 6 dollars shipping. The ribbon cables on the screen are designed to break. I can literally twist on the rest of the cable and it won’t fall apart but there is a diagonal section where it snaps. This is the fault of apple and the fault of ifixit for misrepresenting the fragility of the cables.
Ryan Huebert -
Had to reheat it a few times for a minute each with a hairdryer to get the seal to break after pulling and rocking the suction
Cynthia Lamb -
I’m technically challenged. Is there a premier national service who can professionally install a replacement battery got my 7 +?
Richard -
Do the screws come out in total?
YVES THEUGELS -
Is it the P2 you should use for the bottom??
YVES THEUGELS -
I heated the bottom of the phone with a hairdryer and then used a syringe to put a couple of drops of acetone directly into the bottom two screw holes. I GENTLY pulled on the screen with the suction cup and used the pry tool to GENTLY separate the screen. The sealant is applied around the entire display so be very careful pulling it off so you don’t break the fragile display cables.
Anthony Scaminaci -
At first it was very difficult to open, per instructions. I used a heat/ice pack and nuked it for 1 minute. The pry tool wasn’t working so I carefully used my pocket knife to wedge the cover open. The rest of the procedure went well until I cracked the glass while trying to get the top right corner to pop off. Other than that mistake, all went well. Tip: before setting the new battery, attach the battery connector first and leave enough room for the taptic engine, or better yet, place the taptic engine before adhering the replacement battery. This way you’ll have a small gap between the two, whereas mine barely fit. Good job on hosting the video, Gwendyl.
Klaus Preiss -
I love the fact that the screw bit and shaft are magnetic! I almost lost a screw and found it attached to the magnet.
I used a heat/ice pack and nuked it for 1 minute. At first the display cover was very difficult to open with the pry tool, per instructions. The pry tool wasn’t working so I carefully used the blade of my pocket knife to wedge the cover open. The rest of the procedure went well until I cracked the glass while trying to get the top right corner to pop off. Other than that mistake, all went well. Tip: before setting the new battery, attach the battery connector first and leave enough room for the taptic engine, or better yet, see the taptic engine in place before adhering the replacement battery. This way you’ll have a small gap between the two, whereas mine barely fit because I placed it almost too low.
Good job on hosting the video, Gwendyl.
Klaus Preiss -