-
-
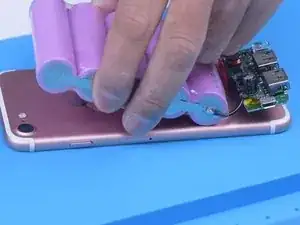
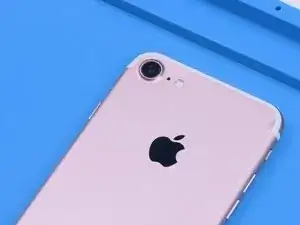
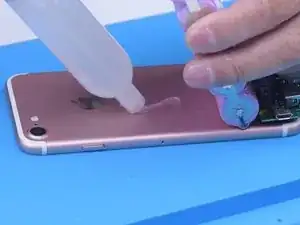
An extra iPhone can be used for many purposes. In this post, we will not only share how to turn an extra iPhone 7 into a night vision camera but also install a massive external battery pack.
-
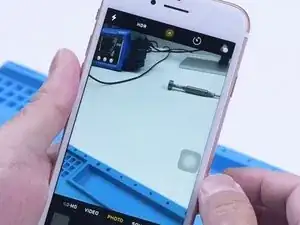
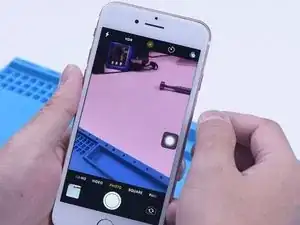
Before that, we need to make sure the camera of the iPhone is good. The camera works fine and we can now begin remodeling.
-
-
-
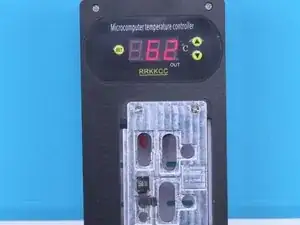
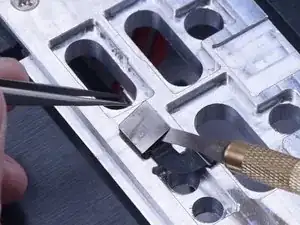
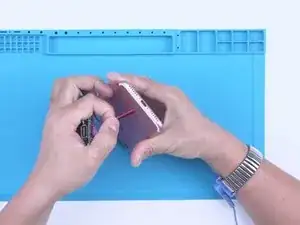
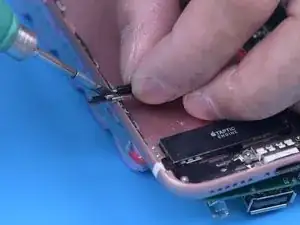
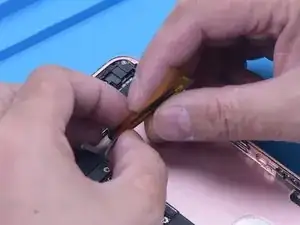
Remove the screen and then the camera. Put the camera on the 100 °C Heating Platform to heat. Remove the shielding cover with a Pry Blade.
-
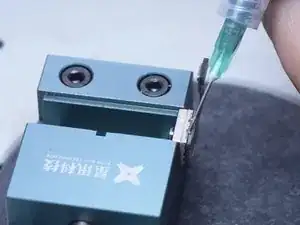
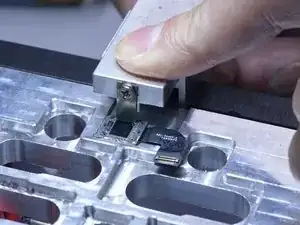
Attach the camera to a specialized holder and apply some Paste Flux around.
-
-
-
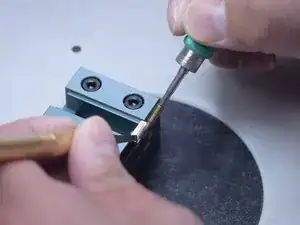
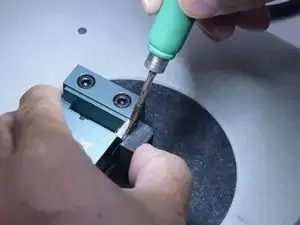
Heat to separate the camera with a Soldering Iron.
-
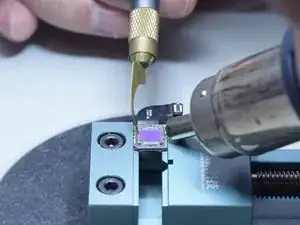
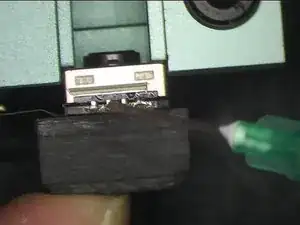
Remove adhesive around the optical filter with a Hot Air Gun.
-
Then take the optical filter out.
-
-
-
Apply some Paste Flux.
-
Heat to solder with a Soldering Iron.
-
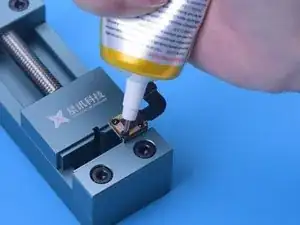
Apply some B7000 and put on the shielding cover.
-
-
-
Then install the camera back to the iPhone. The camera can be opened normally.
-
The next step is to turn the iPhone into a night vision camera by installing an infrared lamp. The infrared lamp needs a power supply to function. For that purpose, we install an external power supply of 13000 mAh to upgrade the iPhone battery. The external battery supplies power to the phone and infrared lamp simultaneously.
-
-
-
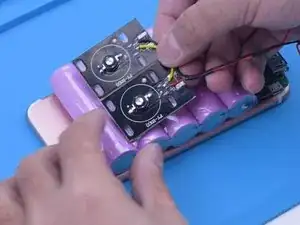
After punching a hole, we connect the external battery to the power board.
-
Pass the power cord through the hole and solder it to the BMS board of the phone.
-
Insulate the cord with high-temperature tape.
-
-
-
Fix the battery and power board with adhesive.
-
The external battery has been successfully installed. Then we attach the infrared lamp to the battery.
-
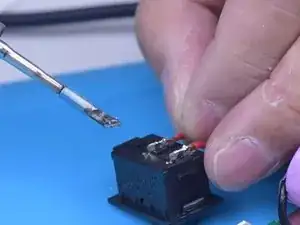
Install a switch for the lamp. Connect the lamp to the power board
-
-
-
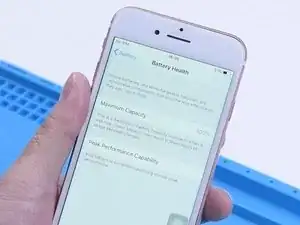
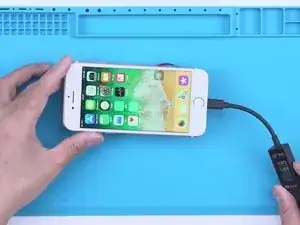
The last thing is to test the remodeled iPhone. The phone turns on and the battery health is 100%.
-
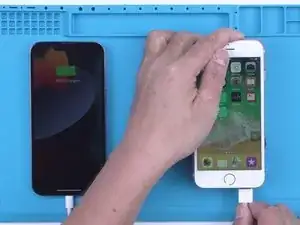
The charging function also works well. It can also be used as a power bank to charge other phones.
-
-
-
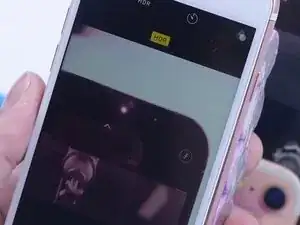
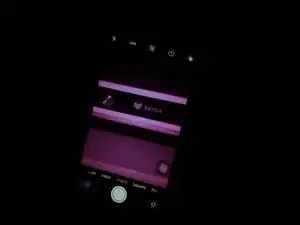
The charging function also works well. It can also be used as a power bank to charge other phones. Under a dark environment, the phone can act as a night vision camera.
-
To reassemble your device, follow these instructions in reverse order.
