Einleitung
Face ID Not Working 'Move iPhone a Little Lower/Higher' is usually caused by damage of the dot projector and the problem is confirmed to be almost unrepairable. However, there is finally a solution to fix the problem.
-
-
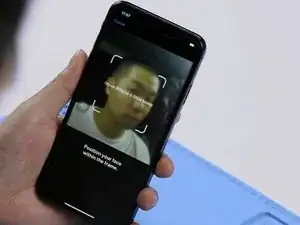
Go to Settings > Face ID & Passcode > Set Up Face ID. When trying to setup Face ID on the iPhone, we get the message 'move iPhone a little lower/higher'.
-
Start the Camera app and select Portrait in the bottom bar. Switch to the front camera. When the camera detects a person's face, the name of the lighting effect ‘Natural Light’ stays the same. The pop-up notification keeps saying ‘Move farther away’.
-
Normally, when Portrait mode is ready, the name of the lighting effect ‘Natural Light’ should turn yellow.
-
Judging by this, the dot projector or relevant circuits of the dot projector might have malfunctioned.
-
-
-
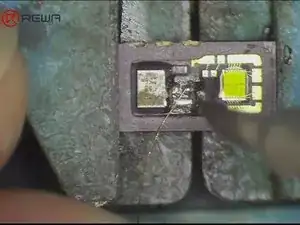
Take apart the phone and remove the display assembly. We can see that the dot projector has been water damaged and the crystal on the dot projector is broken.
-
Pull the battery adhesive strips out. Take out the front camera assembly.
-
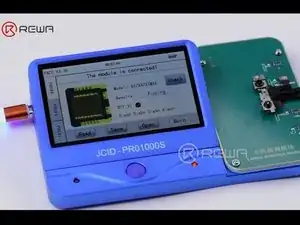
Connect the dot projector flex cable with the repair programmer. Click ‘Check’. Results: Fusing.
-
Judging by this, the dot projector flex cable has been damaged. We need to burn data of the original dot projector flex cable onto a new dot projector flex cable and then replace the broken crystal with a good one.
-
-
-
Cut off bracket securing the infrared camera and the dot projector with Cutting Nipper. Then place the front camera, the dot projector and the infrared camera in corresponding slots of the heating platform.
-
Heat with the Heating Platform at 110℃. Once the adhesive has been softened, take down the dot projector flex cable carefully.
-
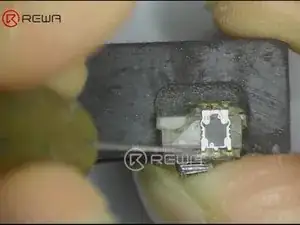
Put the dot projector into the matching rubber mold. Heat with the Soldering Iron at 365℃. Separate the crystal from the flex cable carefully with the blade.
-
-
-
Now we need to burn data of the original dot projector flex cable onto a new dot projector flex cable.
-
Connect the original dot projector flex cable with the repair programmer. Click ‘Read’ to read data of the original dot projector flex cable. Then click ‘Save’ to save data of the original dot projector flex cable. Once done, disconnect the original dot projector flex cable.
-
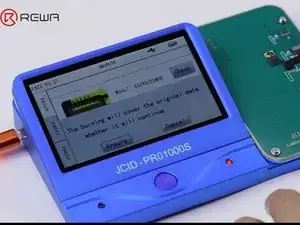
Connect a new dot projector flex cable with the repair programmer. Click ‘Open’. Then click ‘Selected’. Click ‘Burn’ to burn the saved data onto the new dot projector flex cable. Once done, disconnect the new dot projector flex cable.
-
-
-
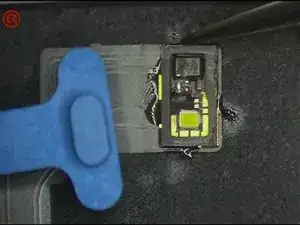
Grind the MOSFET here with a grinding tool. Then heat with Hot Air Gun to take down the dot projector module. Continue heating with the Hot Air Gun. Clean residual parts of the MOSFET with tweezers.
-
Continue to apply some medium-temp solder paste to the bonding pad. Tin the bonding pad with Soldering Iron. Here we need 0.02mm Enameled Copper Wire. Heat with Soldering Iron. Connect Pin 2 and Pin 3 of the MOSFET with the wire.
-
-
-
Turn the dot projector module over. Clean residual adhesive on the module with the sculpture knife. Then clean with Solder Wick thoroughly. Clean with PCB Cleaner afterwards.
-
Get the BGA reballing stencil in the right position. Apply some medium-temp solder paste. Heat with Hot Air Gun to get the dot projector module reballed.
-
Attach the new dot projector flex cable to the PCB Holder. Apply some paste flux to the new dot projector flex cable. Get the dot projector module in the right position. Solder with Hot Air Gun.
-
Cool for 2 minutes. Connect the new dot projector flex cable with the repair programmer. Click ‘Check’. Results: Normal. The infrared light emitted from the projector is also normal.
-
-
-
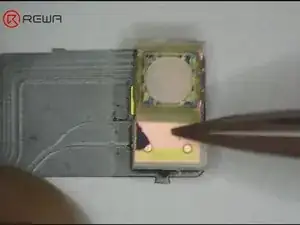
Apply some glue to the dot projector module. Get a known-good crystal in the right position.
-
-
-
Apply double-sided adhesive tape on the backside of the front camera. Adhere the dot projector flex cable to the right position.
-
Warning: the double-sided adhesive tape used here is for test. We need to glue the dot projector module onto the flex cable after fault clearance.
-
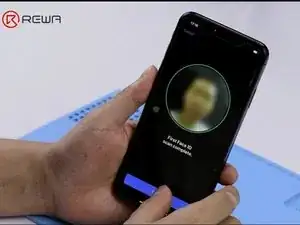
Now we can assemble the phone and test. Go to Settings > Face ID & Passcode > Set Up Face ID. Face ID can be setup successfully. The phone can be unlocked with Face ID this time.
-
2 Kommentare
can u ask me when u put back dot projector there have 3 points that was not join important
adil -
I can’t do all this and i dont have the device to burn the data, can you help me fix my phone…Xsmax
