Einleitung
Battery not lasting long? Swap it out.
Werkzeuge
Ersatzteile
-
-
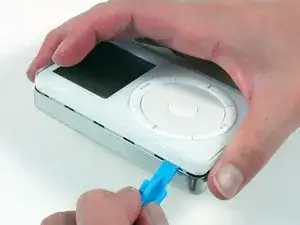
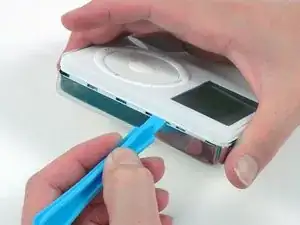
Insert a plastic iPod opening tool in the seam between the white plastic front and metal back of the iPod. Once you've inserted the tool, run it along the seam to free the five tabs holding the iPod together.
-
-
-
Continue to run the opening tool along the side of the case until all five tabs have been released.
-
-
-
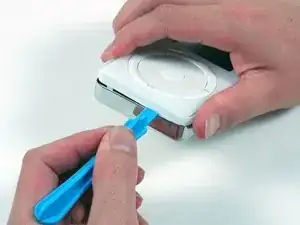
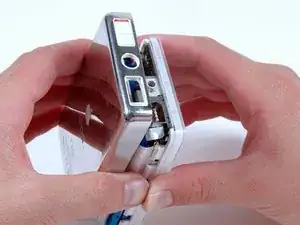
Work around the corner of the iPod and release the two tabs holding the iPod together near the dock connector.
-
-
-
Free the five tabs holding the iPod together on the other side. You may be able to free the tabs by gently wiggling the front panel of the iPod.
-
-
-
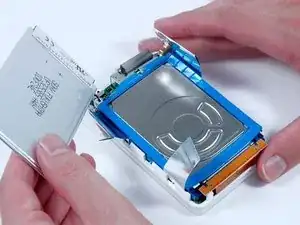
Lift the rear panel away from the iPod, making sure it doesn't catch on the headphone jack.
-
-
-
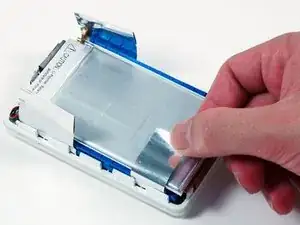
Lift the battery up from the hard drive and lay it next the the iPod (it is still connected to the logic board).
-
-
-
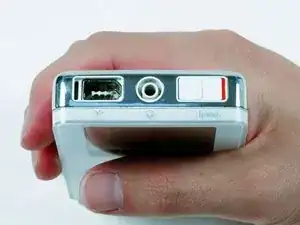
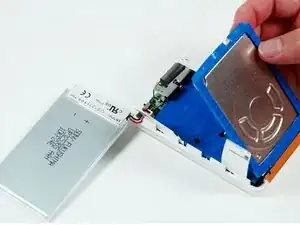
Lift up the end of the hard drive near the Firewire port to allow easy access to the battery connector.
-
-
-
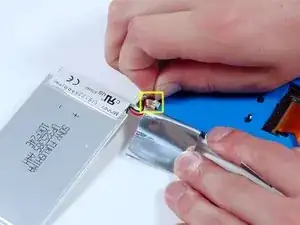
Carefully disconnect the white battery connector from the logic board. Be sure to pull only on the connector itself and not on the cables.
-
To reassemble your device, follow these instructions in reverse order.
2 Kommentare
Nice easy fix. Modern batteries are twice the capacity too. These old gen iPods are great. Nice to have an apple product not made in China.
For my 2nd Generation iPod A1019 I found the batteries linked to at the beginning of this tutorial to be too thick to close the iPod without considerable force that actually seemed to bend and distort the display. Side by side they are nearly twice the thickness of the original battery. I bought both the 2200 mAh version, then also the 1600 mAh version hoping it would be thinner. All these batteries are manufactured by Cameron Sino. I am hoping to be able to find the actual Sony item and my search continues.
Kupe -
