Einleitung
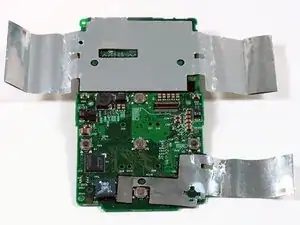
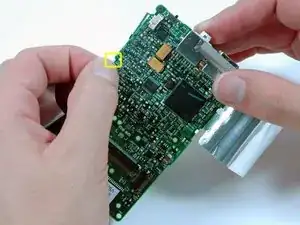
Your iPod's motherboard controls just about everything on the iPod.
Werkzeuge
-
-
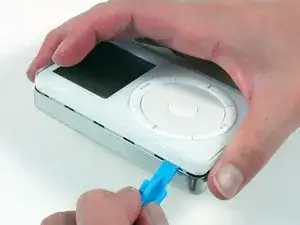
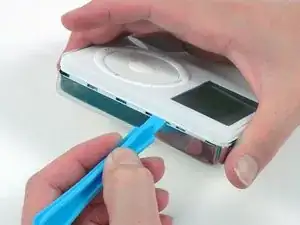
Insert a plastic iPod opening tool in the seam between the white plastic front and metal back of the iPod. Once you've inserted the tool, run it along the seam to free the five tabs holding the iPod together.
-
-
-
Continue to run the opening tool along the side of the case until all five tabs have been released.
-
-
-
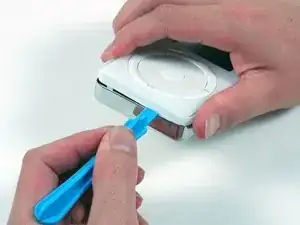
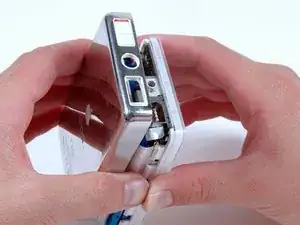
Work around the corner of the iPod and release the two tabs holding the iPod together near the dock connector.
-
-
-
Free the five tabs holding the iPod together on the other side. You may be able to free the tabs by gently wiggling the front panel of the iPod.
-
-
-
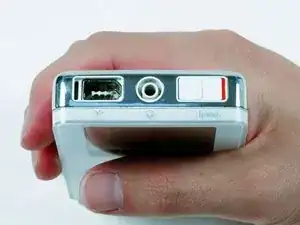
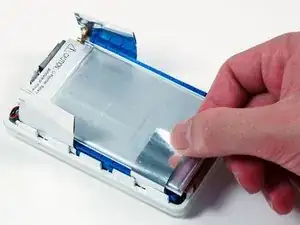
Lift the rear panel away from the iPod, making sure it doesn't catch on the headphone jack.
-
-
-
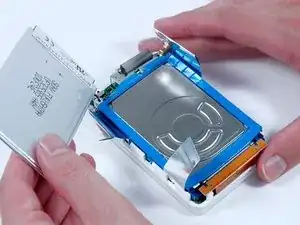
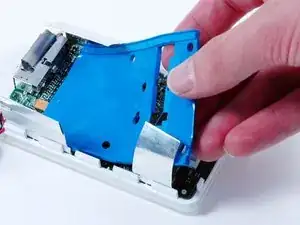
Lift the battery up from the hard drive and lay it next the the iPod (it is still connected to the logic board).
-
-
-
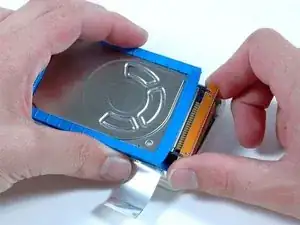
Carefully disconnect the orange ribbon cable from the hard drive.
-
If the cable doesn't come free easily, it may be helpful to gently wiggle the cable from side to side.
-
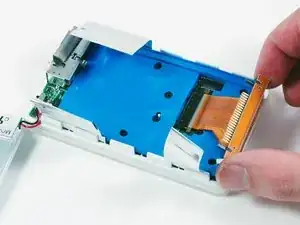
Lift the hard drive out of the iPod.
-
-
-
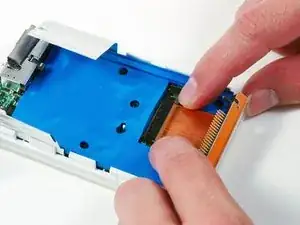
Loosen the connector by pulling the brown locking bar toward the hard drive cable using the tips of your fingers.
-
-
-
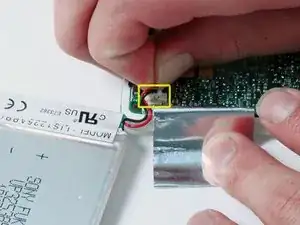
Carefully disconnect the white battery connector from the logic board. Be sure to pull only on the connector itself and not on the cables.
-
-
-
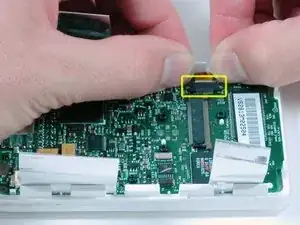
Loosen the touch wheel connector by pulling the brown locking bar toward the side of the iPod using the tips of your fingers.
-
-
-
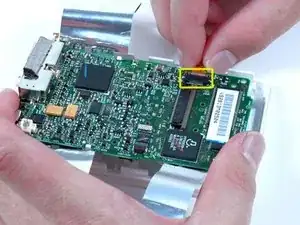
Lift the logic board up enough to disconnect the orange touch wheel cable.
-
Lift the logic board out of the iPod.
-
-
-
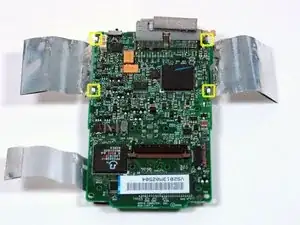
Note the location of the four white plastic tabs securing the display to the logic board. These tabs must be released before the display can be removed.
-
-
-
Use a spudger or your finger to free the four white plastic tabs indicated in the previous picture.
-
-
-
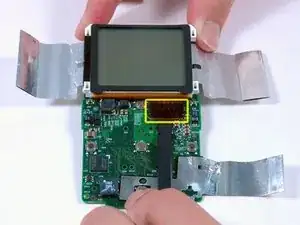
Use a spudger to carefully disconnect the display ribbon cable from beneath the scroll wheel.
-
Lift the display off the logic board.
-
To reassemble your device, follow these instructions in reverse order.
4 Kommentare
I wish all iPods were this easy to fix!
I just replaced a battery and Logic Board in an iPod 2nd Generation. Totally easy; No soldering necessary. The hardest part was waiting for the Logic Board in the mail.
My 2G will not connect to either windows or macos via FW. I have cleaned the connector, checked the logic board for obvious damage, etc. My 1G connects to the same computers just fine. The 2G otherwise works, passes all diagnostics (seems to), and wakes up and charges when I plug it in to the computer. Do I need a new logic board? Otherwise, I am thinking of just manually transferring my music to the drive and living with it.
Hi,
try to replace the hard drive from your 1G first ans see if this works.
Please let me know.
Thanks,
