
Einleitung
Wenn in deinem Nano alles bis auf die Steuerung funktioniert, benötigst du wahrscheinlich ein neues Click Wheel. Das Click Wheel ist zwar nicht teuer, die Reparatur aber knifflig.
-
-
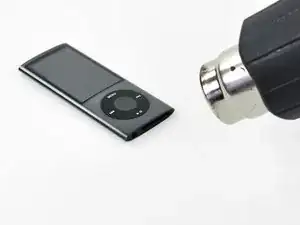
Erwärme mit einem Heißluftgebläse den Kleber unter der Kunstoffblende am unteren Rand des iPods.
-
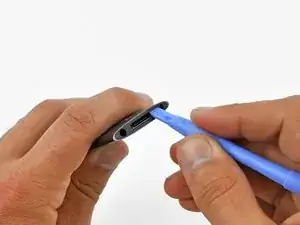
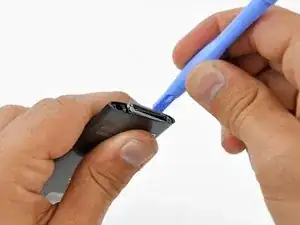
Heble die Blende mit einem Kunststoffwerkzeug vom Gehäuse des iPods ab.
-
-
-
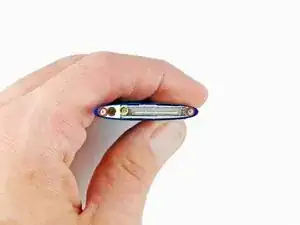
Drehe drei Schrauben unten am iPod heraus:
-
Zwei schräg stehende 4,4 mm Kreuzschlitzschrauben.
-
Eine 5,4 mm Kreuzschlitzschraube.
-
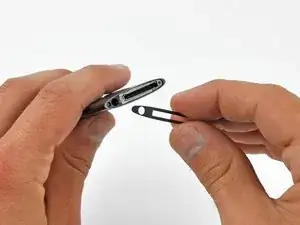
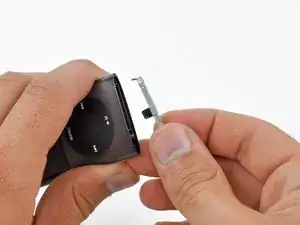
Heble die metallische Verschlussplatte mit einem Plastiköffnungswerkzeug unten am iPod heraus und entferne sie.
-
-
-
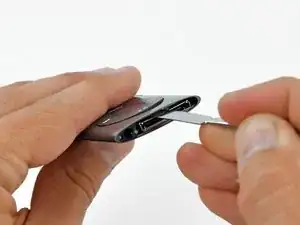
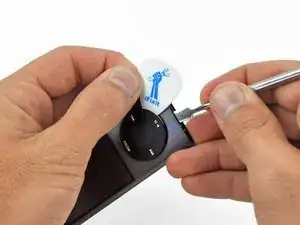
Setze einen Metallspatel in den Schlitz an der Unterseite des iPods direkt über dem Dock-Anschluss ein.
-
Heble mit dem Metallspatel die Unterkante des Click Wheels hoch.
-
-
-
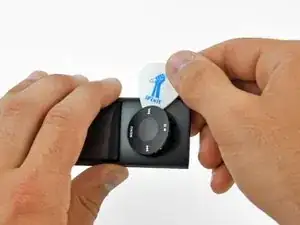
Setze ein Plektrum zwischen Click Wheel und Gehäuse des Nano und ziehe den Metallspatel heraus.
-
Heble die Kanten des Click Wheels mit dem Plektrum hoch, bis es sich vom Gehäuse löst.
-
-
-
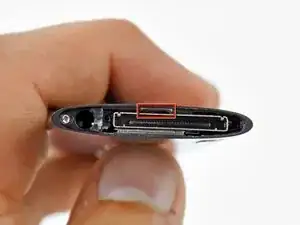
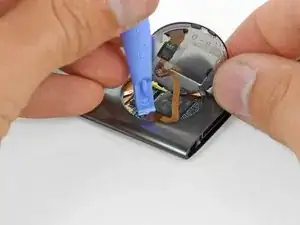
Hebe das Click Wheel mit einer Hand aus dem Weg und löse den Stecker des Flachbandabels zum Click Wheel mit dem Plastiköffnungswerkzeug aus seinem Anschluss auf dem Logic Board.
-
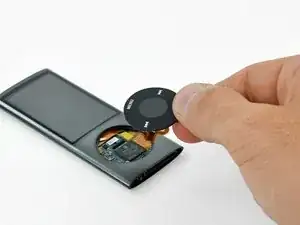
Entferne das Click Wheel.
-
Um dein Gerät wieder zusammenzubauen, folge den Schritten in umgekehrterReihenfolge.

14 Kommentare
I just replaced the click wheel on my iPod Nano 5th Gen and I found that this guide could be better. The reason is that the bottom edge of the click wheel is held in place by the same metal bracket that surrounds the connector port at the bottom of the iPod. So, before you remove the click wheel I recommend performing the following three steps:
1. Remove the plastic cover at the bottom of the iPod
2. Unscrew the two screws on either side of the connector port. Of the three screws at the bottom of the iPod, these are the middle and right hand screws as you look at the front of the iPod.
3. Remove the metal bracket that surrounds the connector port of the iPod.
After replacing the click wheel, perform the above three steps in reverse order. Make sure that when the metal bracket is re-inserted that it secures the click wheel and prevents it from falling out as some people have experienced after replacing the click wheel.
slith -
I discovered the same solution after having destroyed one wheel by trying to pry it out without taking out that bottom bezel.That should definitely be the first step in this guide.
PLEASE READ slith's comment, it's extremely important, or you will not be able to get the click wheel installed. There are notches on the click wheel that have to go in at the top and bottom, but the bottom notch is PART OF THE GREY METAL BRACKET that you take out of the bottom of the iPod. DO NOT re-install the grey bracket at the bottom until you have installed the replacement click wheel, otherwise the wheel will not go in.
Thanks slith, I just wanted to emphasize this because I screwed up quite a few of these click wheels before I read your comment.
no way -
Agreed. I ended up breaking 3 of my six tabs. It works but the wheel isn't quite flush now. Wish I'd looked at the tear down instructions first. That should be at the top of the list as well. This description just isn't at all complete.
mwm1962 -
I agree with the other notes please see step 3 BEFORE 1&2
Keith -