
Einleitung
Grundständige Anleitung vor Entfernen der Logic Board Einheit
-
-
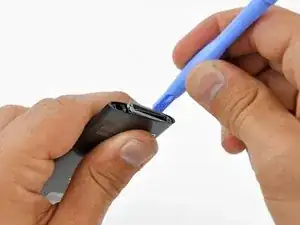
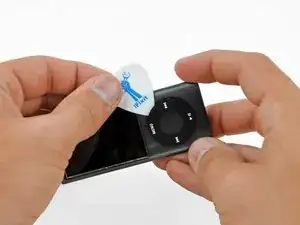
Erwärme mit einem Heißluftgebläse die Kunststoffblende am unteren Rand des iPods, so dass der Kleber darunter weich wird.
-
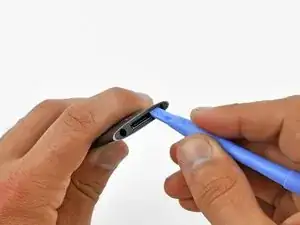
Heble die Blende mit einem Plastiköffnungswerkzeug vom iPod-Gehäuse und entferne sie.
-
-
-
Drehe drei Schrauben unten am iPod heraus:
-
Zwei schräg stehende 4,4 mm Kreuzschlitzschrauben.
-
Eine 5,4 mm Kreuzschlitzschraube.
-
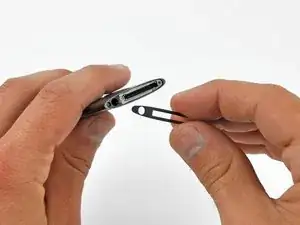
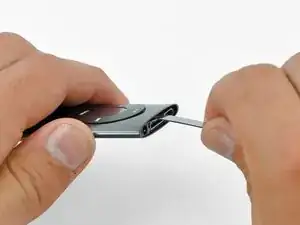
Heble die metallische Verschlussplatte mit einem Plastiköffnungswerkzeug unten am iPod heraus und entferne sie.
-
-
-
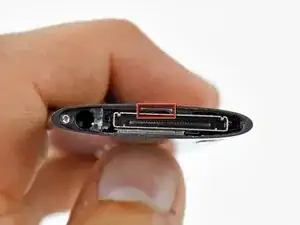
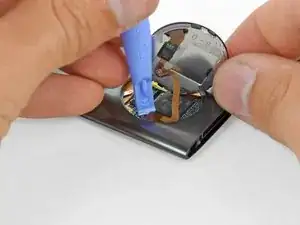
Setze einen Metallspatel in den Schlitz an der Unterseite des iPods direkt über dem Dock-Anschluss ein.
-
Heble mit dem Metallspatel die Unterkante des Click Wheels hoch.
-
-
-
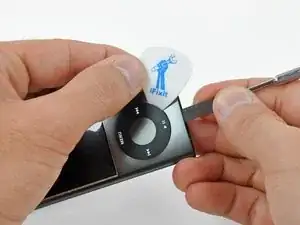
Setze ein Plektrum zwischen dem Click Wheel und dem Gehäuse des Nano ein und ziehe den Metallspatel heraus.
-
Heble die Kanten des Click Wheels mit dem Plektrum hoch, bis es sich vom Gehäuse löst.
-
-
-
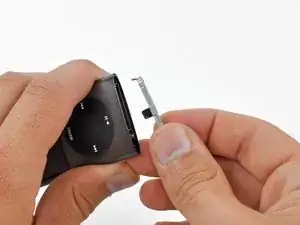
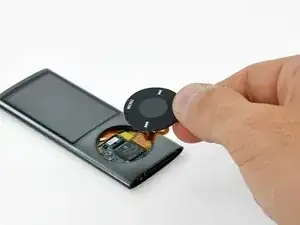
Hebe das Click Wheel mit einer Hand aus dem Weg und löse den Stecker des Flachbandabels zum Click Wheel mit dem Plastiköffnungswerkzeug aus seinem Anschluss auf dem Logic Board.
-
Entferne das Click Wheel.
-
Um dein Gerät wieder zusammenbauen, folge den Schritten in umgekehrter Reihenfolge.

On the Nano I worked on I had to do steps 12-14 before step 10 because the metal plate on the bottom is one of the two things holding the click wheel in place.
ethan -
You MUST remove the bottom plate BEFORE forcing of the wheel or you WILL tare it apart as there is a lug on the bottom plate that holds the wheel in place ( wish I had known this before I damaged mine)
also do not lose the very small spring that is under the wheel (I DID )
Keith -
+1. There is a tiny piece of plastic containing a little spring just under the wheel. Remove thoses parts before extracting the main board or you will probably loose them.
jonathanct -