Einleitung
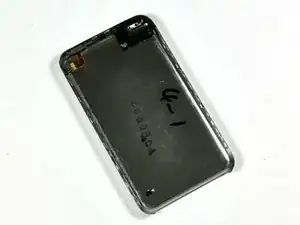
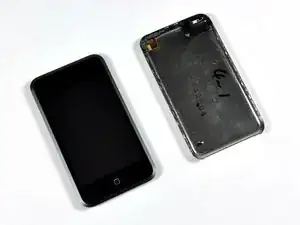
In dieser Anleitung wird gezeigt, wie du die Rückseite vom iPod Touch der 1. Generation entfernen kannst.
Werkzeuge
Ersatzteile
-
-
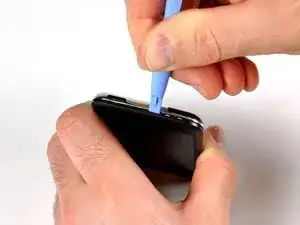
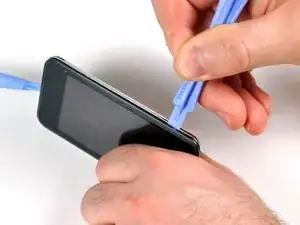
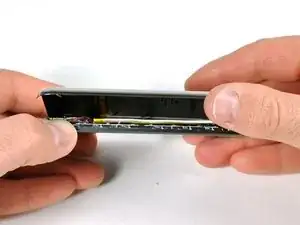
Stecke das kleine Kunststofföffnungswerkzeug in die Naht zwischen der Kunststoffanzeigetafel und der Metallrückwand. Die abgewinkelte Kante sollte zur Metallrückwand zeigen.
-
Halte das Werkzeug an Ort und Stelle, sobald es innen verkeilt ist und die beiden Paneele getrennt sind.
-
-
-
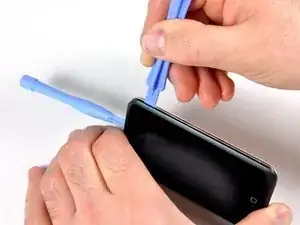
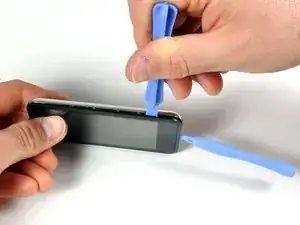
Stecke das große Öffnungswerkzeug in die rechte Seite des iPod, wobei der Rand des Werkzeugs auf die Metallrückseite zeigt.
-
Vergrößere vorsichtig den vorhandenen Spalt, indem du das große Öffnungswerkzeug wackeln und nach rechts bewegst.
-
Fahre damit fort, bis die rechte Seite des iPod locker ist.
-
-
-
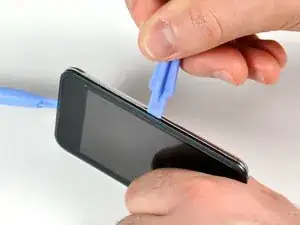
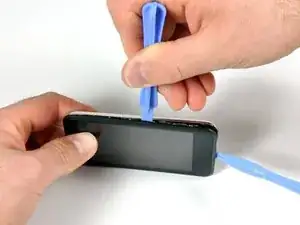
Wechsele zur anderen Seite des iPod.
-
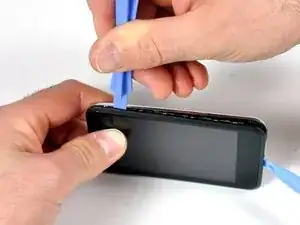
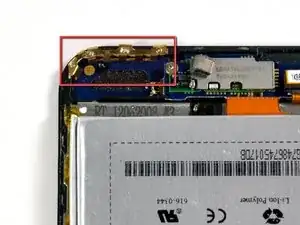
Befolge das gleiche Verfahren wie im vorherigen Schritt, um die sieben Clips loszulassen, die die Bedienfelder an Ort und Stelle halten.
-
Sobald die Panels auf dieser Seite getrennt sind, kann die Rückseite vom Rest des iPod getrennt werden.
-
-
-
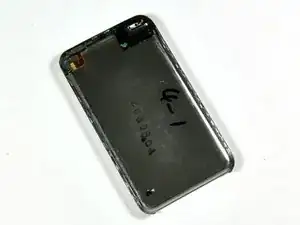
Hebe die Rückwand vorsichtig mit den Fingern an.
-
Die Vorder- und Rückseite des iPod sollten nun vollständig getrennt sein.
-
Um dein Gerät wieder zusammenzubauen, befolge diese Anweisungen in umgekehrter Reihenfolge.

I found the little plastic tools to be useless. I finally got the case apart using jeweler's screwdrivers, guitar picks, and believe it or not, a wood chisel to split the sides of the case open. And believe it or not, I got back together again - not quite as good as new, but good enough.
I'd REALLY love to know how Apple technicians get this little beast apart without damaging or nicking the case.
phinegan -
Who's betting the actually replace the back with a brand-spanker - if they repair them at all!
marc draco -
They do replace it with a new back, thats why they said that if you have words on the back (engraved) by someone other then apple, your going to lose those but if there done by apple then they'll do it again (when replaceing the battery they say that)
shadowfox00101 -
I replaced my battery in my 1st gen iPod and it still doesn't hold a charge for more then 5 min. Any ideas?
ae86keidori -
mine has the same problem. My 1st gen iPod touch dropped in water. after that It still works but can't hold a charge for more than 5 mins. I changed the battery and still the same.
One of my friend give me some advices, I simply clean the whole logic board with some non water alcohol, and it works. It works perfect now. You can have a try.
Liku -
I found a method that worked for me in opening the case. I started at the top, and used a sewing needle. I'm sure a straight pin world work also. Using some padding between the back of the needle and my hand, I worked the point of the needle between the casing and the metal back. Don't push straight into the gap, push on the edge of the gap down toward the back of the iPod. Once you feel the needle slip in, use it as a guide to get your prying tool in there.
Paul Jones -
Hey, I made it, it's open! My opener tool was useless. A swiss army knife and lots of brute force is your friend. My tool broke apart not resisting such force that is necessary.
http -
lol i dropped my iPod this fixedit because it had no back
elais -
Count get past step 1 :( began seperating the back but the metal back sooner bent than the clips letting loose. I heard something chip then the ipod started getting very hot so I think I punctured the battery :( its going to live outside for a while before I throw it out.
Mike -