Einleitung
( UNCOMPLETED )
-
-
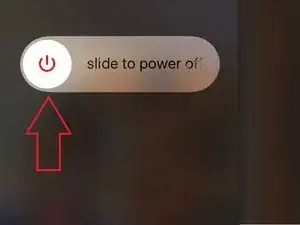
Press and hold the Sleep/Wake Button (Power Button) for about 4 or 5 Seconds.
-
The Slide to Power off
-
To reassemble your device, follow these instructions in reverse order.
10 Kommentare
If you take too long desoldering the old battery or soldering the new one in, you might fry the chips on the other side of the board which can, at least in my case, damage the display in multiple ways, somehow.
anyway, refrain from extended contact with soldering iron.
Ace10102 -
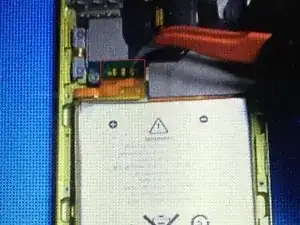
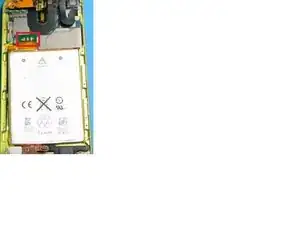
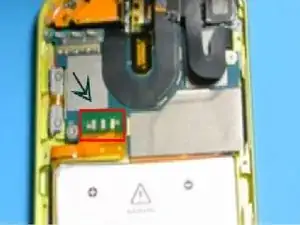
PRO TIP: ad a little bit of flux to all 3 pads. Then ad some solder to your soldering iron tip and build up the solder on the 3 contacts. Be careful to not damage the flex cable/ board by letting your soldering iron stay on the pads for too long (2-3 seconds each). My iron temp is set at 350F. Once that is complete, set your hot air gun on 350F and speed about half. Slowly wedge a spudger between the board and the battery flex. DO NOT PRY. You will damage the pads. Just let it sit there and hang out while you apply hot air, the soldier you added will liquify and the battery flex cable will pull itself up. When that occurs, you can remove the battery connector and replace with a new one. Make sure to ad a bit of flux to the pads on the board for attachment. For re-attachment: line up the 3 pads and use your soldering iron to put them down. Gently press down on the gold pad of the flex cable, and you will see the solder from the board liquify and come though the 2 holes. Repeat for the next 2 and YOUR DONE!
I found this comment most helpful. Adding solder first helps. My only problem with this repair was accidentally letting the soldering iron touch the black plastic covering the back of the screen. This melted thru the screen backing. This is a reflective backing to the screen. The damaged area is very small and not as bright as the rest of the screen and is a little annoying when looking at picture on the screen now!
Extremely helpful, would that be a micro pall worth of flux? Or some other Rosman repair measurement?
Just cut the connector and solder the new one over the old one. Stop messing around!
William -
Okay. But then will my battery be connected to the iPod still? If I cut it how do I attach the new batteries connector?
Hanna H -
This will work and well I would say it's not necessarily the best way it would get it done.
Be careful when cutting the old battery make sure you don't have a short on the ribbon cable to short out the new battery.
Then the pads should just overlay the old ones.
I hope this isn't from a repair shop and that it's just somebody who's done this to their own device.
