Einleitung

The motherboard is the brains of the whole device. It allows for everything in the device to be connected together. If the device doesn’t turn on after replacing the battery and you have ruled out any other issues, the motherboard will need to be replaced.

  1. ThPBY1sVAENJQAP5
    ThPBY1sVAENJQAP5
    AJqnUghQhtlg2ypZ
    • Flip device over and remove the cleaning cloth compartment to access screws

  2. RRVDmtqWPerPFDTX
    • Use a Phillips #1 screwdriver to remove the four bottom cover screws.

    what's the size of the Philips screwdriver.

    Chris Yepez -

    #1 is the size

    Angel Ledezma -

    I mean like is it 1.6mm, the size of it

    Chris Yepez -

  3. aY2MHBeBqN3UUFZG
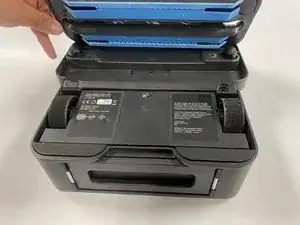
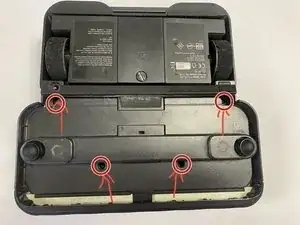
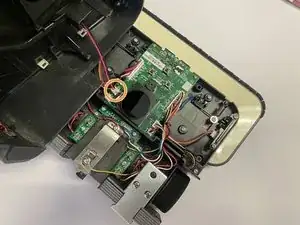
    • Flip the device back over and remove the shell by unplugging a wire that is holding the shell to the motherboard

  4. CdpVQSFtlftB3U3Y
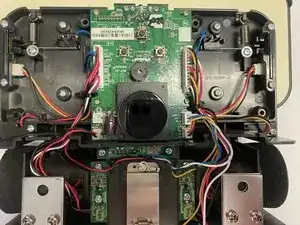
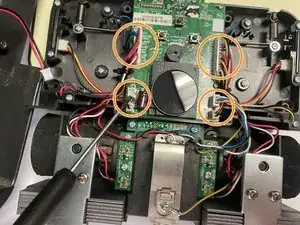
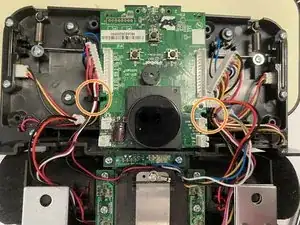
    • Disconnect the rest of the wires and remove all screws that are attached to the motherboard.

    • To remove the wires disconnect the plastic pins in a similar fashion to the ones in the Battery Replacement guide.

  5. VlxeCp3tmgj5Zmi2
    • Remove the zip ties holding the wires together using a sharp object or thin scissors.

    • If you do not have pliers or a wire cutter available, then you can use the heads of thin screwdrivers to wedge the zip ties enough to remove them.

    The circles make it much easier to know what needs to be done

    Chris Yepez -

Abschluss

To reassemble your device, follow these instructions in reverse order.

Angel Ledezma

Mitglied seit: 26/09/22

133 Reputation

Ein Kommentar

How long does this guide take?

Chris Yepez -