Einleitung

This is by far the hardest thing to replace on your vacuum. You may try to replace these, but please be cautious because if you are not careful you will literally destroy your machine.

  1. Y4vNLlBTim6BWvEX
    Y4vNLlBTim6BWvEX
    WRZPOSRSYumGNJpW
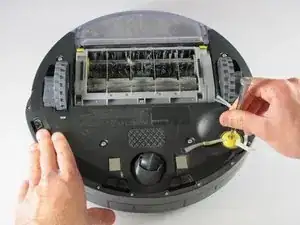
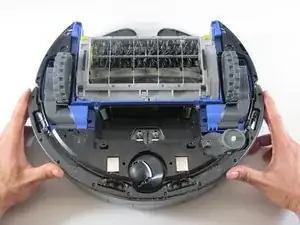
    • Flip the device over onto its back.

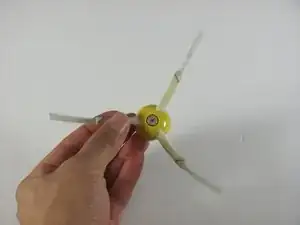
    • Find the side brush, and unscrew the single screw that connects to brush motor by using the Phillips head #2 screwdriver.

    • This screw doesn't completely come out of the yellow side brush.

  2. D3KfKxsb6CYEpcWF
    D3KfKxsb6CYEpcWF
    6HPlBJvGEeYFFLtG
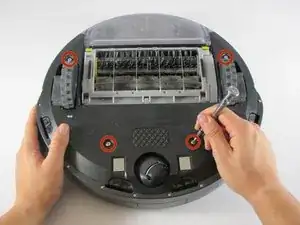
    • Using a Phillips #1 screwdriver, remove the four screws on the back panel.

    • Once the screws are loose gently pry the back plate away from the body by using the spudger tool.

    • The screws don't completely come out of the panel, but it will still come apart once unscrewed.

  3. KpmRBYELbX1OgKQf
    KpmRBYELbX1OgKQf
    pegmFTOivKNLVMCC
    QZoEVoCmjj3y6P1X
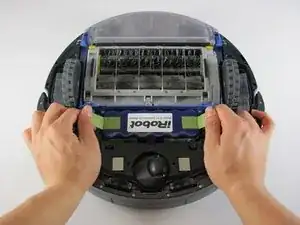
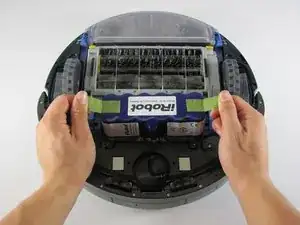
    • Grab the two pieces of green tape with your thumb and index finger

    • Pull up on the battery in an upwards direction to remove it

  4. RySTRJmqhVhE2KmS
    RySTRJmqhVhE2KmS
    vBmpAtd2NDiJ1KFS
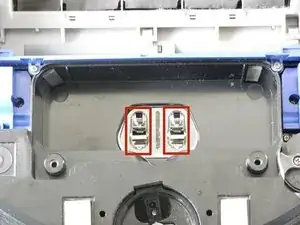
    • These are the contact points on the Roomba for the battery

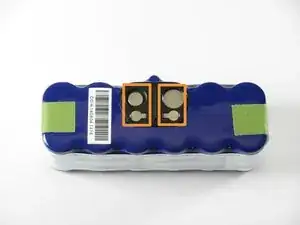
    • These are the contact points on the battery

    • If these contact points are dirty, they can be cleaned with a moist microfiber cloth (distilled water recommended)

  5. qQIl2WEICYlTCkQe
    qQIl2WEICYlTCkQe
    w1km1VsMCpISWyIj
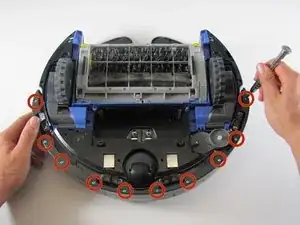
    • Remove the ten 11mm screws that hold the front bumper to the plastic bumper protector with your Phillips #1 screwdriver.

    • Pull the plastic bumper protector up and off of the bumper.

  6. OS5njii5eRxhKRJK
    OS5njii5eRxhKRJK
    JKLBmSmvkR2CDeCo
    P3MONCrOhtOq1WAi
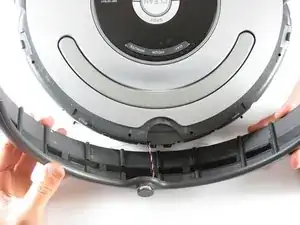
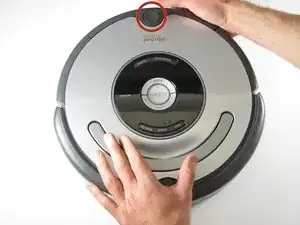
    • Flip the Roomba back over, so you are viewing the top.

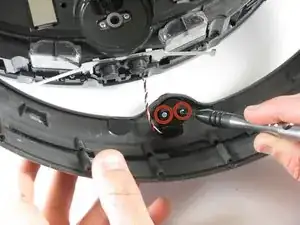
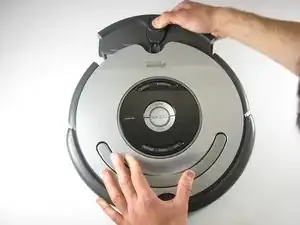
    • Pull up on the front bumper to remove it.

    • Be careful not to pull too hard because there is wiring attached to the bumper.

    • Remove the two 7mm screws with your Phillips #1 screwdriver, holding the wire sensors in place to the front bumper.

  7. TdtVtlbJaNv1cv6R
    TdtVtlbJaNv1cv6R
    MxQCeLGZSJfL6pOe
    • Remove the dust bin by pushing on the button for the dust bin removal

    • Pull the dust bin out

  8. iyfVX4AKxdfXZO5Z
    iyfVX4AKxdfXZO5Z
    xRvRxsdtsot4HDEq
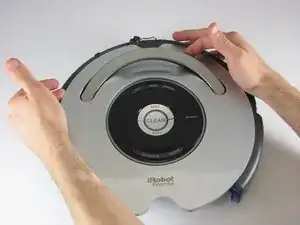
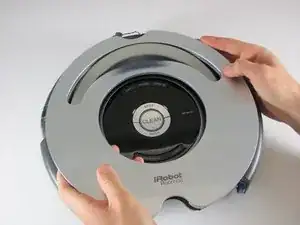
    • Pull up on the silver handle to release the top protectant plastic

    • Remove the top plastic carefully

  9. Eyo5YSYEsHLoxqoi
    Eyo5YSYEsHLoxqoi
    bU2YiSEGK5ivu34B
    mqKxPMrSJEAY2Qxr
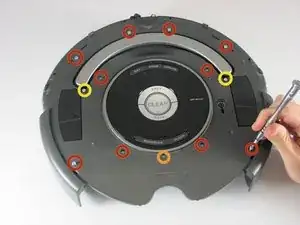
    • The outside six - 10mm screws and the inside set of four - 10mm screws are the same here, use your Phillips head #2 to remove them

    • Use your Phillips head #0 to remove the one - 7mm bottom center screw

    • Use your Phillips head #2 to remove the two - 8mm screws by the handle

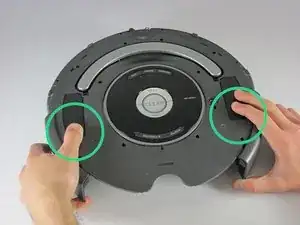
    • Push down the two release points to pull the plastic piece up

    • Pull the plastic piece up

  10. jAWONedYThpvGRhI
    jAWONedYThpvGRhI
    NZ3vdlecU4L3CHEJ
    QhkSrhO6BhuiFl6A
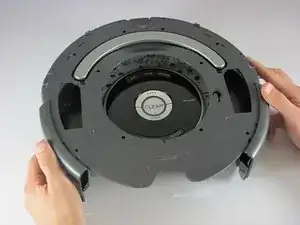
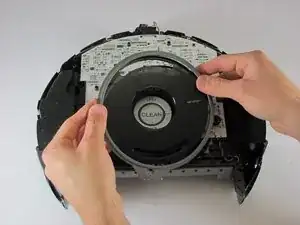
    • Pull the silver tab, and clear tinted display off

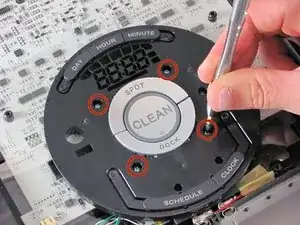
    • Remove the 4 - 9mm screws holding the display with your Phillips head #0

  11. WujPLhhYg1mXbkkb
    WujPLhhYg1mXbkkb
    NiWIMAu1OBDuoGTD
    qjnMuLc1QLpPKTG1
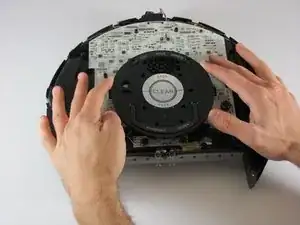
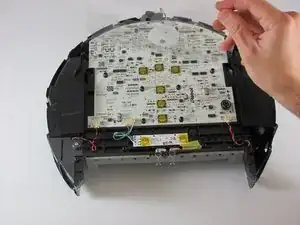
    • Remove the display

    • Remove the plastic protectant film from the motherboard

    Si recibe.una carga mayor y no enciende.que se debe hacer que pasados debo hacer.para que encienda el aparato.si tiene algún fusible .para poder rehiniciar.

    Jairo Laniado -

  12. LGQM3XI5trn5bXUP
    LGQM3XI5trn5bXUP
    KgmL4yPaQsPXTSMt
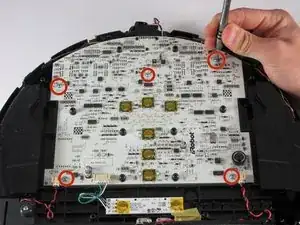
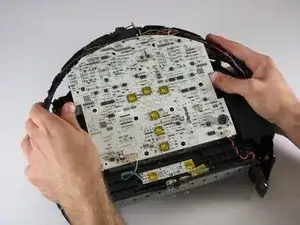
    • Remove the five - 8mm screws with your Phillips head #1, holding the mother board in place to the Roomba

    • Pull the mother board up off the Roomba

    • Be careful not to pull hard because there are a lot of wires attached to the motherboard

  13. 4cW5gkaJlrCCMjrm
    4cW5gkaJlrCCMjrm
    26nha5BldIGCC2N6
    GtLnocGKwLFfUghW
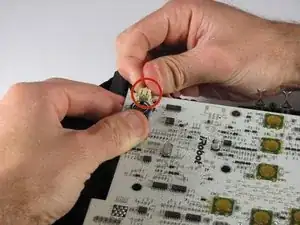
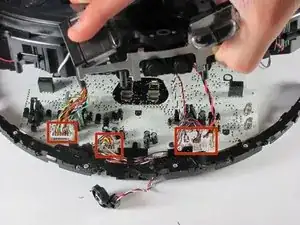
    • Remove the three sets of wires plugged into the back of the motherboard

    • Some of these can be difficult to remove, and you may need the help of the metal spudger

  14. atAIeQnlTKEvgBar
    atAIeQnlTKEvgBar
    Vh4ocUQfeqSIVqTD
    5sFPG6CVQsXWYkhR
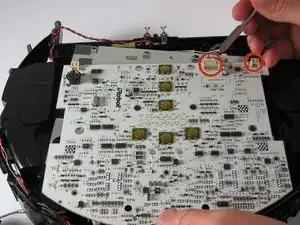
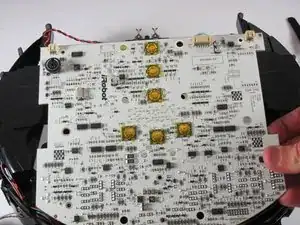
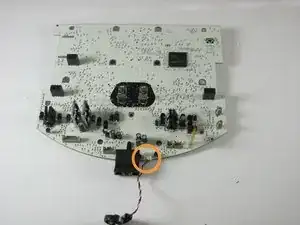
    • Flip the motherboard over

    • Remove the five wire connections using the same method as the previous two

    • Lastly, remove the bumper sensor wires from the motherboard

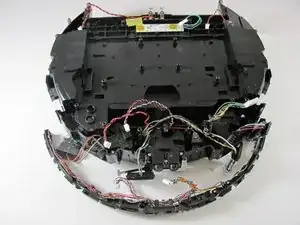
  15. lggrTuFPoBuwnl1S
    lggrTuFPoBuwnl1S
    rnJN6pL6QqGgFyai
    CVtbnfXsWA4CZX4Y
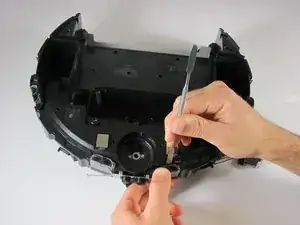
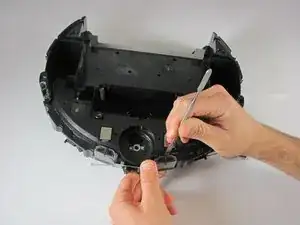
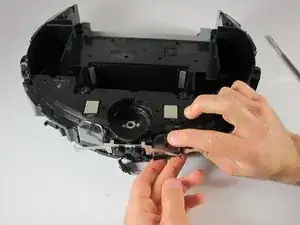
    • Insert metal spudger between cliff sensor and body of Roomba and push down and away from yourself

    • After releasing the snap lock slide the cliff sensor down to free it from its place

    • Repeat for the other cliff sensors

  16. 2vuYlQ2UKHoNSpGo
    2vuYlQ2UKHoNSpGo
    cwAHZB64wIfsDhmC
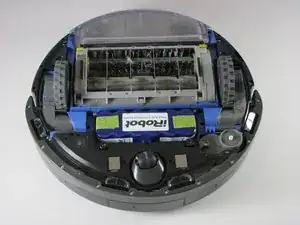
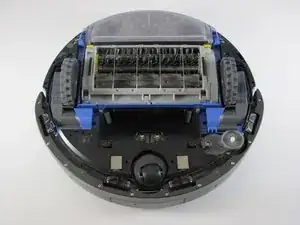
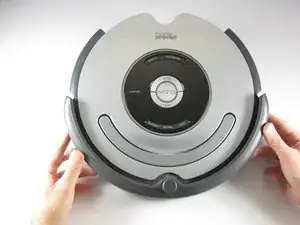
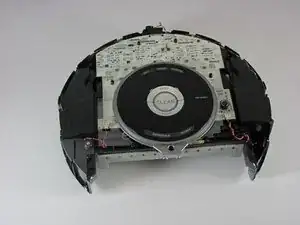
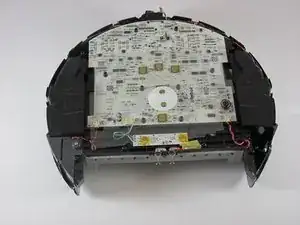
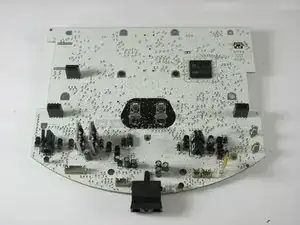
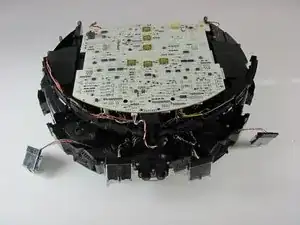
    • Here are two pictures that should show what your Roomba fully disassembled looks like

Abschluss

To reassemble your device, follow these instructions in reverse order.

Rhett

Mitglied seit: 22/01/15

1323 Reputation

6 Kommentare

Thank you very much for this useful guide. I cleaned properly my cliff sensors and all the Robot with the air compressor. Now it works properly and it looks like new!

florinabeakovic23 -

Very complete instructions! Thank you so, so much! There were a few points along the line that I thought I was going to break something but trusted your instructions and everything worked out perfectly! I actually didn't replace my Cliff sensors but took them apart as somehow they had gotten dirt inside of them. My floors are finally clean again and you saved me between 300 + $400!

Maria Christiansen -

Thank you. My roomba was stopping every 5 minutes or so with the “move to a new location” error message. I took it apart following this tutorial and opened the cliff sensors to clean inside of them (with a q-tip dipped in alcohol). After putting everything back together my old roomba is working perfectly again! Thanks for the detailed instructions! The color coded pictures with the screws was most helpful!

junhita -
My intention of needing this video was to disable the cliff sensors on my Roomba 980, so it would vacuum a black-background rug. This was “my bad” but I misunderstood these instructions and thought I only needed to remove the bumper and two screws in order to remove/disable the cliff sensors!! I initially did not realize I needed to go through all of the steps to do this. I am thankful that is ALL I did, as I am not anywhere near the level of proficiency of taking the Roomba apart as these instructions provide. Now that the Roomba 980 is back together, I found another video that exactly suited my purpose in case it will help anyone else — Here’s the link : https://www.youtube.com/watch?v=h8fZLDuQ....

Jodie Wollman -
Thank you for putting this guide together. I have two roomba 655’s and they are getting old. They are starting to have problems. I’ve bought newer models but they just don’t work as well for pet hair. With your instructions I’ll be able to extend the life of the two I have. Thank you

Cheryl -
HELP! I did something like this to mine but I put it back together a little sloppy….. ending up getting the sensors messed up and now some are broken can I follow these same steps to replace them!??

candykat06@yahoo.com -