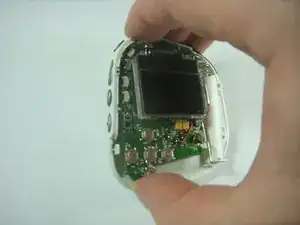
Einleitung
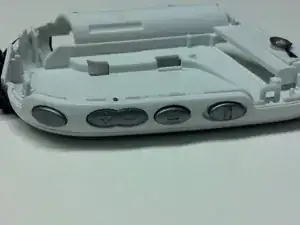
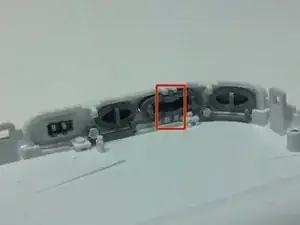
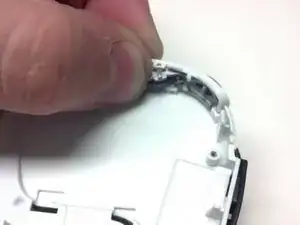
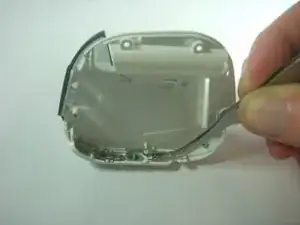
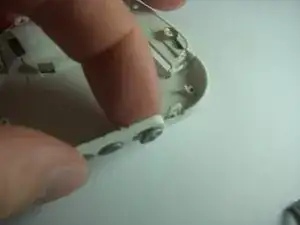
The Volume button is a rocking button held on by a central axis in the button socket. The hold switch internally is four plastic clips that slide along the edge of its socket.
Werkzeuge
-
-
Remove the belt clip by pulling the clip casing up and away from the device starting at the top over the slightly protruding headphones jack.
-
-
-
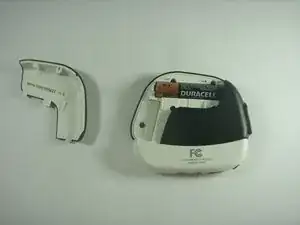
Remove the battery cover by gently pushing inward on the arrow on the cover.
-
While maintaining pressure push the cover upward.
-
-
-
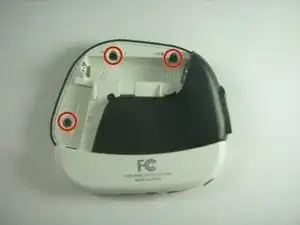
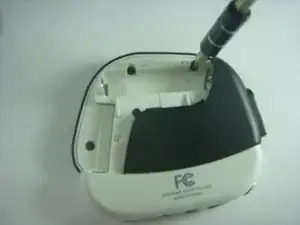
Under the cover you will find Three (3) 5mm screws that will need to be removed. For this you will need to use the PH00 screw tip included in your iFixit kit. Make sure to keep track of these screws as they will need to be reinserterd during the reassembly of your device.
-
-
-
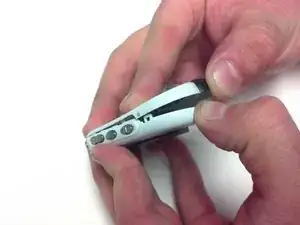
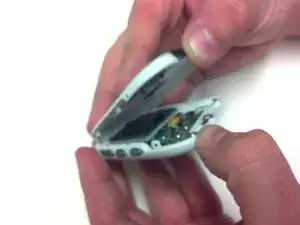
Separate the front housing from the back housing using your thumbs. Carefully pry around the edge of the bottom of device then be sure to unhook the clip inside just below the hold switch.
-
-
-
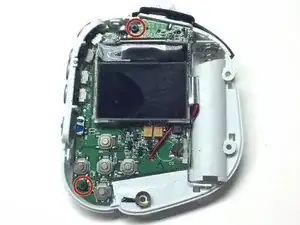
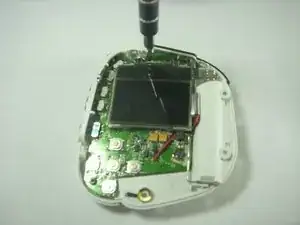
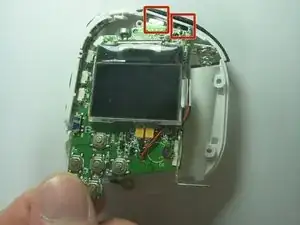
Once you have removed the front housing and exposed the internal board and screen locate and Remove the Two (2) 4mm PH00 screws on the board.
-
-
-
Remove the Volume button from its rocker socket by gently pushing in on the button until it pops out if the two sockets.
-
-
-
Remove Hold Switch from Socket by squeezing the prongs that hold the button in the socket together and push the button outward.
-
To reassemble your device, follow these instructions in reverse order.
