Einleitung
Werkzeuge
Ersatzteile
-
-
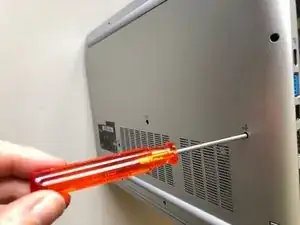
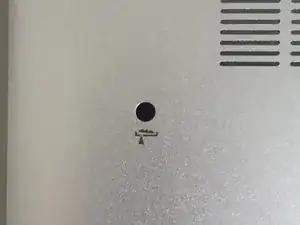
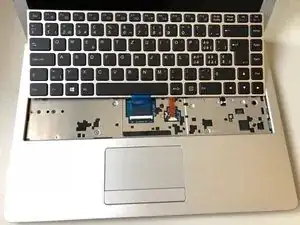
Using the hole provided under the case (see picture), push the keyboard out using a thin screwdriver or some other solid object.
-
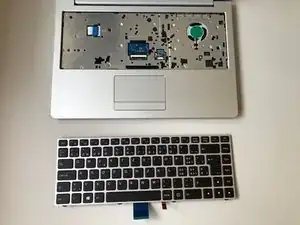
Hold onto the keyboard as you push the keyboard so as not to damage the two cables still attached.
-
-
-
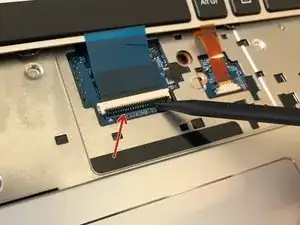
(Blue Cable) Push up on the thin black portion on the connector and gently pull out the blue ribbon cable until it comes out.
-
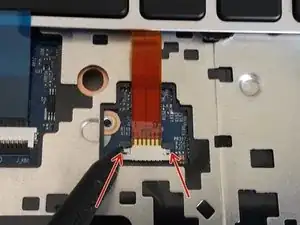
(Orange Cable) Remove the orange cable by sliding the gray part of the connector towards the screen, then gently pull on the ribbon cable.
-
-
-
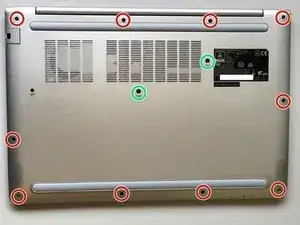
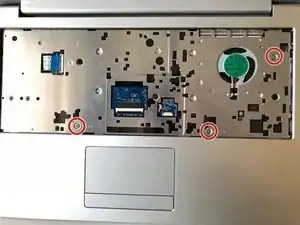
Unscrew the three screws that were under the keyboard. Be sure to hold onto these.
-
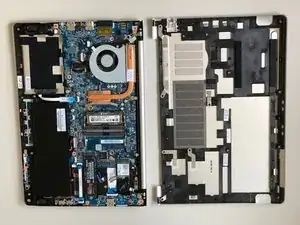
After these are removed, you can now remove the lower part of the case from the rest of the computer.
-
-
-
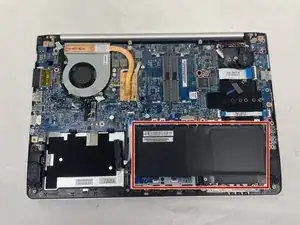
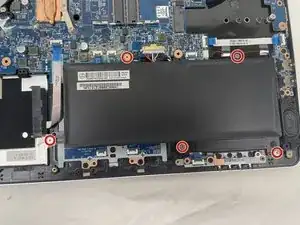
Remove the five Phillips screws securing the battery.
-
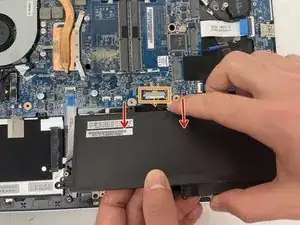
Unplug the power connector and lift the battery out in the direction of the arrows to remove it.
-
To reassemble your device, follow these instructions in reverse order.
Ein Kommentar
Merci beaucoup, tutoriel très bien fait qui nous a beaucoup aidé !
