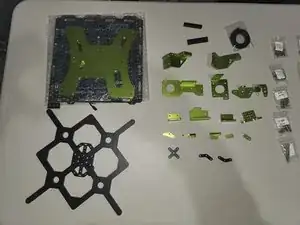
2. Assembly
This is essentially the beta release of this guide. I'm sure there's a couple of things I missed. If you have problems please post them on the Facebook page or Discord. I'm not extremely active on here.
This guide is currently a work in progress and goes through the steps to assemble the Ender 3 v2 upgrade kit. This means the guide will focus on the standard build which is a stock Ender 3 V2 and the BLV upgrade kit. Upgrades this guide covers that aren't included in the kit are:
I want to make it clear that any modifications I do will be limited. Any modifications covered will be approved by Ben as an authorized alternative to the original build.
BLV Facebook page
We’re on Discord!
The kit can be purchased here.
BLV Projects page contains all of Ben’s completed kits.
My Github where you can find configs, modified files and other goodies.
How do I crimp the connectors?
Tuning Macros
Klipper firmware can be found on my github
Klipper Documentation
When finished be sure to go through the Configuration Checks
I wasn’t paid to write these guides. Ben asked me to do it as a favor to him. Considering all that he’s done for our community I felt it was the least I could do. To be honest even though it took about 2 months to build and document, I had a lot of fun doing it. It forced me to write guides in a manner that was easy for everyone to understand and cleanup my Github so I could share any files that were used that aren’t part of the original download. You’re not obligated but if you would like, feel free to donate.