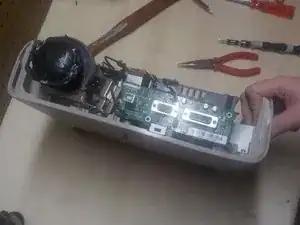
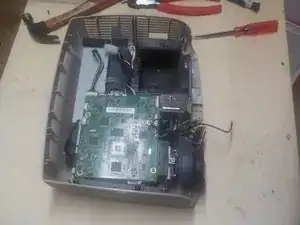
Einleitung
Werkzeuge
-
-
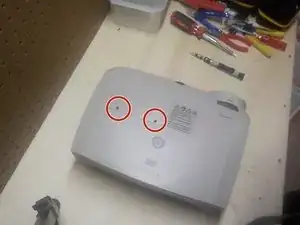
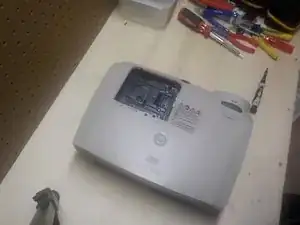
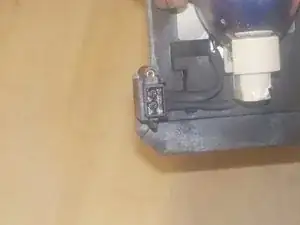
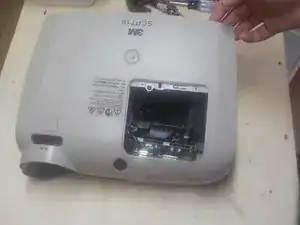
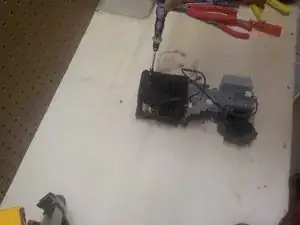
Remove the 2 black #1 Phillips screws holding down the lamp cover, then remove the 2 screws with arrows on the lamp.
-
-
-
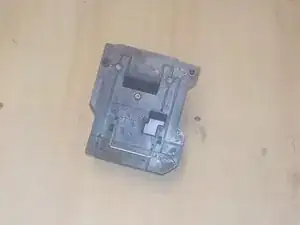
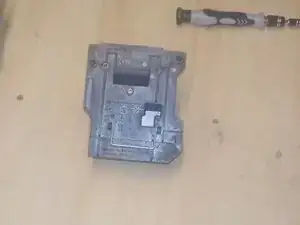
Remove the t-10 torx screw on the top of the lamp, and then the phillips screw holding the power connector down.
-
-
-
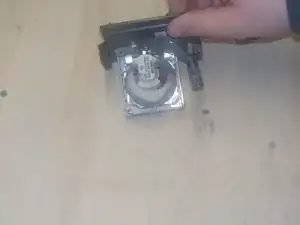
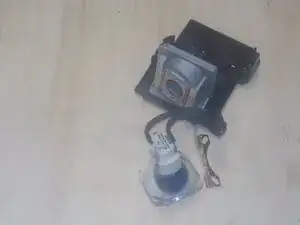
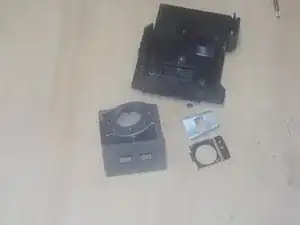
Remove the screws holding down the bracket for the lamp bulb, then remove both the bracket and the bulb.
-
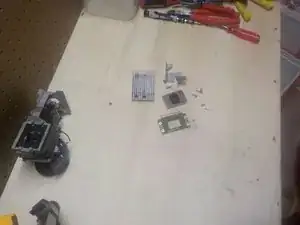
Remove the screws holding both the large metal piece to the base and the smaller metal pieces onto the larger one. You can then remove everything.
-
-
-
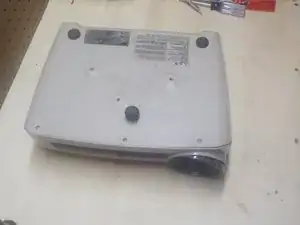
Remove all phillips screws from the back and bottom of the projector. Fortunately, none are hidden.
-
See Step 6 for more details.
-
-
-
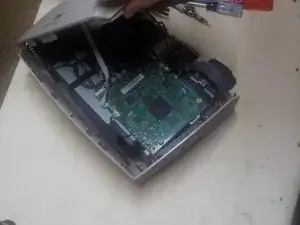
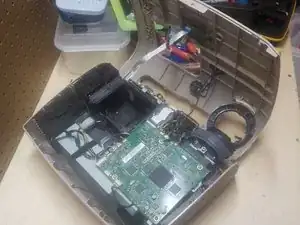
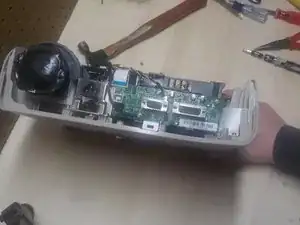
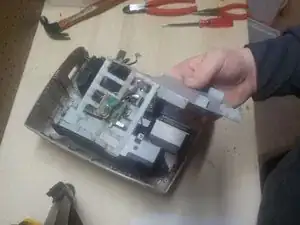
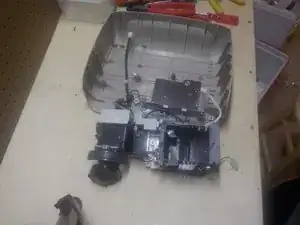
Carefully lift the cover off of the projector as pictured. Unplug all the connectors you can reach whichever way you desire.
-
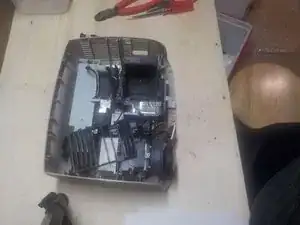
Set the projector cover towards the front and unplug any remaining connectors until the cover is free.
-
-
-
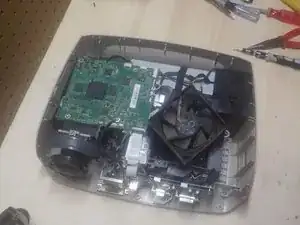
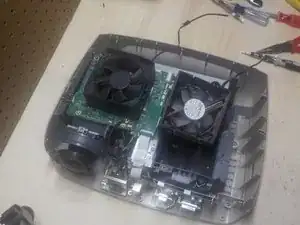
Simply pull the fans out from the side of the projector and unplug them. They are contained in rubber bumpers.
-
-
-
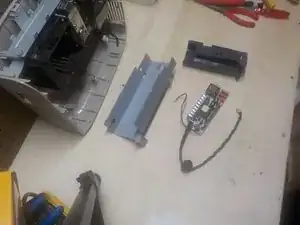
Remove all phillips screws holding the I/O board and power connector on. Push the power plug to the side and remove the I/O board.
-
-
-
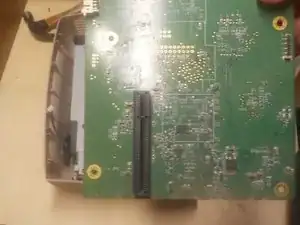
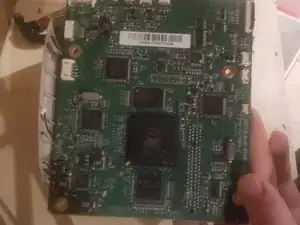
Remove the screws holding down the mainboard and lift it off the metal frame.
-
The top and bottom of the boards are here for reference.
-
-
-
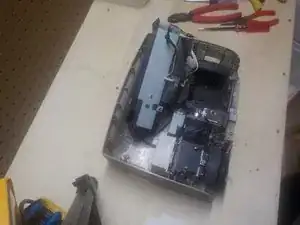
Remove the screws holding down the metal frame and remove it from the case.
-
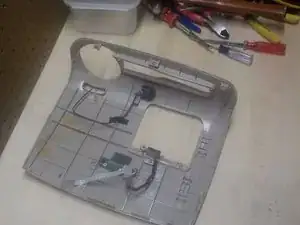
Pull the gray trim piece out from next to the frame and set it aside.
-
-
-
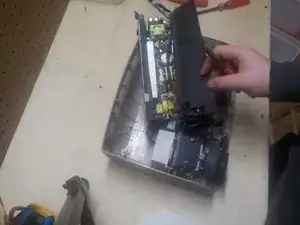
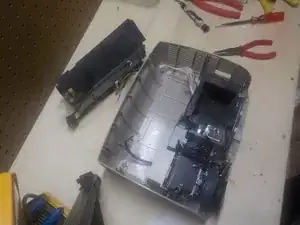
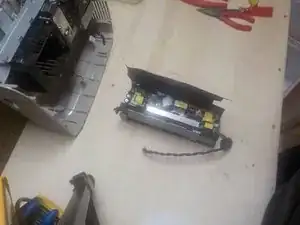
Remove the phillips screws from the sides of the box containing the power supply. You can now lift out the power supply.
-
-
-
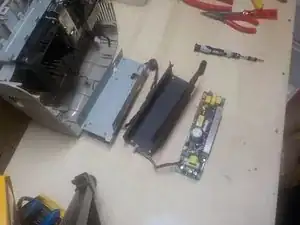
Push up the insulating sheet, then remove the screws holding the board to the metal case. The board is now free.
-
Repeat on the other side of the power supply.
-
-
-
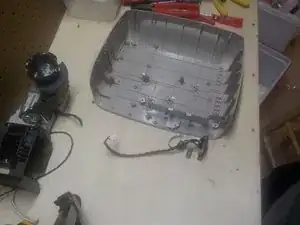
Remove any remaining screws holding down any metal pieces, including the main projector lens, and remove it.
-
-
-
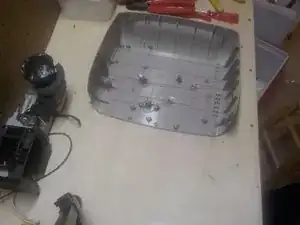
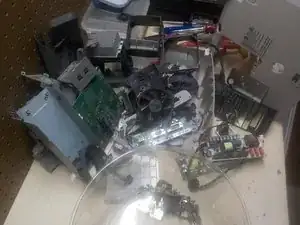
I won't go into too much detail here, but to disassemble the main unit, unscrew the screws, remove the parts or brackets that they're holding in, and repeat.
-
