Einleitung
The Acer Nitro 5 laptop has several variants. This guide is for the AN517-52 specifically but if it looks like yours, such as -51, then it will apply. It covers basic repairs including cleaning the fans, SSD/HDD replacement, battery replacement, speaker replacement and button cell (the small battery replacement). Further repairs suddenly become very much harder and risky because of the significant chance of irreperably damaging a connector.
All reassembly is the reverse process. Note that static electricty may have you say "Ouch" or worse but can fatally damage electronics. Get in the habit of touching metal (large metal surfaces such as shields) before touching any circuitry.
-
-
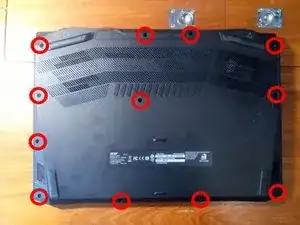
Remove the 12 Philips screws on the back. Slip fingernails in cracks and snap open the back all around. Be gentle and it will come off.
-
-
-
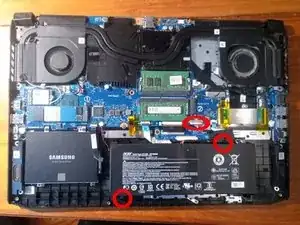
Remove the 2 Philips screws holding the battery. Gently twist counter-clockwise to release the corners. Unplug the connector straight, without twisting.
-
-
-
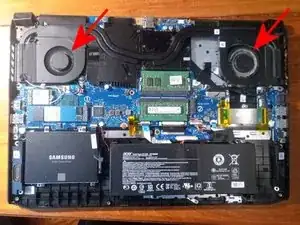
Fans are great at removing dust from the room then do not work well. Look at the right fan in the picture - dusty. Some dust can be removed with tweezers. Other dust can be blown off with a can of compressed air but put a finger on the fan to prevent it from spinning. Note that replacing the fans is not simple due to heatsink complications.
-
-
-
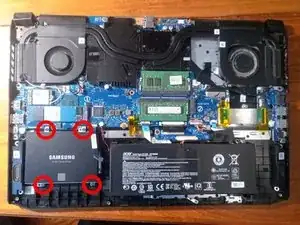
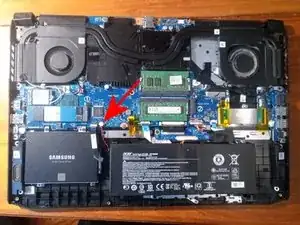
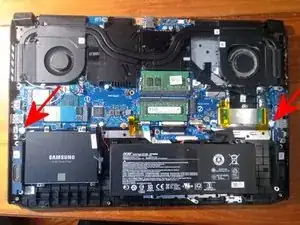
Replacement of the SSD/HDD is suprisingly simple. Remove the 4 Philips screws, slide the drive straight to the side.
-
-
-
The small button cell is in black heatshrink, held in with one connector only. Unplug it. If you know what you are doing, solder in a new one otherwise replace the assembly.
-
-
-
I you crank up the toons [sic] too much and break a speaker, they are simple to replace. Unscrew them and unplug the connectors.
-
-
-
Keyboard replacement is quite involved and susceptible to fatal damage to the laptop due to connector damage. It involves removing the battery, fans/heatsink assembly, I/O boards, shields, mother board and cutting plastic standoffs, then plastic welding them back with the new kbd. This procedure will not be covered here.
-
