Einleitung
These headphones developed a rattle in the right speaker which made them unpleasant to the point of being unusable. At a casual glance, it almost looks as though the speakers can be accessed non-destructively. After causing terminal damage attempting to remove the first one, I figured I might as well go all-in and see what the rest of it looks like.
-
-
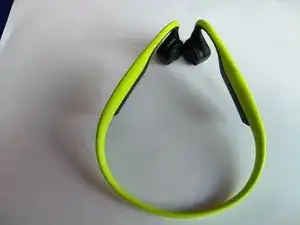
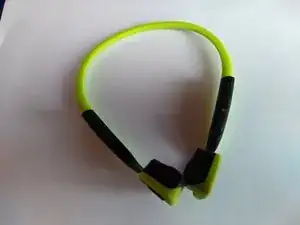
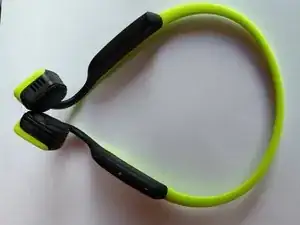
Intact headphones before disassembly begins
-
Intact to a casual glance at least; the right speaker rattles, and this appears to be a common mode of failure.
-
These headphones are a little under 3 years old, and have been used for running a few times per week.
-
-
-
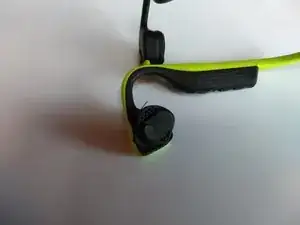
There are no screws or other points for tool access.
-
There is a seam around the rubber earpiece, so let's start poking there.
-
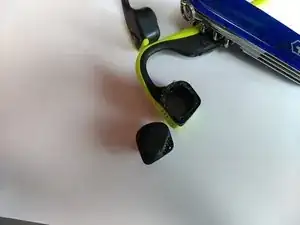
The rubber comes away easily. Some weak adhesive appears to be used to keep it in place, but it requires only a gentle pull using only fingers to peel it away.
-
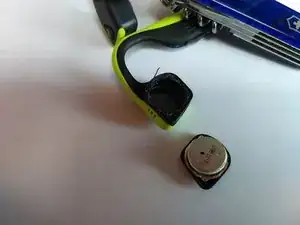
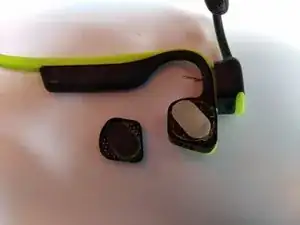
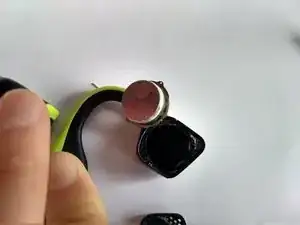
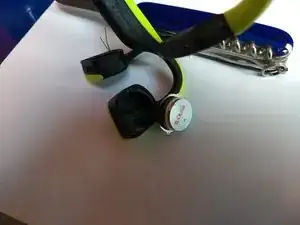
Unfortunately this peels not just the rubber, but the entire earpiece including driver. Not, however, including the wires.
-
On the plus side, it no longer rattles.
-
-
-
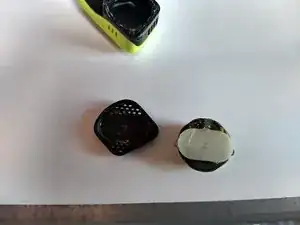
The rubber does peel away from the rest of the driver quite easily. It should be possible to do this without detaching the driver from its wires - we'll test that with the left in a bit.
-
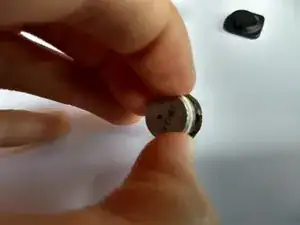
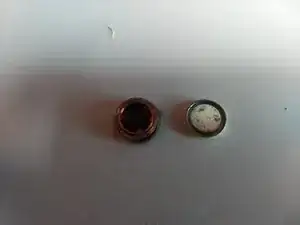
This is a surprisingly strong magnet given there is no discernible force felt outside the headphones when assembled.
-
It reads 2018-12-03
-
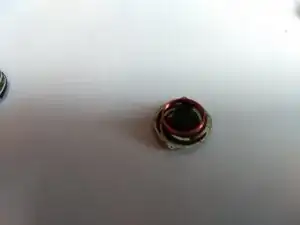
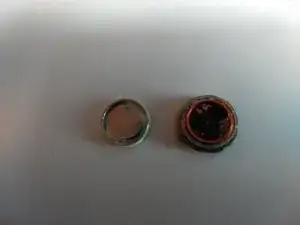
The magnet can be separated from the rest of the speaker with some assitance from a penknife. Only the white sealant around the outside holds it in place, otherwise it simply slots between the red coil and outer plastic case.
-
Further disassembly does not appear possible without causing serious damage.
-
-
-
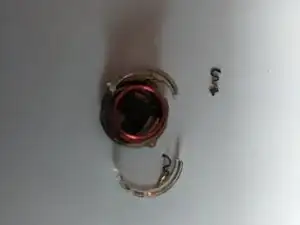
Turns out the plastic outer ring is not just for support, it appears to form part of the circuit between the incoming wires and the driver.
-
If there is a correct way to dismantle the speaker, this was not it.
-
There don't appear to be any servicable parts in here.
-
-
-
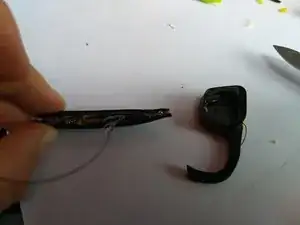
Knowing what's coming, this time we can peel the external rubber without damaging the rest.
-
The speaker is again held on by thin wires coming through the arm, this time in blue.
-
This magnet reads 2018-12-01.
-
On this side, a small portion of circuit board is visible. Perhaps unsurprisingly, this appears to carry two simple wires connecting to the single button used for play/pause/skip.
-
-
-
The left speaker appears identical to the right one.
-
There should be a microphone somewhere. Since the speakers are identical and there is no obvious separate piece, these may both be doing double duty as mics.
-
With a bit of care it would be possible to remove the magnet without detaching the speaker from its connecting wires, but it's not clear there would be any benefit from doing so.
-
-
-
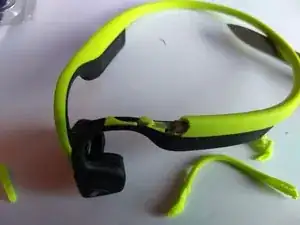
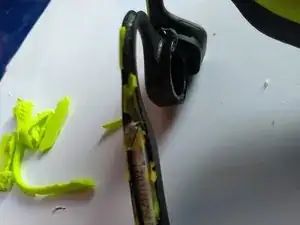
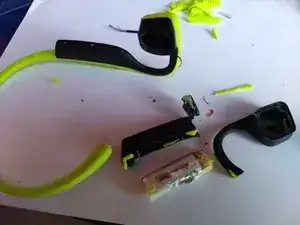
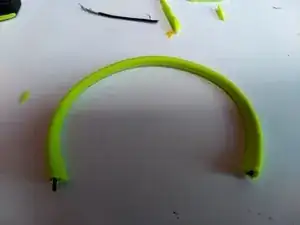
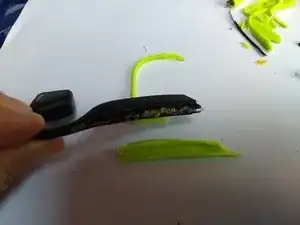
The black is hard plastic, the green (other colours available) is soft. They are not designed to be separated.
-
We can see the side of a battery here. It reads 292327C02.
-
The green plastic is actually three separate pieces, with one bonded to each black plastic piece, and the third wrapping around the headband.
-
-
-
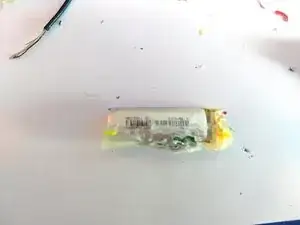
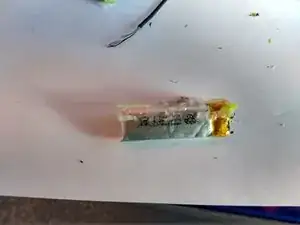
The battery requires some persuasion to come out. Lots of adhesive, and a tight fit inside the rigid black plastic piece. It is definitely not designed to be replaceable.
-
On one side - Li-polymer, 0.74 Wh, 4.2V. AEC 8376.
-
On the other side - 200 mAh, 3.7 V. AEC 531236.
-
0.2 Ah at 3.7 V would agree with 0.74 Wh, so it's not clear what the 4.2V marking refers to.
-
-
-
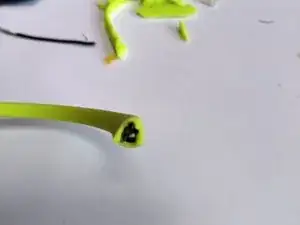
The headband consists of hard black plastic wrapped around a thin metal core.
-
The wires sit on top of the hard plastic, and the softer green plastic is then wrapped around them together.
-
-
-
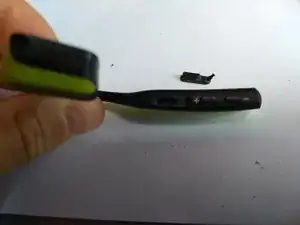
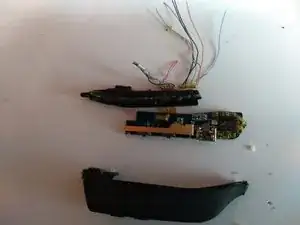
The right body contains the power and volume buttons, along with the micro-USB charging socket and LED indicator.
-
Presumably this is where the main chippery lives.
-
-
-
There is some adhesive down the sides of the circuitboard, but with none on top peeling the softer parts away is much easier on this side.
-
There's actually a screw in here. I wasn't prepared for this.
-
Once the screw is gone this end lifts out quite easily, but the other end needs a bit of force to free it from a snug fit.
-
-
-
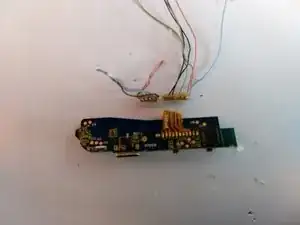
The wires connect to a ribbon cable connected to the top of the plastic top, which then runs through a slot to the board. This could likely be dismantled non-destructively if you know what's there (but not without destroying the plastic body to get here).
-
Back side contains AXS T1 868 A50P next to the ribbon cable connection. There is also BTR0018, presumably the bluetooth controller. Another smaller chip would require a magnifying glass to read. Others are just labeled Uxx, where xx is some number.
-
Front side main chip is CSF 8640 B04G 8334P5. The large copper foil attaches by the back side of the bluetooth chip, and is presumably the antenna.
-
-
-
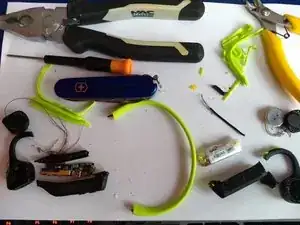
This may not actually have helped.
-
There does not appear to be anything user serviceable or replaceable.
-
The speakers may be possible to partly dismantle non-destructively, but cannot be replaced.
-
The rattle that inspired this seems likely to have been caused by the left speaker coming partly unglued from the casing. There does not appear to be any way to fix this, other than maybe trying to inject more glue and hoping it doesn't get in the wrong place.
-
11 Kommentare
Thank you for this!
Aaron -
I've got a Trekz Air set with a similar problem. Thanks for this, I won't touch it until it's unusable.
Thank you…so there’s just 1x magnet per ear piece?


there is an other way to open them the is two clip on on bottom
Reparactif -