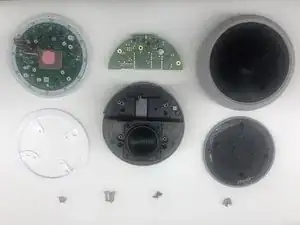
Einleitung
-
-
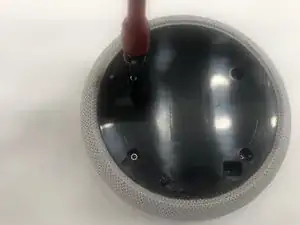
To loosen the adhesive holding the cover to the bottom of the Echo Dot, heat up the bottom of the Echo Dot using a hairdryer at the lowest heat setting for approximately 10-20 seconds until the bottom feels warm to the touch and the cover is easier to pry. Do not overheat the device.
-
-
-
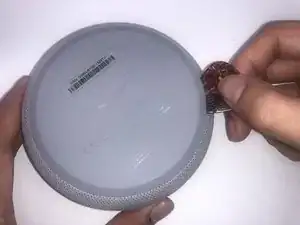
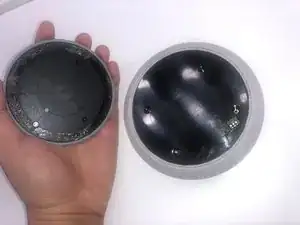
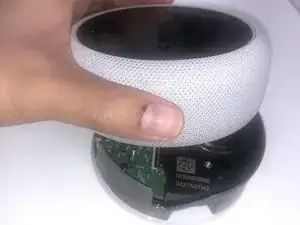
Remove the cover on the bottom of the Echo Dot by using a guitar pick or flat bladed tool. Be careful with any sharp objects.
-
-
-
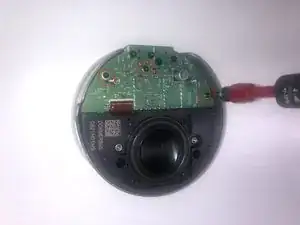
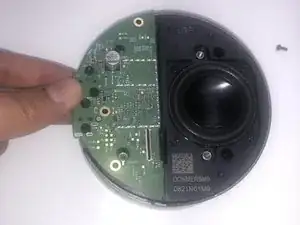
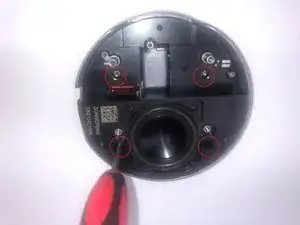
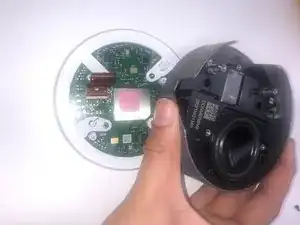
To remove the base PCB (printed circuit board), remove the three Torx bolts and the small flat-flex cable. Note that there is no need to remove the four bolts that keep the power and the headphone connectors down.
-
-
-
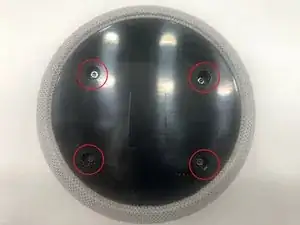
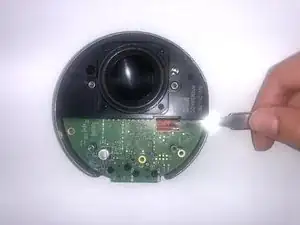
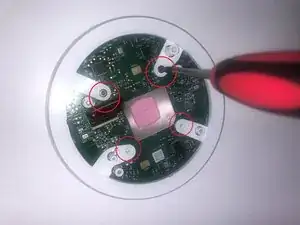
To remove the white plastic ring from the top PCB, remove the four silver Torx bolts with a Torx screwdriver.
-
