Einleitung

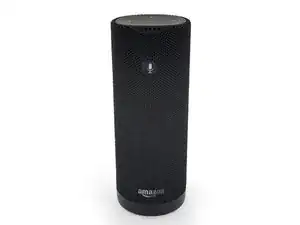
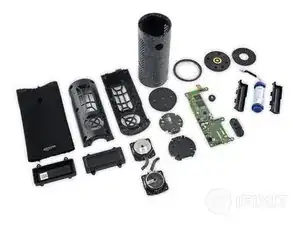
Amazon's crusade to make household objects more smart (and make more smart household objects) continues this month with the Tap, their first Alexa-equipped portable speaker. Featuring streaming audio and a built-in personal assistant, Tap promises to make your life easier and more connected. But you know what we say—it's what's inside that counts! Join us and find out exactly how smart this speaker is.

Want a look at Tap's landlocked cousins? Head on over to our teardowns of the all-new Echo Dot and the original Amazon Echo to see how this model stacks up.

Not ready to tap out? Follow us on Instagram, Twitter, and Facebook for more teardown and repair news.

  1. c2ogoYOcER4aCn4K
    c2ogoYOcER4aCn4K
    an33faKaacwUDinX
    SFVW6QgaBKVkfSIb
    • This is Amazon's first portable, Alexa-powered device, so we're excited to see how they've switched things up. Features include:

    • Button-activated Alexa Voice Service

    • Up to 9 hours of audio playback on a single charge

    • Dual 1.5-inch drivers and dual passive radiators for bass extension

    • Single-band 802.11b/g/n Wi-Fi and Bluetooth 4.2

    • Charging cradle

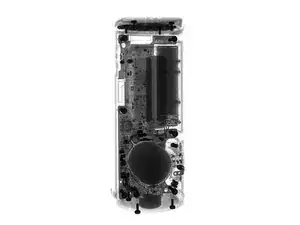
    • While we're sharpening our tools, here's a sneak peek via X-ray.

  2. SxDiWSP2gmabFYBw
    SxDiWSP2gmabFYBw
    hRIbJtysYXKCTNhK
    4AJwGteLvOE6UnQH
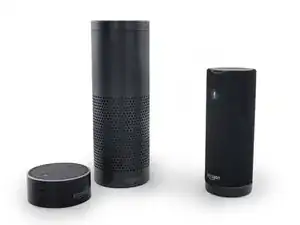
    • Faceoff! On the right we have the Tap, and on the left, its wirebound siblings. Go on, guys, introduce yourselves.

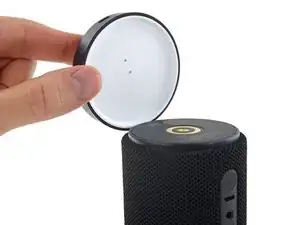
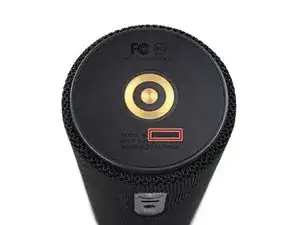
    • Tap's charging cradle sports two spring contacts that connect to the base at any angle, thanks to this target-shaped pair of circular contacts on the bottom of the Tap.

    • Taking a closer look, we see Tap's model number, PW3840KL, alongside all the usual suspects.

  3. OfgdocnfKpPJ3jZO
    OfgdocnfKpPJ3jZO
    MRTAUnCXqRXEyiAZ
    qj5bFUTo4oQFupFG
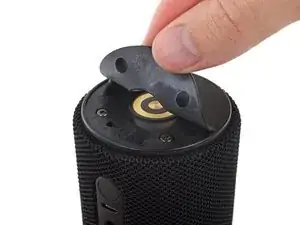
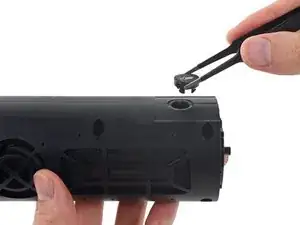
    • With a couple other cylindrical Amazon teardowns under our belt, we know the drill. The first piece out of this puzzle is the base's rubber footing.

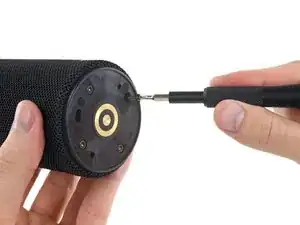
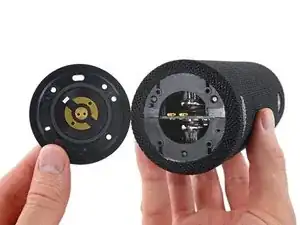
    • Seconds later, a few T9 Torx screws bite the dust, and we get our first look inside.

    • It's just a peek, though—our path forward is blocked by the molded plastic housing. Time to check for other possible points of entry.

  4. tIOFTvKWXuAUvJGb
    tIOFTvKWXuAUvJGb
    milr4R1YyfxCXxoF
    xRYWFCLwwpRFtTRk
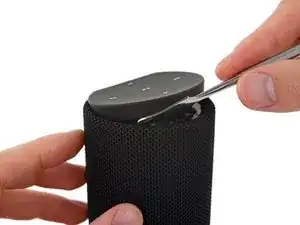
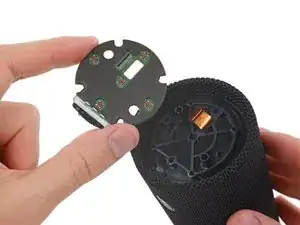
    • Undeterred, we turn our attention spudger to the rubberized control panel at the other end.

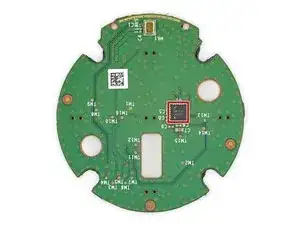
    • With some assertive prying, the plastic clips give way to reveal a control button breakout board featuring some buttons, a microphone, and a lone IC:

    • National Semiconductor LP55231 Programmable 9-Output LED Driver (as seen in the Echo and Echo Dot)

    • Unfortunately, there are no fasteners lurking at this end either. Time to get creative destructive!

    Is there only one microphone module?

    jake -

    Easier to pry from front (mic side) than back like pic shows.

    Be careful with ribbon cable. Tug on it, and it’ll come right out of the inside…and you can’t reconnect without finishing disassembly.

    anonymous 7859 -

  5. 1RXMS1CXEmtHAEvT
    1RXMS1CXEmtHAEvT
    jxCLymbnKbGXOHqF
    sEiZcEJI3HAK16Zp
    • Thwarted by a lack of screws at either end, it seems that there's no easy way to Alexa's heart. So, let's do things the hard way.

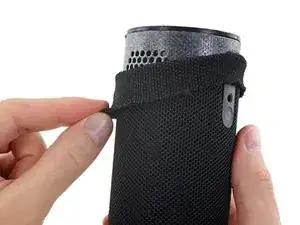
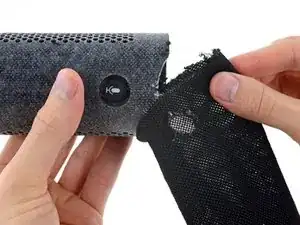
    • First off of the Tap's cowling is the stretchy fabric wrap, which we unroll from the cowling's firmly adhered outer surface.

    • Aaaaand still no screws.

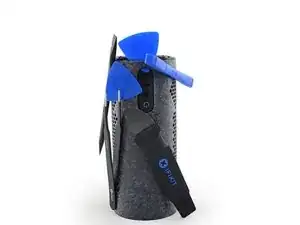
    • What we have here is a sticky situation. Many a brave pry tool met its doom attempting to bypass the Tap's flypaper exterior.

    No need to do this. Just unroll from around the bottom to allow inner assembly to slide out.

    Pry out out talk and power/bluetooth/aux/usb button covers before going to next step. It’ll makes it WAY easier to slide the inner assembly out of the outer casing. Pry towards sides—and not near top or bottom.

    anonymous 7859 -

    Thank you all and “anonymous 7859” you are right! Removing the power/bluetooth/aux/usb button covers can save you (the job on/and ) the external Fabric. Then, without the button covers and using two Flat screw drivers, just below the headphone, I pull enough the external layer up creating a tunnel for the headphone connector just to slide-out!

    Edson CodeInitiatives -

  6. EaMqIbHjJEcHgcBG
    EaMqIbHjJEcHgcBG
    ia4lKno2JfXIHhrv
    4u5wXUJpj6JhUD1n
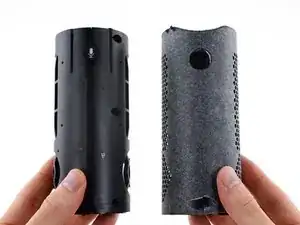
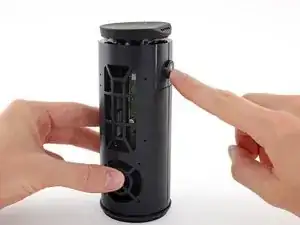
    • After a good amount of finagling, we finally manage to wriggle the cowling free by sliding it over the power, Bluetooth, and microphone buttons.

    • It may not look like progress, but it is. Just a few screws stand between us and those Taptastic interior goodies.

    • Suddenly the microphone button comes out all willing-like. That would have been helpful in the prior step, but we'll take it!

    Prying out talk and power/bluetooth/aux/usb button covers makes it WAY easier to slide the inner assembly out of the outer casing. Pry towards sides—and not near top or bottom.

    anonymous 7859 -

    yes.. taking the microphone button off first made it so much easier.. awesome!

    Andy -

  7. UmNv55kBtE6nXRaV
    UmNv55kBtE6nXRaV
    IceDFf5TyCtxAVMG
    kupL1ZhTxwjjccrX
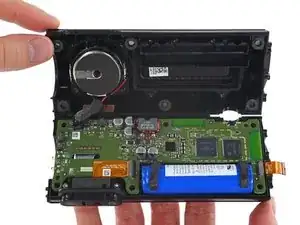
    • With the sheath shucked and a handful of screws dispatched, the Tap falls open like a book.

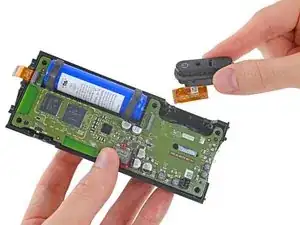
    • And things are looking up! The I/O panel, mounted by way of a couple screws, attaches to the motherboard via a flex cable and slides right out.

    • That means replacing the USB port, a commonly failing component in mobile devices, will be possible if not totally painless.

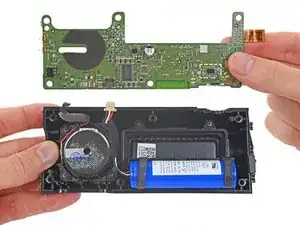
    • Moving right along, the motherboard jumps out to join the party.

    The motherboard is secured to the speaker seated under it via adhesive. Pull firmly but gently to separate!

    Rick -

    It’s pretty obvious, but remove the rubber retaining ring from bottom before you try to separate.

    anonymous 7859 -

    ach.. the “handful of screws” are security torx screws that are deeper than I can reach with my small stubbies.. I need the TR9 Torx Security Screwdriver above I guess..

    Andy -

  8. aJ5nIBkHQvgOmEcY
    aJ5nIBkHQvgOmEcY
    CGJaHVZsDfJKKnyq
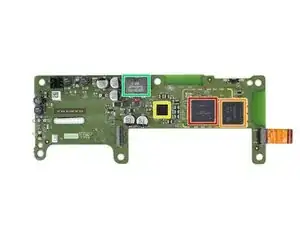
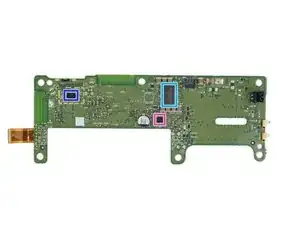
    • Reaching the brains of this smart speaker, we do our due diligence and identify all the key players:

    • Freescale/NXP MCIMX6L8DVN10AB i.MX 6SoloLite Applications Processor

    • Samsung KMNJ2000ZM-B207 512 Mb DDR2 SDRAM Memory (likely)

    • Maxim MAX77697 PMIC

    • Coilcraft SER1360-272L High Current Shielded Power Inductor

    • Texas Instrument TPA3130 15W Filter-Free Class D Stereo Amplifier

    • Broadcom BCM4343 Wi-Fi and Bluetooth 4.2/Bluetooth Smart SoC

    • Maxim MAX98090 Ultra-Low Power Stereo Audio Codec

    The KMNJ2000ZM_B207 is a 4-gigabit LPDDR2 RAM chip. That means this speaker is sporting 512 megs of RAM. Not bad at all for a speaker.

    Brion Davis -

    The same chip also provides 4 gigabytes of flash storage as well.

    Brion Davis -

    The MCIMX6L8DVN10AB processor houses an ARM Cortex-A9 core. I am quite shocked as the Tap is actually better endowed with both RAM and processor than the more expensive Echo.

    Brion Davis -

  9. hfrMfxQ4OQXX62VK
    hfrMfxQ4OQXX62VK
    M4n6WWmjgDB41gWO
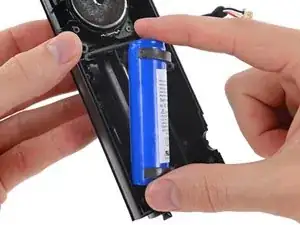
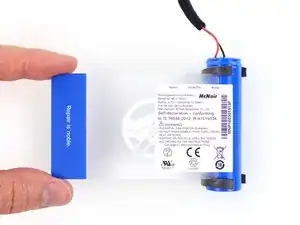
    • Next to come out is a standard 18650 Lithium Ion cell, widely used in the industry from Tesla vehicles to self-balancing boards.

    • This unit is rated for 2850 mAh at 3.7 V to yield 10.54 Wh, which Amazon says will provide up to 9 hours of music playback.

    • Compare that with the 3.8 V, 2750 mAh, 10.45 Wh battery in the iPhone 6s Plus—a battery with a similar output for a radically different job.

    can you please, peel off the blue shrink sleeve to see the original cell inside

    kun4oto -

  10. IHoNCNoxlGnkExVW
    IHoNCNoxlGnkExVW
    UYOoANxgiIxPb4sC
    NLgY1AUfLeDJDVYn
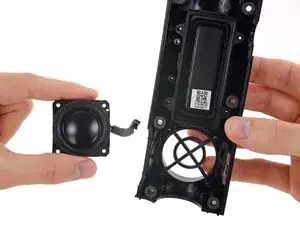
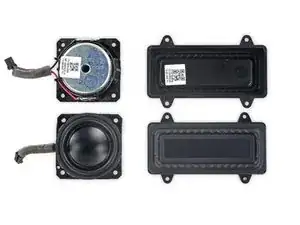
    • We're down to the real heavy hitters: the speakers!

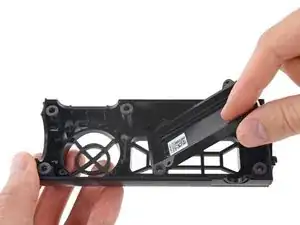
    • These little 1.5-inch drivers each pair with a larger passive radiator to improve lower end frequency response without additional large drivers or a base response tube.

  11. 6FTXTQRXnD3ow5Xi
    6FTXTQRXnD3ow5Xi
    UIuTgkSGX43DfOTB
    • Okay but seriously, those passive radiators aren't even connected to anything. How important could they be?

    • We thought you'd never ask. What we have here is a reassembled Tap with a conspicuous absence of passive radiators. So how does it sound?

    • In a word, bad. Just for kicks, we ran a quick audio spectrum test with the passives out, and again with them in. Our puny human test subjects couldn't even hear the signal below 120 Hz—until we reinstalled the passive radiators, at which point they confidently identified a bassy rumble all the way down at ~90 Hz.

    • Good job, passive radiators.

  12. VltVKDc1em153eim
    VltVKDc1em153eim
    DXBkTVTnDcQfCJDV
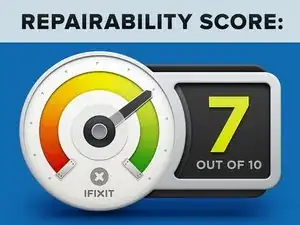
    • Amazon Tap Repairability Score: 7 out of 10 (10 being the easiest to repair)

    • The battery, control board, I/O board, and speakers all connect to the motherboard via standard cable connectors.

    • Most components are held in with easily-undone clips or standard screws.

    • Removing the cowling requires a significant amount of force, but it is a nondestructive process.

    • Repairs are straightforward if you know your way in, but could be daunting without a service manual.

    • Tough adhesive holds the rubber footing to the base.

Evan Noronha

Mitglied seit: 06/02/15

219164 Reputation

16 Kommentare

I have been waiting for this teardown of the Amazon Tap. Thank you!

Richard Wade -

I can't tell from the picture but do you think a better wifi antenna could be added?

Michael Smith -

How many microphones does it have?

Only 1?

Peter Cooney -

Can the outer speaker cloth be reattached? Why no red dot for that?

Bryce Nesbitt -

How easy would it be to hack in an audio stereo output jack? (to connect to an external stereo or boom box.)

mmmmmmm -

Connect 4 pole headphone jack to pins 4, 5, 6 and 7 on the MAX98090 audio codec. Look up the datasheet for the chip for exact specs. It has it's own headphone amp built in.

Brion Davis -

Where can I find the data sheet for the chip MAX98090 to connect a headphone jack to the unit?

Bob ohler -

does anyone know how i can flash the firmware to factory settings? I have one that was used as a store display model and the wifi/bluetooth are disabled and it has a recorded sales message on it. thanks in advance.

arran biggart -

Thanks for this info. I had a busted speaker in my Tap and this helped me to save money by just buying the speakers and not having to replace the whole thing. Also I was able to get then cowling off without taking the cloth off all the way but that was only because of this tutorial. Once again thank you.

Marc Allen -

My first time to find this sight but….. II FFREAKING LOVE IT!

MY NEW FAVORITE!

AWESOME JOB!

willyguyver -

Thanks! Couple of improvement…

Step 4: Easier to pry at the front (under mic) than the back where your pic shows. Careful! Ribbon cable comes right out…and you can’t reconnect until you’re fully inside.

Step 5: No need to completely remove fabric. Just unroll from around the bottom to allow inner assembly to slide out.

Step 5 1/2: Prying out talk and power/bluetooth/aux/usb button covers makes it WAY easier to slide the inner assembly out of the outer casing. Pry towards sides—and not near top or bottom.

Step 6: With the buttons removed, inner assembly slides out BOTTOM pretty easy—except that it catches on the aux jack. Had to to carefully pry outer case around it.

Step 7: Remove rubber retaining ring from bottom.

In my case, the unit had stopped making any sound after it was dropped—but otherwise functioned normally. Upon inspection, coil had come loose from motherboard. A little solder and glue…and voila! It works great again.

Went back together pretty easy. Again, careful with top ribbon cable!

anonymous 7859 -

Hi! Thanks for your comments—however, as stated in the banner at the top, this is not a guide and should not be used as instructions. Glad things worked out for you!

Jeff Suovanen -

Thanks a ton!! Your instructions really helped guide me inside the tap!

I think, iFixit should change the step where they remove all of the fabric, to one from your step.

Also, regarding working around the AUX jack, while sliding the cowling over the core, I covered the jack with a thin metal spudger and then holding it in place, pushed the cowling over it. This way re-installation was also easier.

My tap’s battery backup had reduced a lot! Changed the battery and everything is fine now!!

Sji -

So is it worth pulling it apart if I am stuck with it not working? Constant blue light in front. Won't respond to pushing buttons to reset. I love my tap and so sad it is dead.

ethelser5 -

Can anyone tell me the type of speaker this is and the serial number and the type of battery?Thanks

firedawg59 -

My  Alexa has no sound she is responding but I cant hear  anything the volume is turned up. What can be the problem?

firedawg59 -