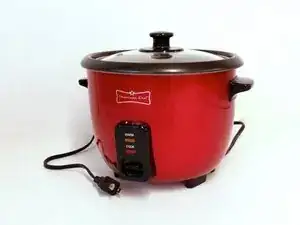
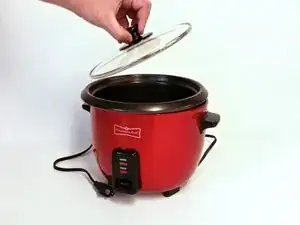
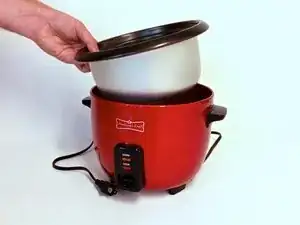
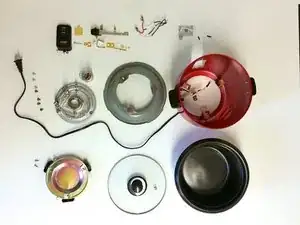
Einleitung
Werkzeuge
-
-
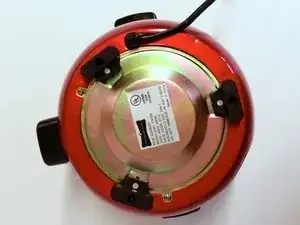
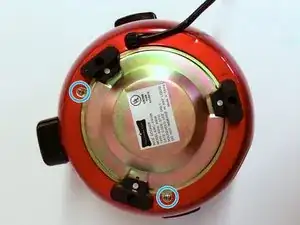
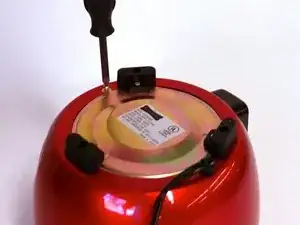
Use a Phillips #1 screwdriver to remove the two screws.
-
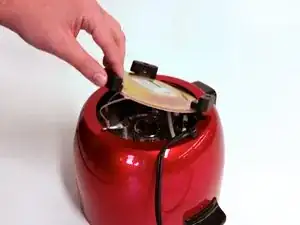
Remove the bottom plate by lifting one of the rubber feet.
-
-
-
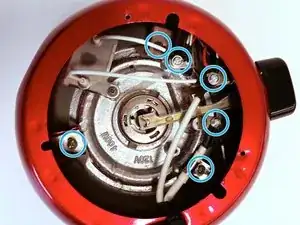
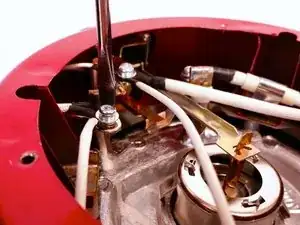
We're inside! Here's our first look at the circuitry. Let's take it apart.
-
Use a 3/8" or 8 mm flathead screwdriver to remove these six screws.
-
-
-
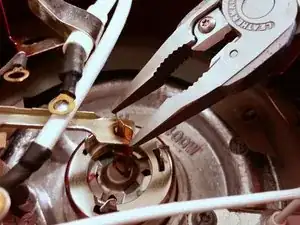
Find the metal tab that connects the center button to the switch lever.
-
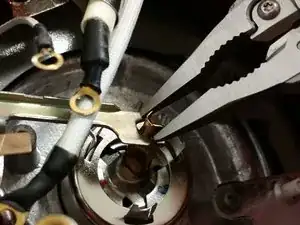
Use pliers to bend the metal tab into a U shape.
-
Align the tab with the slot so that it falls through.
-
-
-
Turn the rice cooker right-side up.
-
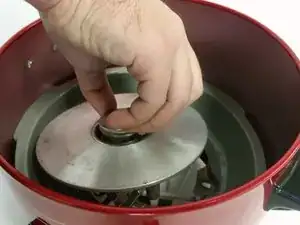
Grab the center button and pull the heating plate upward. The gray metal ring should come out with it.
-
-
-
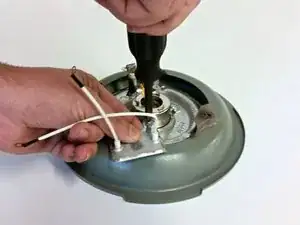
Use a Phillips #1 screwdriver to remove the screw connecting the temperature sensor to the heating element.
-
Remove the temperature sensor.
-
-
-
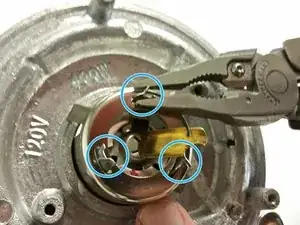
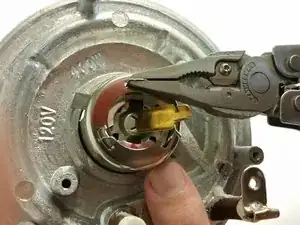
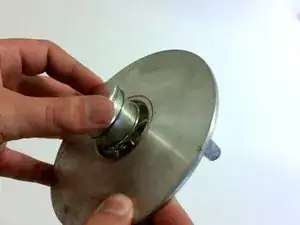
Three bent metal tabs connect the center button to the heating element. Use pliers to flatten these three tabs.
-
Remove the center button from the heating element.
-
-
-
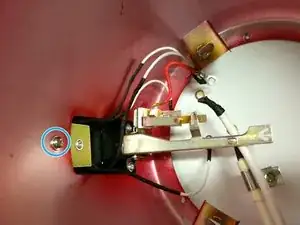
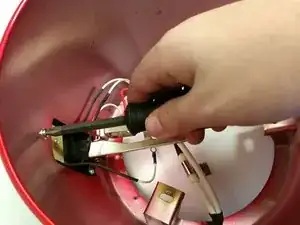
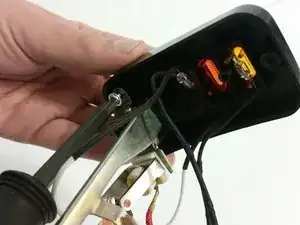
Use a Phillips #1 screwdriver to remove the screw that secures the control panel.
-
Remove the control panel from the outside of the rice cooker.
-
-
-
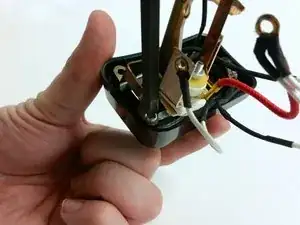
Use a Phillips #1 screwdriver to remove the screw securing the rectangular fiberglass plate. This should free the two light bulbs.
-
Use a Phillips #1 screwdriver to remove two screws securing the switch lever to the control panel plate. Remove the switch lever.
-
-
-
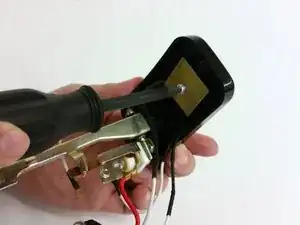
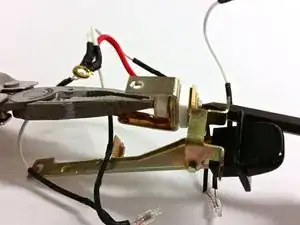
Use pliers or hex wrench to hold the nut while using a Phillips #1 screwdriver to remove the screw holding the switch assembly together.
-
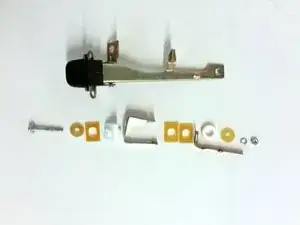
Pull the switch assembly apart into its parts. Careful not to lose any of these small parts!
-
