Einleitung
The Anova Precision cooker is a great product and has a fantastic customer service and returns policy. However, if you're not interested to wait for the shipping of a replacement machine for a blown fuse, here's a quick teardown on how to find it and trouble shoot it.
My issue was something totally different and I wasn't able to locate it. Nevertheless, I was fully replaced by Anova so Kudos to the customer service team. I was eventually asked to destroy the faulty machine so here are the photos and experiences of me destroying my machine.
Werkzeuge
-
-
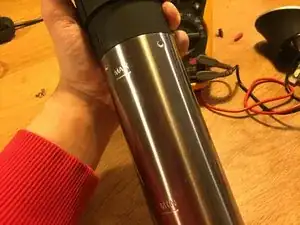
Grab hold of the upper part of the cooker and the stainless steel skirt
-
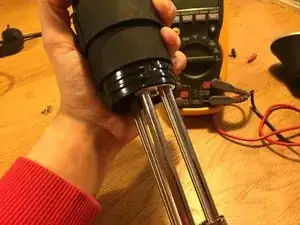
Rotate the skirt until it loosens from the slots and pull it off
-
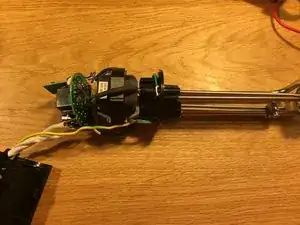
You'll be left with the heating element, the thermometers and the mixing arm visible
-
-
-
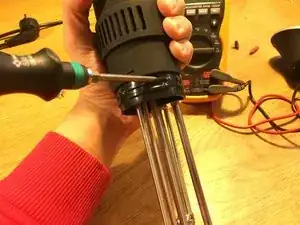
Locate the two screws that hold the case together. Unscrew them (philips 1)
-
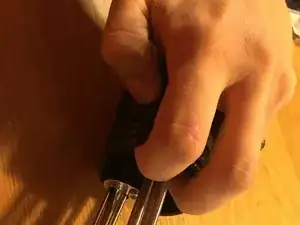
Using relatively much force, insert two fingers beneath the casing and pull it off from the counter part. It is held in place by few plastic clips that will yield with force without breaking (in my case, where I was destroying it)
-
The clips are located relatively close to the upper edge of the casing, if you are interested in shimmying them with a palette knife etc.
-
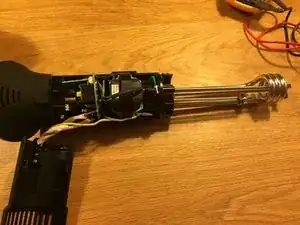
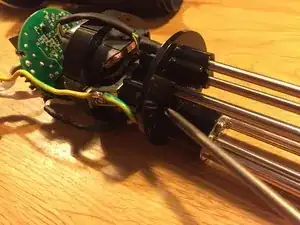
You are left with the top most cover off, the power cord holding it still in place
-
-
-
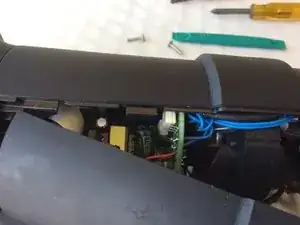
The plastic locking tabs can be popped open using a 'spud' tool inserted at the fat part of the housing and then slid toward the top of the unit. You can see the tab at the very left of the screen. Green 'spud' tool in the background
-
-
-
Remove the control unit by unscrewing the two screws that hold it in place
-
You may then remove the bottom casing as well if interested
-
Notice to remove the control cable before violently showing the control unit aside
-
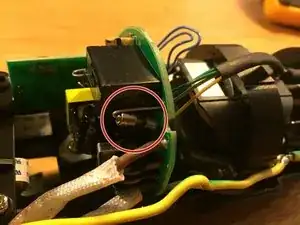
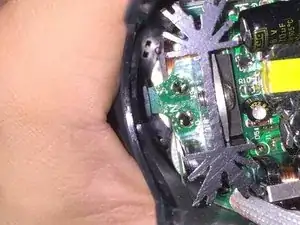
The fuse is clearly visible next to the power cord. To change it, you need to unsolder it and solder a new one in place
-
-
-
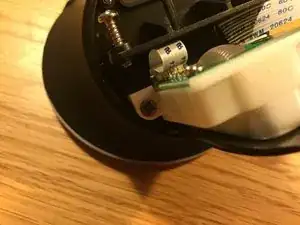
The temperature control adjuster can be removed by the two flushed screws
-
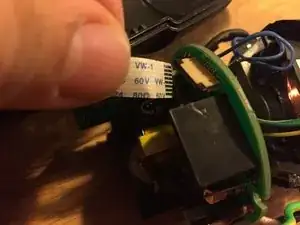
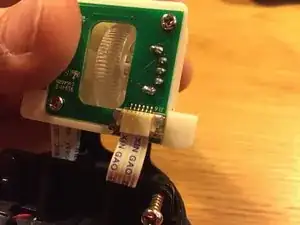
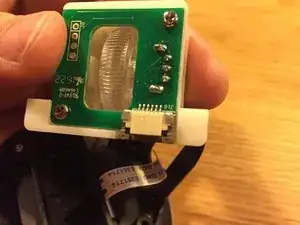
To remove the control cable, lift the small plastic shimmer an then pull out the cable
-
-
-
The two screws in the bottom of the unit secure the motor in place. removing them loosens the motor. Also remove the propeller from the axel and you can list the engine off
-
When reassembling, note the notch in the circuit board needs to go to the dedicated hole in the casing.
-
39 Kommentare
Any idea how to get the very top control unit open?
john -
I think the grey bezel around the display is clipped with plastic clips. I tried to pry it open with a palette knife but didint mange to do it.
My unit has a power fuse located right under the power cord plug at the back of the unit. It unclips and slides out for easy replacement. I the fuse which you show in your photos inside the unit a different fuse than the one I am referring, perhaps an older model. I am curretly experiencing a problem with my unit that I would like very much to resolve. As I'm located in Brazil, it is virtually impossible to get service for my unit. Thaty and the fact that I bought the unit used from a friend compounds the issue. It was however, working perfectly until yesterday when I noticed that the unit is not heating the water. The unit runs and lights up and everything appears to be working fine, but the water is not heating. I have tried cleaning the insides with vinegar and I have tried putting heated water to see if the thermometer is reading the temperature of the water, which it is. After a few minutes however, the temperature begins to drop rather than heat up to my set temperature.
Does the circulation motor keep running when it stops heating?
Thaddeus -
I have this problem. I can’t heat the water. My circulator spins the whole time. Only problem is it doesn’t heat he water. The upper half of the unit gets hot not the lower.
philip -
