Einleitung
With no previous information to follow, I was not able to disassemble this headset without causing irreparable damage to my personal pair.
Nonetheless, this is an excellent starting point for beginning a repair without damage.
You're welcome.
Werkzeuge
-
-
While there seem to be a variety of technical problems with the electronics of the Beats Studio 2.0 headphones (both wired and wireless), mine had a very specific problem:
-
Appearing fully charged, they would play (at any given volume) for a period of no more than 1 minute before fading out, the effect spanning roughly 1/4 of a second. They would need to be hard reset and turned back on before being functional
-
My initial hypothesis: either battery was not charging properly, internal circuit problem ("fading" may be from capacitor failure), or some other miscellaneous failing component
-
-
-
I was hopeful that the issue was a bad battery (as these are relatively easy to solve), so I decided to start with the charger-side earpiece.
-
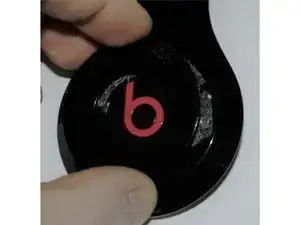
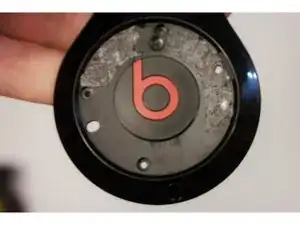
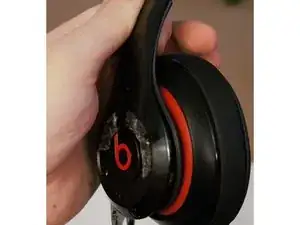
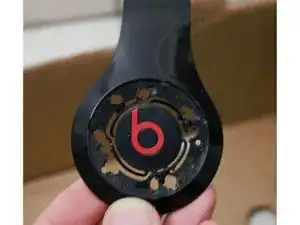
There are subtle holes on the outside rings of either earpiece, hinting that prying may be possible. The surrounding plastic is very fragile, so if you are trying to salvage the suave exterior, you may want to apply heat as there is strong adhesive holding the ring in place.
-
After removing the plastic ring, screws were now exposed that held two halves of the outer earpiece assembly together. Excellent!
-
Though the screws provided support, the two halves didn't simply fall apart - a surrounding plastic clip holds the two pieces snugly together. Time to grab the spudger...
-
-
-
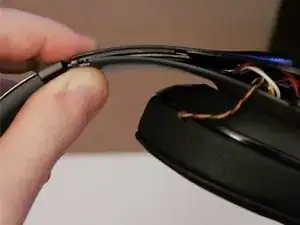
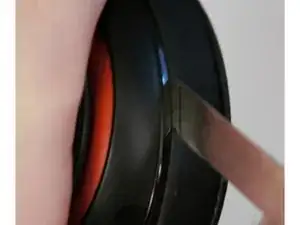
By putting a thin spudger between the two halves of the plastic container, it is fairly easy to separate the two halves. But the top likely won't come apart without a fight. There are two primary pieces to keep in mind:
-
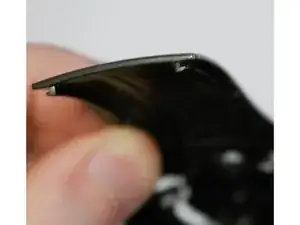
The small clips that show "L and "R" should probably be removed before the two pieces are separated. They are clipped into the outer shell and adhered with a similar adhesive to the outer rings that were previously removed. The trick: spread one side outwards as you are prying the broad section away from the rest of the shell.
-
Now to the main issue: there are deep "tracks" that clip the two halves together. I haven't been able to use a technique to make this easier, as you cannot "slide" the two halves apart. Just like the L/R clips, concentrate on stretching the inner (grey) part as much as possible. Force will be necessary; leave a comment if a better way is found.
-
-
-
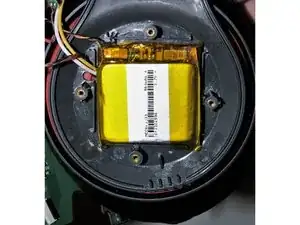
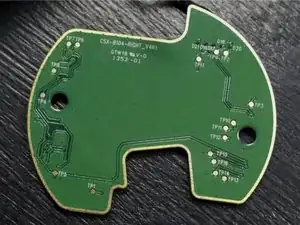
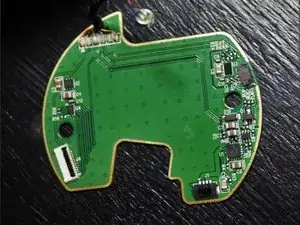
Sadly, the earcup's contents weren't as plentiful as I had hoped. Housed inside are the lithium battery, noise-cancelling microphone, LED control circuit, and power/charging circuit.
-
After completing a visual inspection the circuit board for any signs of component failure (discoloration, burn marks, melted exteriors, etc.), it was time to look to the other earcup for answers.
-
-
-
Based on the previous side, I assumed that disassembly of the 3.5mm jack side (to be referred to as "jack side" from this point) would be similar. I started by removing the surrounding ring, only to find out that there was no screws hidden underneath.
-
After prying for a while, I began to wonder if some type of plastic clips were holding the two sides together. Knowing the two sides were already held together with strong "rails", I decided to drill out the areas where these clips were believed to be located
-
-
-
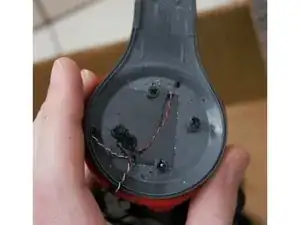
After drilling was performed, I noticed that the headphone would no longer turn on. Upon further inspection, one of the drill holes had penetrated leads in the circuit board.
-
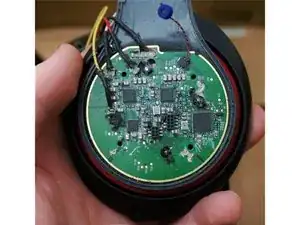
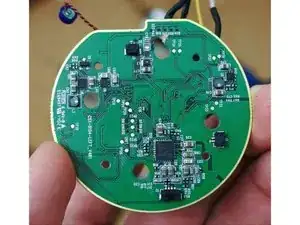
Due to its physical damage, I was unable to perform a good diagnosis on the cause of the headphone issue. While not being an electronics engineer, my best guesses are either a processing chip or a capacitor malfunction (due to initially working but fading out, and functioning for longer periods if they haven't recently had a hard reset)
-
The physical damage prevented me from being as motivated to check for signs of component failure, especially knowing that this pair of headphones was likely irreparable at this point.
-
-
-
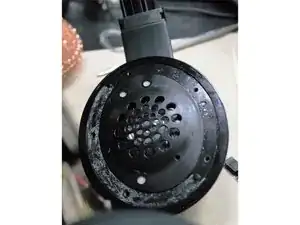
The holes that were drilled revealed that screws were attached from the inner side of the earcup.
-
There are a few seams to choose, but the one I chose (which is also the correct one) to begin further disassembly is between the foam pad and the small first layer of plastic.
-
There is no magic that can help this step very much, as heat around the cushion can easily deform or melt the plastic, and heat from the back cannot penetrate the insulating plastic and air from the other side.
-
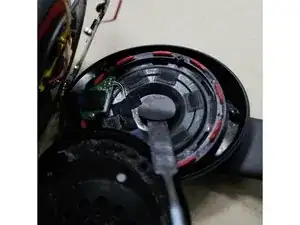
Insert a metal or plastic spudger roughly half an inch between and slowly rotate to separate. You should hear the strong adhesive releasing slowly.
-
-
-
There are 5 screws that hold the thin plastic layer (securing the speaker) to the other side of the enclosure.
-
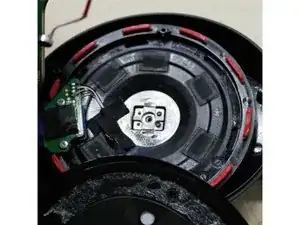
Located inside, you can find headphone connector, wires to connect to the speaker, and the noise-cancelling microphone.
-
Small pieces of tape prevent wires from moving inside the enclosure, which will probably have to be removed (either to be re-adhered later or replaced with hot glue)
-
In the middle is a black sticker, hiding a single screw that makes a structural connection to the headphone frame through the "accoustic refulex/comfort chamber" (It's red on this model - Im not entirely sure of its main purpose)
-
-
-
After removing the middle screw, I was now at a loss of which direction to go next. The earpiece was still firmly connected to the mysterious red chamber, and I didn't see a logical next step except to simply pull the two sections apart.
-
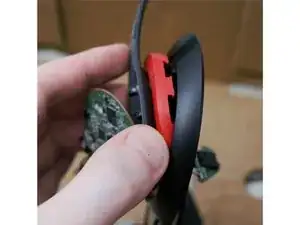
The slots in the speaker enclosure allowed the rubber to hold on to the speaker enclosure. I began forcing them out of their place to hopefully allow access to the other side.
-
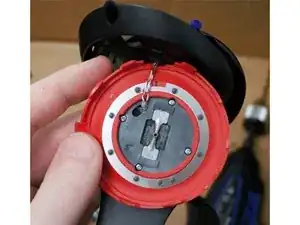
With all rubber nubs removed, I could finally see inside the rubber area - Finally! The 4 screws holding the frame pieces together could be taken off!
-
-
-
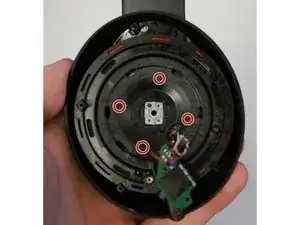
Instead of separating the two pieces, it seems highly favourable to drill small holes through the black plastic layer, allowing you to remove the 4 screws without separation
-
Accoustically, this probably isn't a great idea. So, afterwards, you would want to shake out as much of the plastic shavings as possible, and plug the holes as flush as possible using hot glue: push a drop of hot glue in the area with a finger or tool that has been wet with dish soap and water. It will prevent the glue from sticking on release.
-
In the picture, I've done my best to mark off approximate locations to be drilled. If off, you could either make larger holes or a separate hole, depending on your preference. Be very careful - take your time and drill with light/no pressure!
-
-
-
To anyone attempting to debug the faulty circuitry inside their headphones, I wish you the best and would be interested to see the results.
-
If a guide is made that references techniques shown here, it would be appreciated to link to this tutorial. In a small way, it helps me feel better about destroying my own set.
-
Images used anywhere else are requested to be linked back to this guide
-
23 Kommentare
Hello from Russia! Faced with the problem of defective wires on the left side, before it successfully dismantling the right.
There appears to be removal of the left cover (where the key) that you drilled.
Above and below there are easily detachable clip, but left and right can not understand that. But holding so that the plastic can be broken off along the radius of the part.
Who can help?
Hi there, are you using a translator? I am having trouble understanding what you are trying to say. If you would like to upload an image that may help
Mark -
These headphones are a real headache.I really believe they are throw a ways.The screws in the tutorial were not in the exact place as shown[no fault to the tech].I have been ripping my hair out trying to repair for a young man and wish i never started.It is easier to repair a computer or LCD TV.Just found out the cost of manufacturing and shipping was shown to be around 17 dollars.Tape and glue to me is not professional.I truly appreciate this guide and without it i would have said to him, throw the away or sell online.
traker9 -
Hello ! I disassembled mine today for curiosity, and found out that what you did at step 3 is not the best idea, it could very easily break the plastic. They are meant to be disassembled in the following order: unscrew the 4 screws, lift the round part just enough to remove the 2 connectors (battery and speaker) and then the plastic cover slides back with no effort whatsoever. Also, when putting it back together you must do the same, slide the cover, and then by gently keeping the round portion up, put the 2 connector back. It became clear to me that this is how they assemble them at the factory, because it doesn't click back into place, even when pressed hard, instead the plastic slide starts to crack.
If you ended up taking pictures or a video of the process, I can definitely add this to the guide.
Mark -
Please Please in that new video or tutorial please show step by tutorial on a left inner hinge!
maksimillian911 - just now

