Einleitung
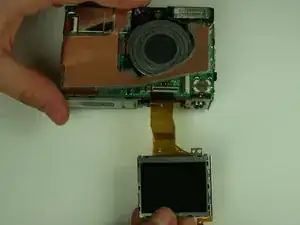
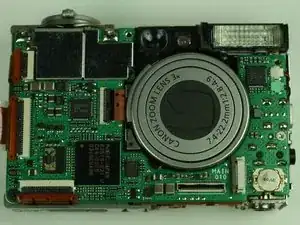
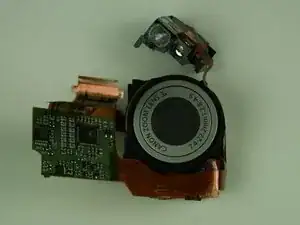
This guide outlines the steps in tearing down your camera to its basic components.
Werkzeuge
-
-
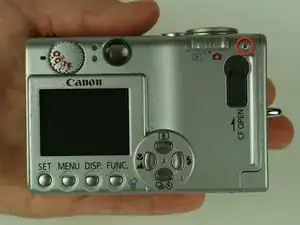
On the backside of the camera, remove the 4.75 mm screw that sits at the top right corner.
-
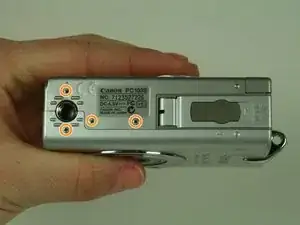
Remove the four 4.75 mm screws that sit at the bottom of the camera.
-
-
-
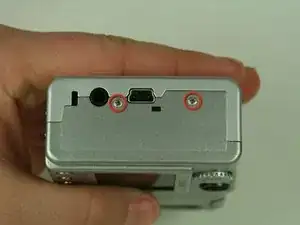
On the side of the camera, remove the two 4.75 mm screws that sit near the USB digital terminal.
-
-
-
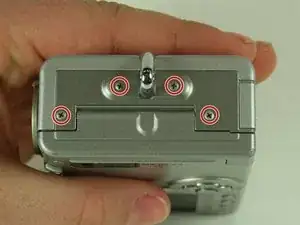
On the side of the camera, remove the four 4.75 mm screws that sit near the wrist strap mount.
-
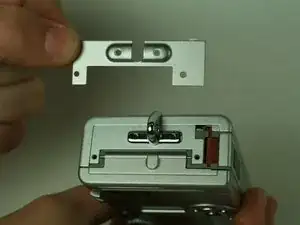
Remove the two small metal plates, which the four screws hold in place.
-
-
-
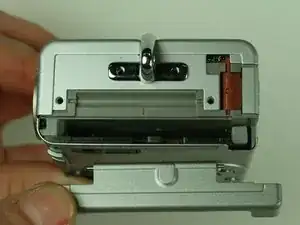
Remove the small black plastic piece and set it aside. If necessary, use tweezers to remove the small black plastic piece.
-
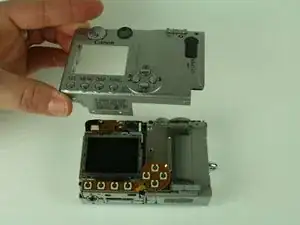
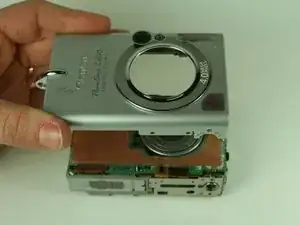
Detach the front case and back case.
-
-
-
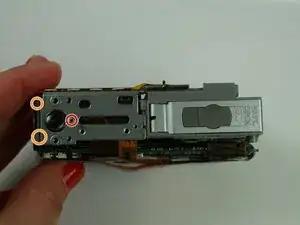
Remove the 3.5 mm screw that sits on the metal plate at the bottom of the camera.
-
Remove the two other 3.5 mm screws that sit on the side, to the left of the screw you just removed.
-
-
-
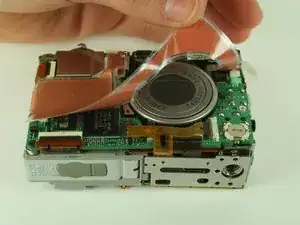
A ribbon cable attaches to the metal plate and to the main circuit board, on the front of the camera.
-
Gently release the black latch.
-
Remove the ribbon cable and metal plate assembly.
-
-
-
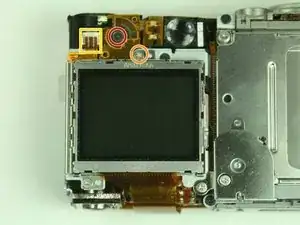
On the backside of the camera, remove the 3.5 mm screw that sits to the left of the viewfinder and above the LCD screen.
-
Remove the second 3.5 mm screw that sits directly above the LCD screen.
-
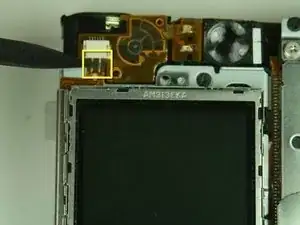
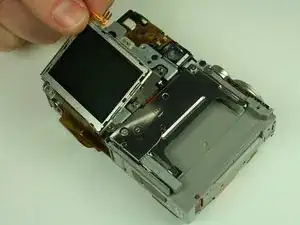
Gently detach the ribbon cable.
-
-
-
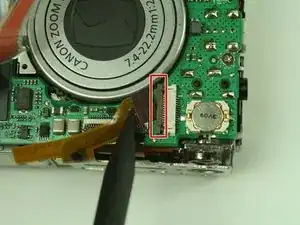
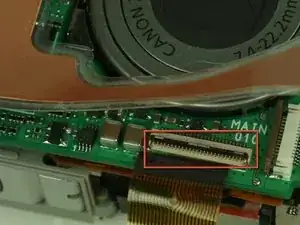
Locate the ribbon cable on the main circuit board, which sits below the lens.
-
Gently release the black latch on the ribbon cable connector and detach the ribbon cable.
-
-
-
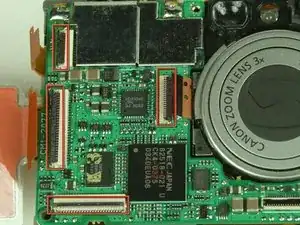
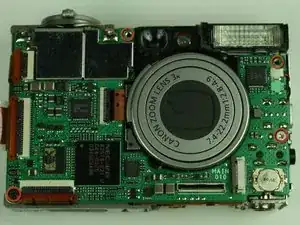
On the main circuit board, gently release the black latches of the four ribbon cables.
-
Gently detach the ribbon cables.
-
-
-
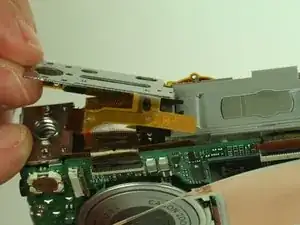
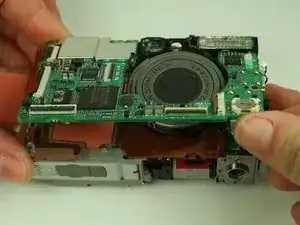
In a hinge-like motion, gently lift the bottom of the main circuit board, which is the side without the soldering points.
-
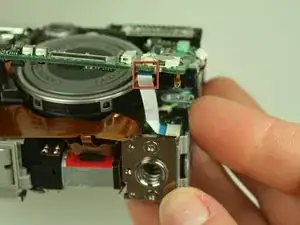
Gently detach the white ribbon cable from the underside of the main circuit board.
-
-
-
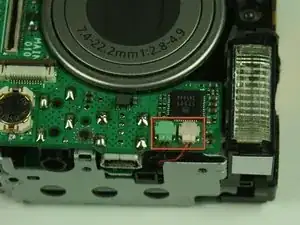
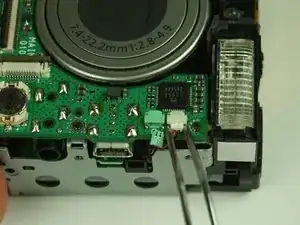
Gently desolder the two ribbon cables attached to the motherboard.
-
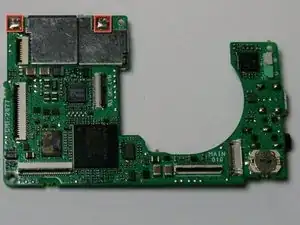
Remove the motherboard.
-
-
-
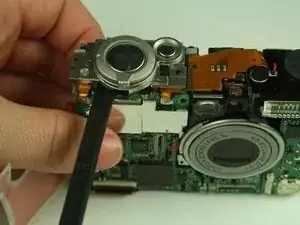
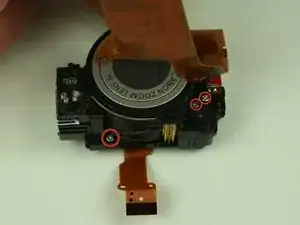
Working with the lens-flash assembly, remove the three 3.45mm screws located on the metal plate.
-
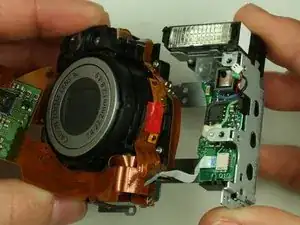
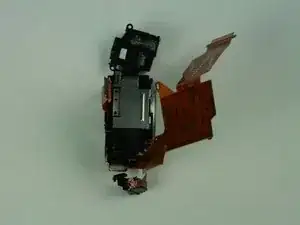
Separate the flash assembly from the lens assembly.
-
Set aside the flash assembly.
-
-
-
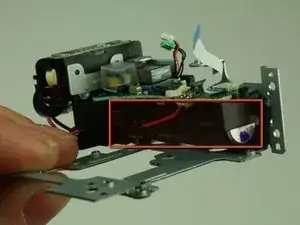
Remove the three 2.5mm screws connecting the viewfinder to the rest of the lens assembly.
-
-
-
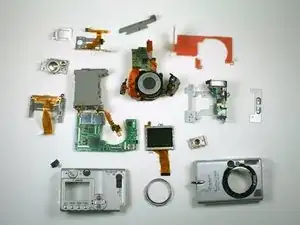
Displayed here are all of the components of the camera.
-
To reassemble the camera, follow all of the steps in reverse order.
-
2 Kommentare
FYI My S400 would not start sometimes. If I banged it in the palm of my hand occasionally it would then work. I was also having terrible trouble with batteries not working and showing low charge when they had been charged.. I opened it up as a last resort. On the front left side below the shutter button there was a small ribbon cable that under a magnifying glass I could see was slightly out of line. I reseated it and the camera has acted flawlessly since.
Am curious - I do not see the “Sensor” in this teardown? My immaculate S400 never dropped, not a scratch or scuff-mark, suddenly stopped working - dead sensor. The shutter still works and it can play images taken on another camera. But the display is near-black in record mode and images taken are “pure black”. It literally went from perfect to dead in one power-cycle. I was wondering if something may have come loose in there that a tear-down would identify?
