Einleitung

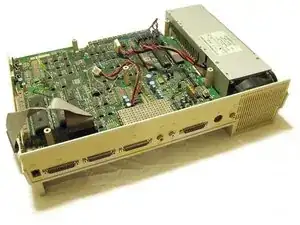
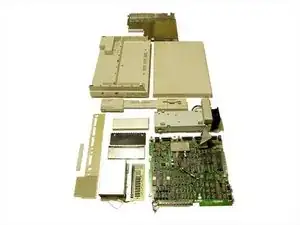
This is the Amiga that started it all. Released in 1985 the Amiga 1000 is a classic vintage computer. The inside of the Amiga 1000 case is engraved with the signatures of the engineers that worked on the project.

  1. TlIsesU6JsVDsUaI
    TlIsesU6JsVDsUaI
    C2unoQDXsaOKECLw
    lAw2IO2oeLrwBVpj
    • This Amiga has some yellowing on the case from age.

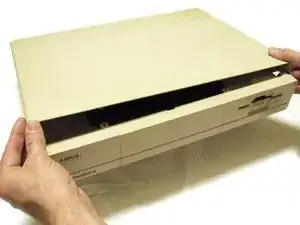
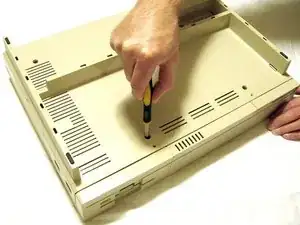
    • The first step is to remove the phillips head screws from beneath the Amiga.

    • Carefully turn the machine over and unclip the lid.

  2. XKAb352nUBL3fVie
    XKAb352nUBL3fVie
    LshxdSYE2BpkHry6
    vhkF2Wi2RZSr4PGG
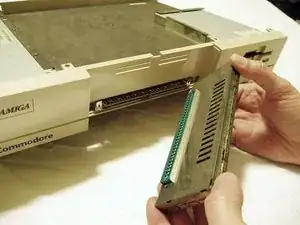
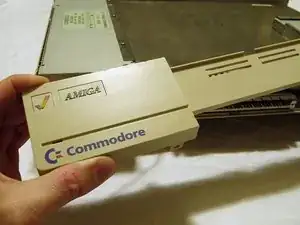
    • Remove the RAM expansion board by gently pulling it towards you.

    • The front panel of the computer can then be clipped off. Be careful with the power and disk drive LED's. It is easy to clip them off from the inside of the panel.

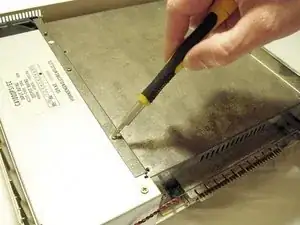
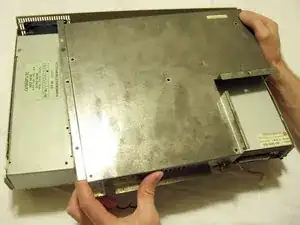
    • Remove the Phillips screws holding the metal shield in place.

    14 screws in total holding down the metal shield

    Rob O -

  3. lAqaYgXVcEgjTjvM
    lAqaYgXVcEgjTjvM
    5voKQoKNhyGumfOL
    pOpCmED2vL2BDdiJ
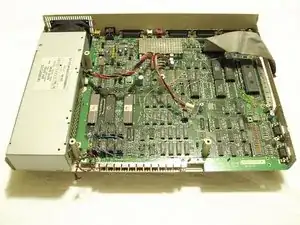
    • Gently remove the metal shield to reveal the system board, floppy disk drive and power supply.

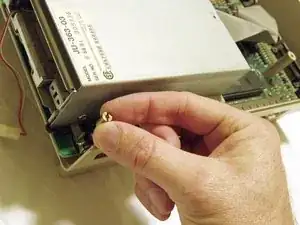
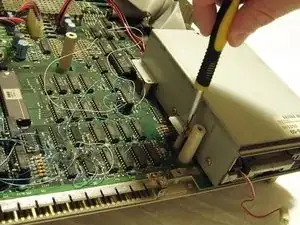
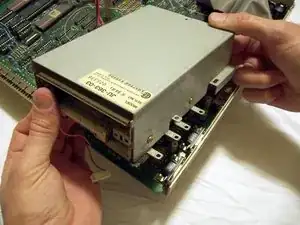
    • Unscrew the floppy drive from the case.

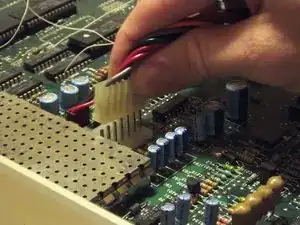
    • Check out those hook up wires!

    Holy moly! Those wires are very surprising! Did Commodore make last minute changes?

    TuxRug -

    No Commodore did not. It's the infamous "piggyback" memory upgrade that was presented in an article in the magazine "Amazing Computing" issue number 1, volume 2 from 1987.

    By molding two memory IC's together on top of the memory IC's on the motherboard you could upgrade it to 1mb ram! Those wires are needed to recognise the extra memory.

    It was a DIY project that voided the guarantiee for sure! ;)

    Marko -

    Sorry, I mean 'soldering' and nothing else..

    Marko -

  4. KIWVOK6AOgv62G3N
    KIWVOK6AOgv62G3N
    An5P2LGZSOeJsUcW
    V2qUkIPoPD2Meip3
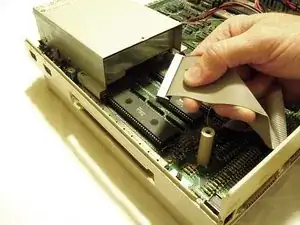
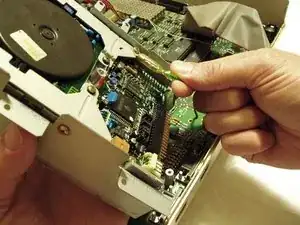
    • Remove the cables from the floppy disk drive.

    • There are three cables in total on the drive. Two on the back and one underneath.

  5. OToTRWR1WFPD6VvC
    OToTRWR1WFPD6VvC
    SCue6ptdFOf6x2o2
    IKFCcddqpC62cf4A
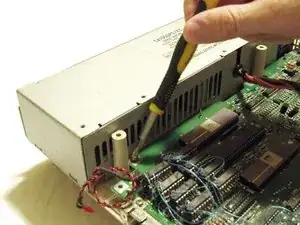
    • On this Amiga you will notice that there are lots of delicate hook up wires on the board. I am not sure if this is standard however you should exercise care when working around these deilcate connections.

    • Remove the screws holding the power supply in place and unclip the connector from the main board.

  6. Q1SDD6jW6jvIqbOP
    Q1SDD6jW6jvIqbOP
    uZoeLCeVthiZ12mZ
    ZWZorZvEKeJcDpSw
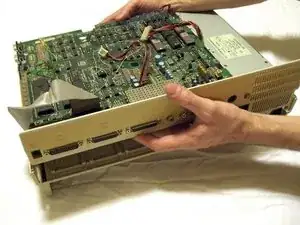
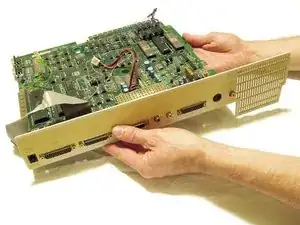
    • With the power supply disconnected from the main board and all screws removed it is time to lift the board from the bottom casing.

    • The rear panel lifts up with the board.

    • You can then separate the rear panel and main board.

  7. 2YGSs3xGEgWtkAWZ
    2YGSs3xGEgWtkAWZ
    U44HmGLvgP1l2yQa
    2OCtcC3HcA1XMKT1
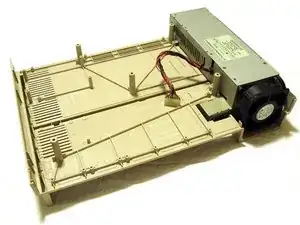
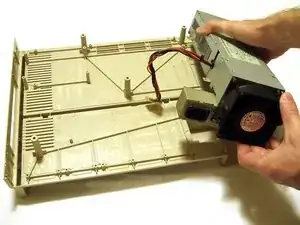
    • The power supply is the last item to be separated from the bottom case.

    • Lift the power supply and tilt as shown to release clip from the underneath.

    • There you have it, an old skool Amiga teardown.

    Wait, you're stopping there? What about the power supply? Tear it down too, or at least test it's outputs. Thanks for this trip down memory lane. =)

    john -

Andy Marsh

Mitglied seit: 25/04/10

118 Reputation

7 Kommentare

AMIGA FOREVER!!!! Only Amiga makes it possible!!!! I own A1000, A500, A600, A1200, A4000 and AMIGA CD32 :D

Francisco Perez Becerril -

This is a PAL Unit from the UK. The NTSC Units from the USA and Canada Have/had a daughter board on them. Also, the Commodore logo on the front is a dead give-away. None of the US versions had any Commodore labeling on them. Inside the top cover on all NTSC models is the signatures of the team, including Jay Minner's dog's paw print (misty) and "Joe Pillow"

Glen VanDenBiggelaar -

I used to own two PAL machines in the Netherlands which both also had the daughterboard, the CVBS Output also did not give colour output. The signatures, including the paw print, were also present, there have been different revisions around, the ones with the daughterboard were the older revisions as far as I remember.

Dirk Blom -

I have a PAL 1986 version here in Australia. It too has the signatures of the A-Team Moulded into the Top Case Lid. And does have the Commodore name on the Front Cover. Mine also has the Doughter Board inside and a Plate on the Left Rear Side of Top Case stating INSIDER ONE MEG RAM. I am currently having the Power Supply Re-Capped and giving Her a Good Clean and Service. Darren D&D Retro Computers.
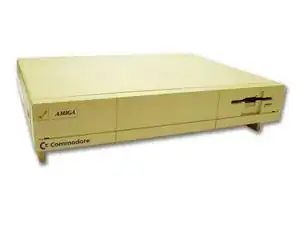
darrenpnut76 -

There has been 3 final revisions of the Amiga 1000. This one is Rev. B. Here are the details :

- Rev.6, fall 1985 : motherboard with 256 KB RAM, “mezzanine” dautherboard with 256 KB RAM, Denise 8362-R5 without EHB graphic modes, Agnus 8361 NTSC, black&white CVBS output, no Commodore logo, sold mainly in USA

- Rev.A, spring 1986 : motherboard with 256 KB RAM, “mezzanine” dautherboard with 256 KB RAM, “front” extension board with 256 KB RAM, Denise 8362-R6 with EHB graphic modes, Agnus 8361 NTSC or Agnus 8367 PAL, black&white CVBS output, no Commodore logo, sold in USA, imported in Europe and Australia

- Rev.B, summer 1986 : motherboard with 512 KB RAM, “front” extension board with 256 KB RAM, Denise 8362-R8 with 256/512 lines PAL graphic modes, Agnus 8367 PAL, color CVBS output, blue Commodore logo, sold in Europe, imported in Australia

All these revisions have the signatures.

The previous revisions (Rev1-5) were prototypes with chicken-lips-Commodore logo instead of A-logo on command keys.

Yann Serra -

Just to add one combination: I have a PAL (8362R6-8367R0-8364R4) from March 86 with Commodore logo, without daughter board, 256 + 256 in the front exp, without top metal shield and with some last minute fix where two resistors in series have been placed instead of one in R18, R25, R26, R27. It doesn't say the rev, or it's covered by the s/n sticker. Bought in Italy.

Dario -

Darrenput76 - the INSIDER ONE MEG board was an add-on back in the day. I added one to my Amiga 1000 back in the mid ‘80’s.

alien457 Nov 7 2020

Mike -