Einleitung
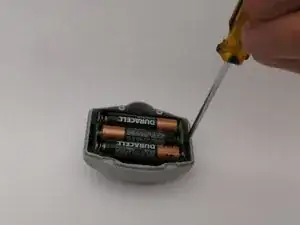
Tearing down a Cyclops Helios headlamp. Both hardware identification and functionality for the device are discussed.
Werkzeuge
-
-
Power off Cyclops Helios before tearing down by pushing the black button until the LEDs no longer emit visible light.
-
Black button - circled in red
-
-
-
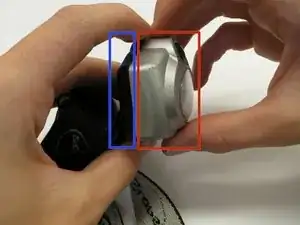
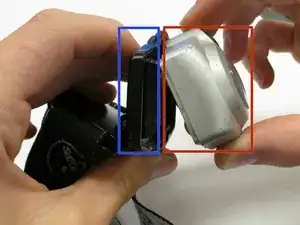
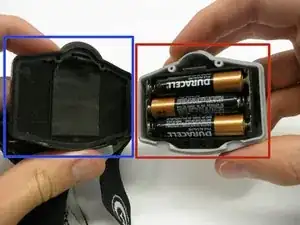
Using two hands, carefully separate the front panel and back panel of the Cyclops Helios.
-
Front panel - boxed in red
-
Back panel - boxed in blue
-
-
-
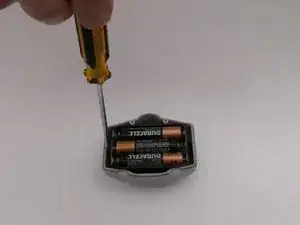
Use a Phillips head screwdriver to remove two screws from the front panel.
-
The two screws fasten the outer enclosure with the inner electronics of the front panel.
-
-
-
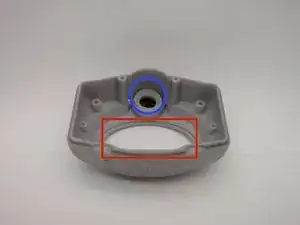
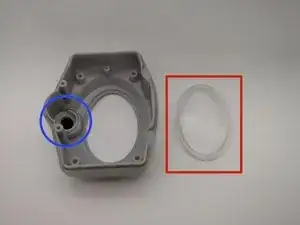
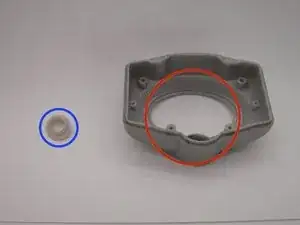
Within the enclosure of the front panel there is a clear plastic lens, and plastic button insert. Both are removable.
-
Clear plastic lens - boxed in red
-
Plastic button insert - circled in blue
-
-
-
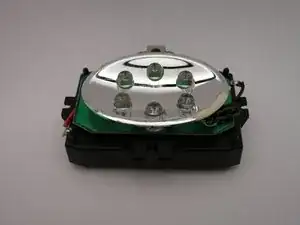
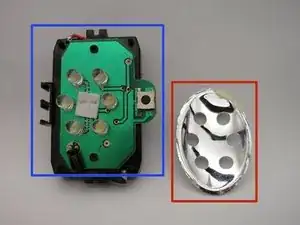
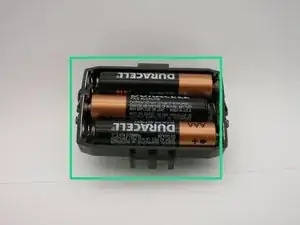
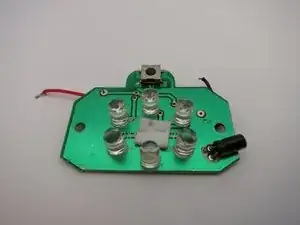
The inner electronics of module of the front panel includes a parabolic mirror, circuit board, and battery holder.
-
Circuit board - boxed in blue
-
Parabolic mirror - boxed in red
-
Battery holder - boxed in green
-
-
-
Separate the circuit board from the battery holder by desoldering the black and red wires from the battery holder.
-

