Einleitung

  1. KKBXKcqdavUKaHMv
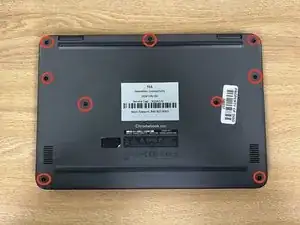
    • Unscrew all 9 screws, with a Philips screwdriver then pry open the back of the chromebook with a spudger.

  2. g1VdLQcUIPZotQxU
    g1VdLQcUIPZotQxU
    LRywyAGfmexAQjHT
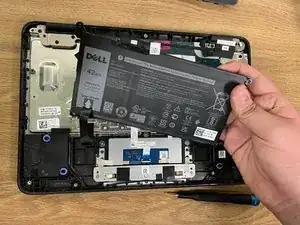
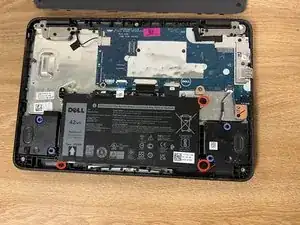
    • Unscrew the 3 screws holding the battery in place and unseat the battery from the motherboard. Be careful when removing the battery as there is a sticker.

  3. pd1wYHOSbj6TvqK2
    pd1wYHOSbj6TvqK2
    dRrIOYINcLpLcS2N
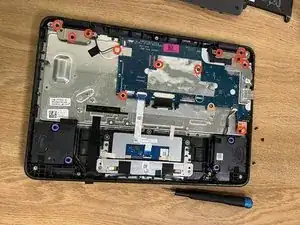
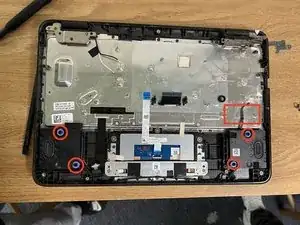
    • There a 6 screws holding the motherboard in place.

    • Remove these screws and then remove an additional screw securing the black and white connection to the WiFi card.

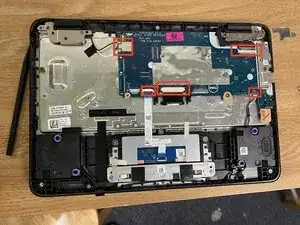
    • Once all the screws are undone, unplug the wire to the speakers and the display cable and the ribbon cable for the mouse.

  4. yaT3OEhqJ4xEO12C
    • 3 screws on each hinge hold the top screen to the bottom of the Chromebook. Removing these allow you to separate the two halves.

  5. VSIKVlcYRCQgMwCL
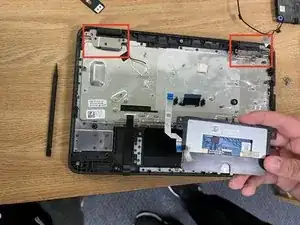
    • The speakers are the easiest to remove. Simply grab the speakers and gently wiggle them free.

    • Keep in mind the wires are taped to the Chromebook.

  6. bPRcNZDlyTlwZSEj
    bPRcNZDlyTlwZSEj
    SxJkGfwHIcyYvoMp
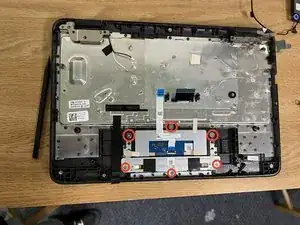
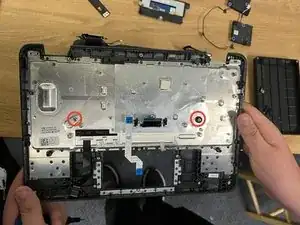
    • There are 2 types of screws for the mouse pad, The first 3 screws secure the mouse pad itself (these screws have a large flat head).

    • The other 3 screws secure the mouse pad.

    • Brace these screws, they do NOT have a large flat head.

    • Once you have removed the screws you need to disconnect the ribbon cable. You can do this by lifting up on the black tab then pull the cable.

  7. t3uf5p2DorpeCrSc
    t3uf5p2DorpeCrSc
    P6UgnJlKxTNxqAgC
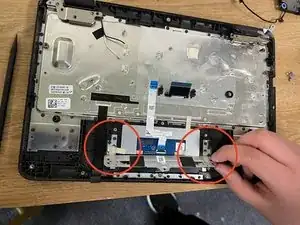
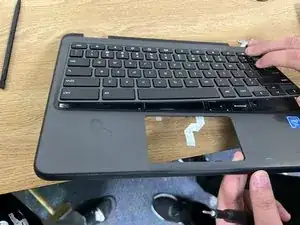
    • To remove the keyboard stick a screw driver through the 2 holes and push it to pop it out.

  8. xtD4xRvsBnNnwpKh
    xtD4xRvsBnNnwpKh
    ENdF5GyQICprV4YM
    mBQTqqXRnTQWeEOP
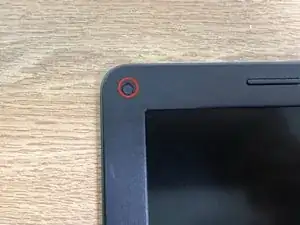
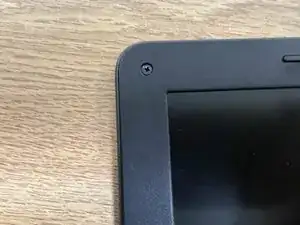
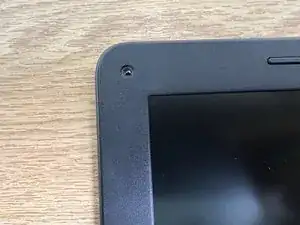
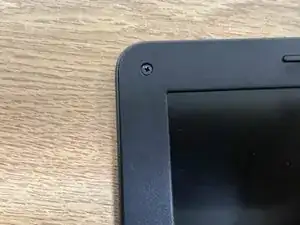
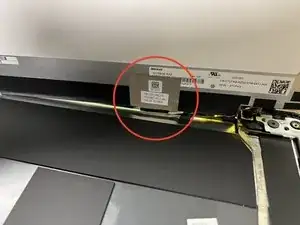
    • In order to reach the screw securing the display, you must first remove the sticker covering the screw.

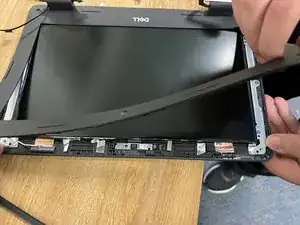
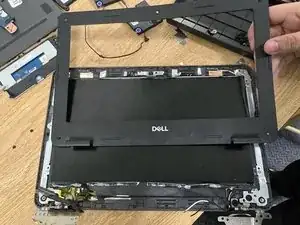
    • Once you have removed the screws remove the display cover by peeling it off it is glued on.

    • Once you have removed the screws, remove the display cover by peeling it off.

    • The display cover is glued on.

  9. AbjItfB6VRDeMQZu
    AbjItfB6VRDeMQZu
    fYCecROftpdGjgVW
    XtErR1gqVZhHfN6J
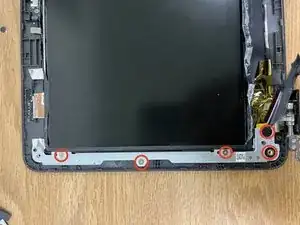
    • To remove the display unscrew the 4 screws then peel away the screen.

  10. XJWUSZjjP5jHbcBU
    • To remove the hinges, unscrew 4 screws (2 on each side) then remove them.

  11. 3gHjJRYHEtCtmRUf
    3gHjJRYHEtCtmRUf
    HHGyYjZinWPcaKHI
    d34RbyD2TQcmOIZD
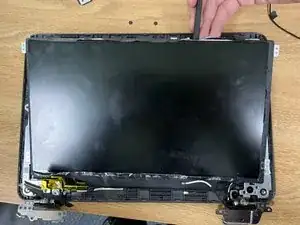
    • The screen is not screwed in. So to lift it up, all you need to do is peel it off.

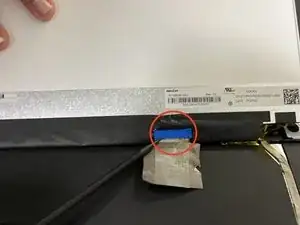
    • When you lift the screen remove the connection attached to the screen.

Carlos Martinez

Mitglied seit: 19/12/20

193 Reputation

Ein Kommentar

thank you my speaker broke this helped me fix it with out getting in trouble
Noah Corda -