Einleitung

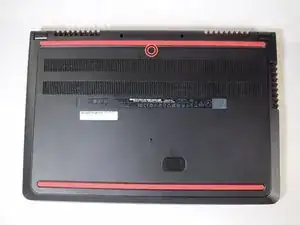
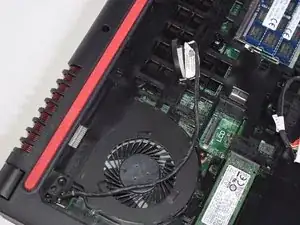
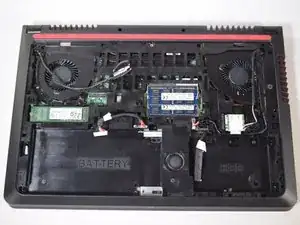
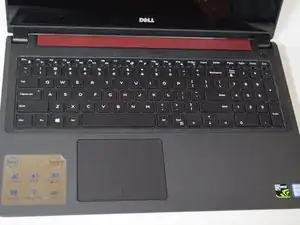
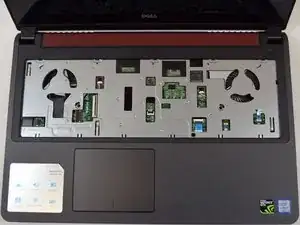
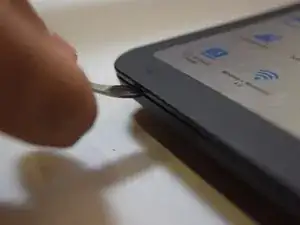
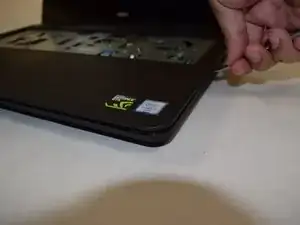
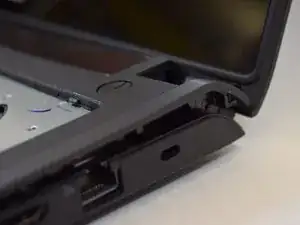
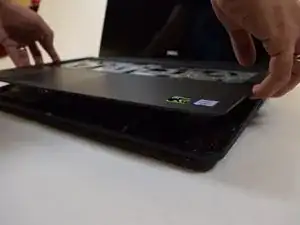
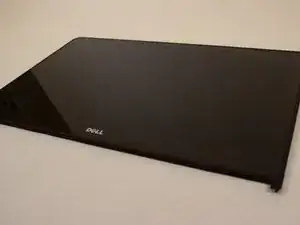
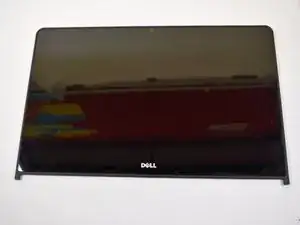
This guide will demonstrate how to apart the Dell Inspiron 15-7559.

  1. pCPOGYwtt2sEmNAi
    • Turn off the computer.

    • Disconnect the charging cable from the computer.

    • Failure to turn off the device and disconnect the cable could lead to personal injury or device damage.

    • Flip the computer upside down.

  2. bEsgli1nGIRVM53V
    bEsgli1nGIRVM53V
    vxi2FCU5oSL12qPL
    VqYWycwHmm2EKXh1
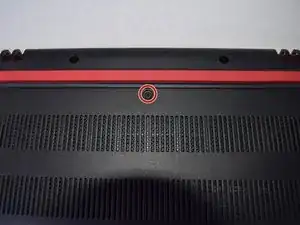
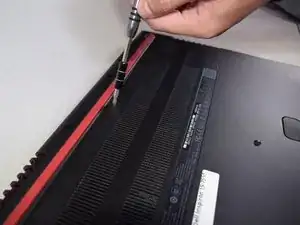
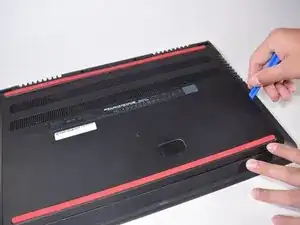
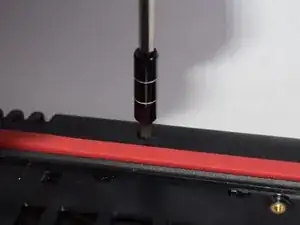
    • Remove the captive screw located on the top section of the back panel, using a Philips #1 screwdriver.

    • Keep in mind that the screw cannot be fully removed from the panel, even when fully loosened.

  3. EwJLSUnkEsQXgcr4
    EwJLSUnkEsQXgcr4
    MAiWudWCDfWtvTwI
    vfUoV4fgJhONlPDy
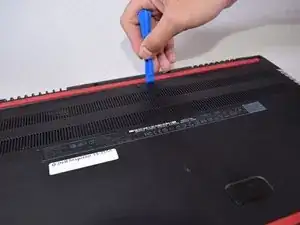
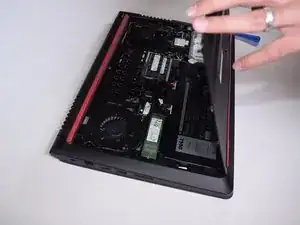
    • Use the blue, plastic opening tool to gently pry a section of the back panel open.

    • Next slide the opening tool around the back panel to disconnect the clips holding the panel in place.

    • After the clips have been disconnected, the back panel can then be easily lifted off the computer.

  4. TV1bXBJKc2YCrKik
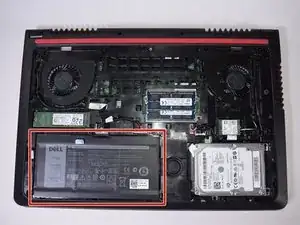
    • Locate the battery on the bottom left side of the laptop.

  5. u1ybQtLA2vUZBcId
    u1ybQtLA2vUZBcId
    OvOAZGrHmSWMhrvc
    CPxJ2ld3vVDSLU61
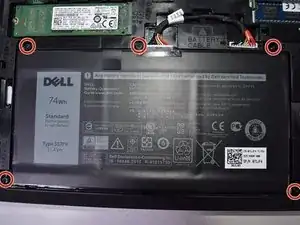
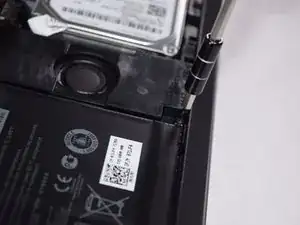
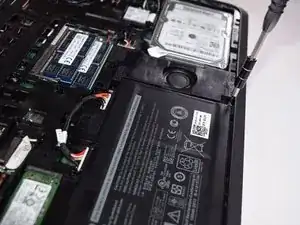
    • Unscrew the 5 x 2mm x 5mm screws, using the T8 Torx screwdriver.

  6. R15Dbww14mIAwCNV
    R15Dbww14mIAwCNV
    6fwTHUXNa5QfRx65
    ZOegDuNduRPiT5qO
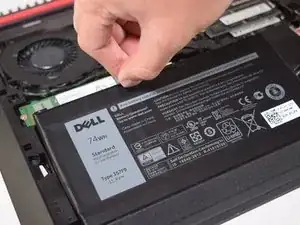
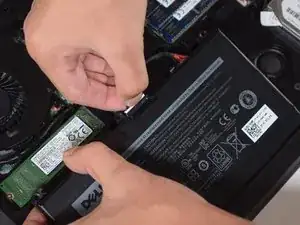
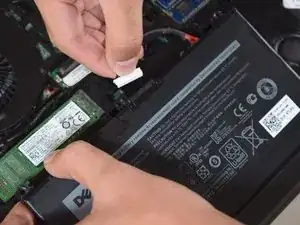
    • Using the tab above the battery, raise the battery far enough to disconnect the cables attached to it.

    • Using your hand grab the white portion connecting the cables to the battery and disconnect it.

    • Do not pull on the cables directly. This would risk damaging them or tearing them from the device.

  7. 2HrBCgNRpQ5JHuhP
    • Now lift the battery from the device to remove it.

  8. ALKxeaPbBNoHYpqs
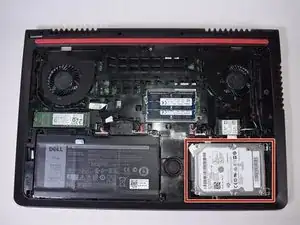
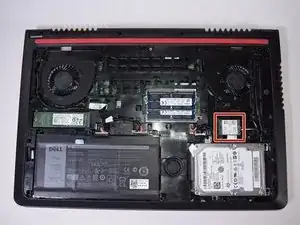
    • Locate the hard drive on the bottom right side of the laptop.

  9. FPkHD2PUjAcCA5ZT
    FPkHD2PUjAcCA5ZT
    fLPXZsMj6UPRVXkp
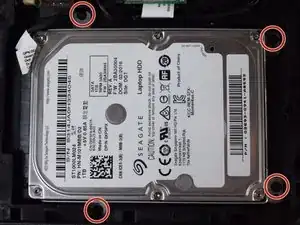
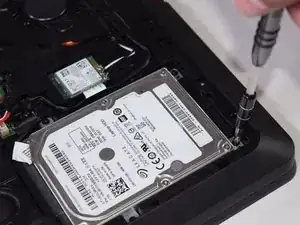
    • Unscrew the 4 x 2.5mm x 5mm screws, using the Philips #1 screwdriver.

  10. OmBQMWVro4P51fLh
    OmBQMWVro4P51fLh
    xMj6oUCMBJymnLeG
    dWbGw4Pr3GAFPj1C
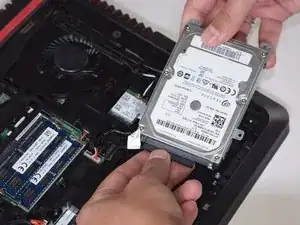
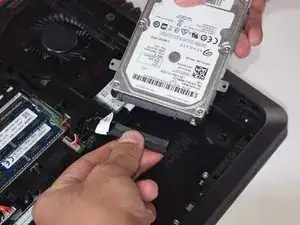
    • Using your hands, raise the hard drive far enough to disconnect the cables attached to it.

    • Using your hand grab the black portion connecting the cables to the battery and disconnect it.

    • Do not pull on the cables directly. This would risk damaging them or tearing them from the device.

  11. mHCCKq4snJsvdMWY
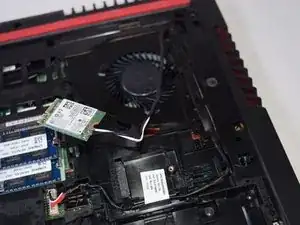
    • Locate the WLAN card. It will be on the right sides of the laptop.

  12. vIuxKZL2C1MahCrw
    vIuxKZL2C1MahCrw
    hBAG1RSYXwx2cpe4
    DE3XxovhgKjaHpUB
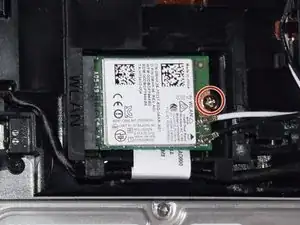
    • Using a Philips #1 screwdriver, unscrew the 2mm x 3mm screw, holding the WLAN card in place.

    • Using your hand disconnect the WLAN card by pulling it horizontally along the device.

    • After the WLAN card has been disconnected, make sure to dethread the wires connecting it so that they sit freely.

  13. EbS2aWCWcL3wNYPK
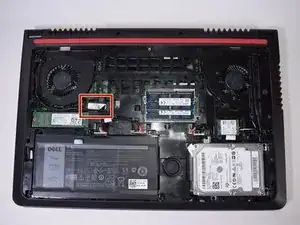
    • Locate the LCD cable, near the center of the laptop.

  14. GJW2c2wWnOQoLbUq
    GJW2c2wWnOQoLbUq
    WeXSbUgIuLvkEG6W
    GS5KHeggOUFP5nRb
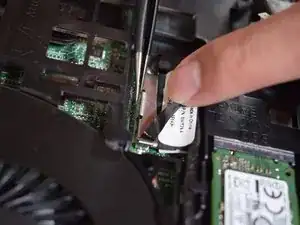
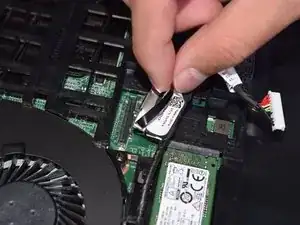
    • Using tweezers pull the metal tab, on the back of LCD connection point, away from it.

    • Once the metal tab is sufficiently released, pull the black strap to disconnect the LCD.

    • After the LCD has been disconnected, make sure to dethread the wires connecting it so that they sit freely.

    I didn’t have a retaining clip on this connection, I was able to just gently pull on the black strap and it came directly away from the board.

    James -

  15. uddIbAViTG1ilwhW
    uddIbAViTG1ilwhW
    CFeGHAQJQjCOvQuN
    KrWKCWTt5hpNMWmv
    • Using the Philips #1 screwdriver, unscrew the 4 x 2mm x 5mm screws, located on the top of the laptop.

  16. NHs5GMQyeEckvaZY
    NHs5GMQyeEckvaZY
    mxBJeiU2C5sZhvMO
    • Flip the device over and lift the screen.

  17. HxVL2RenrNWX2VfD
    HxVL2RenrNWX2VfD
    L4TqQISC1ioKeteo
    GtWdC6jyPVjHZmhs
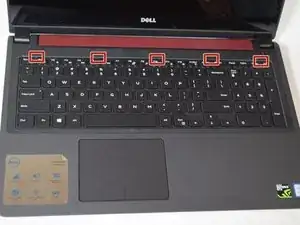
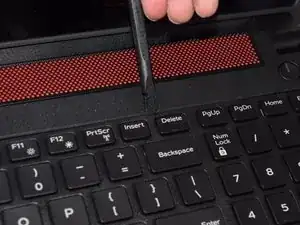
    • Using the flat end of the spudger press in the 5 tabs, located on top of the keyboard, as you use the spudger to pry each section up.

    • After releasing the 5 tabs, slide the opening tool around the top and sides of the keyboard to make sure it is fully released.

    Note that there are 4 flat “grabbers” that attach to flared posts on the back of the keyboard, so even when the 5 tabs are released, there will be some resistance, and you need to pull the keyboard straight away from the housing with a little force to release them.

    James -

  18. Sng2TJmObtRlhwQD
    Sng2TJmObtRlhwQD
    dU1Ea6rZHvuTQ1fW
    • Now lift the keyboard enough to access the ribbon cables beneath it.

  19. 5JSK3NMaKguXhAyQ
    5JSK3NMaKguXhAyQ
    uKWSxpqQbiiBALwG
    HULuKrbalKRN5h2Z
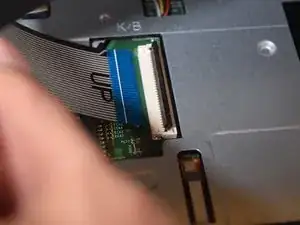
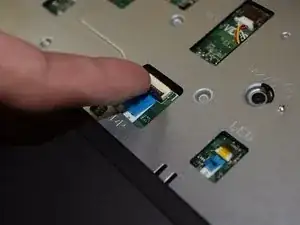
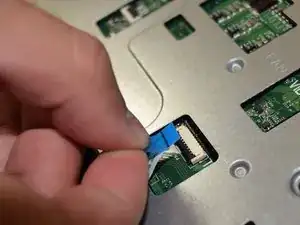
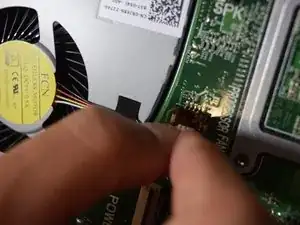
    • For the two ribbon cables connecting the keyboard to the laptop, use your finger to lift the latch up.

    • Once the latch is raised, lift the ribbon cable up and out of the latch.

  20. StRUyVYer3hlnk35
    • Now that the keyboard has been fully disconnected from the laptop, lift it off of the device.

  21. IN5h5w6GDopmlTxI
    IN5h5w6GDopmlTxI
    5UXDviWkEmFpPKoe
    KAL24vrJfpQUlEGH
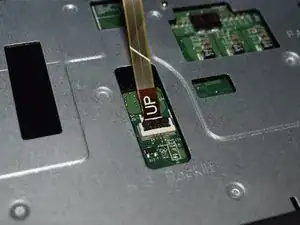
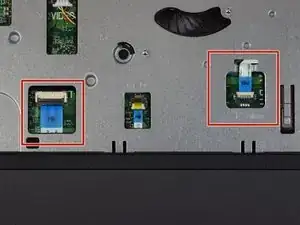
    • Locate the ribbon cable for the track pad and the power.

    • For both ribbon cables, use your finger to lift the latches up.

    • Once the latches are raised, lift the ribbon cables up and out of the latches.

    I have the middle one, where it says LED, cable broken, where can i get that cable. Please help email hsymtech@gmail.com

    Hardik Joshi -

  22. wCwqCHTuEWrIDFhB
    wCwqCHTuEWrIDFhB
    ZrEgsKStJZ3qCm5B
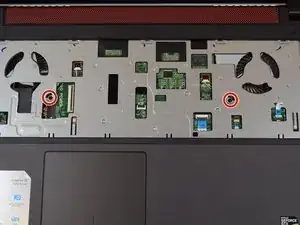
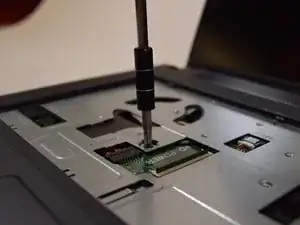
    • Locate the two screws near the center of the laptop.

    • Unscrew the 2 x 2.5mm x 5mm screws, using the Philips #1 screwdriver.

    These screws are labeled as “M2x5”. I don’t think they’re 2.5mm, they appear to be the same as the 4 screws that hold the palmrest to the bottom shell in step 15.

    James -

  23. QB4mYxmQ2stTYIix
    QB4mYxmQ2stTYIix
    1JCNhx2YTildRIFw
    PkUnqnSDRyUvONJh
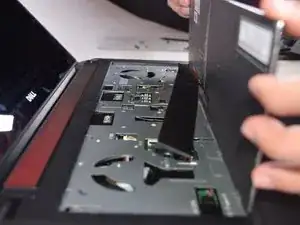
    • Using the metal spudger pry open the edges of the top panel of the laptop.

    • You will hear a snap as you disconnect the panel tabs, this is normal.

    • It is easiest to start at a corner, and work your way around.

  24. mppsP3IlpRoEvrCt
    mppsP3IlpRoEvrCt
    PPcIBA1I26nMRcyU
    TNdDOoDFtONuDECN
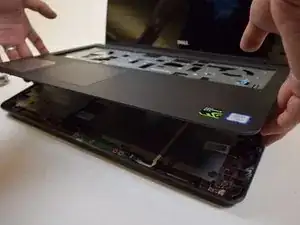
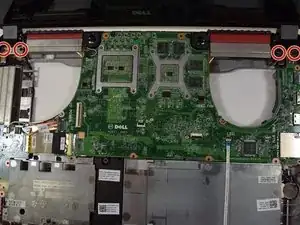
    • Now raise the top panel off of the laptop.

    • If you feel any resistance as you lift the panel, stop and make sure that you have completed all previous steps.

  25. rdQMZFp1khYrwoAl
    rdQMZFp1khYrwoAl
    RCVBuIY2VrZBliB6
    6eQpm1NsEOmAACLX
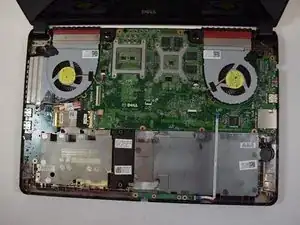
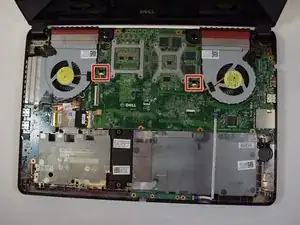
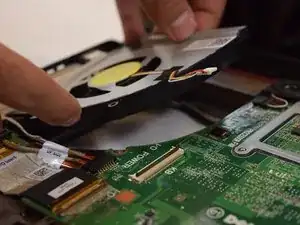
    • Locate the fan connections on both the left and right side of the laptop.

    • Using your hand grab the white portion and pull it away from the port.

    • Do not pull on the cables directly. This would risk damaging them or tearing them from the device.

    • Once the fans are disconnected lift and remove them from the laptop.

  26. CDkHw4GjRPcj3t2X
    CDkHw4GjRPcj3t2X
    pYLadjBh5AJdM5UB
    ALcyT6iQWZio5LJT
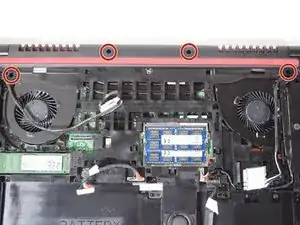
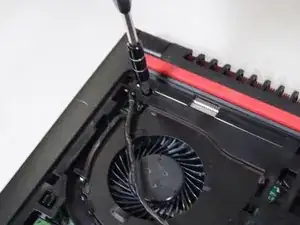
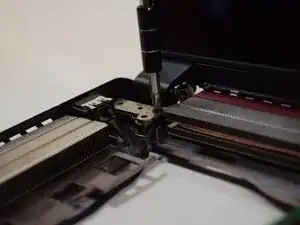
    • Locate the 4 hinge screws at the top of the laptop.

    • Unscrew the 4 x 2mm x 5mm screws, using the Philips #1 screwdriver.

    • Remove the screen from the laptop.

  27. VcRoPCNowIIDlBWy
    VcRoPCNowIIDlBWy
    XnRZFlW31MLGKOtw
    mXHo14alEcn4y4lK
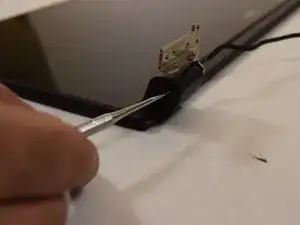
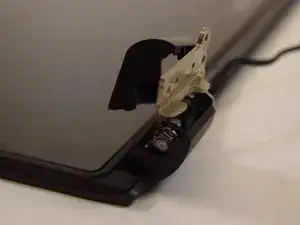
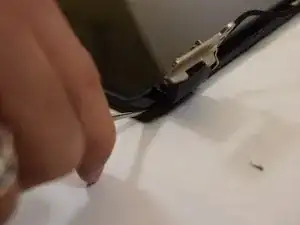
    • Using the metal spudger disconnect the frame around the hinges.

    • It is easiest to disconnect the frame around one hinge and then use your hand to pull the rest of the frame off. You will hear some snaps as the tabs disconnect, this is normal.

  28. thSe4j1flOxvrKL1
    thSe4j1flOxvrKL1
    BxCJtBePJqOtqT1K
    KpCmeljRpwdsX1tA
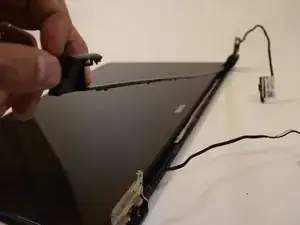
    • This next step will likely cause some of the tabs, that hold the display, to snap. They will still function and hold the display in place and there should be no noticeable issues once put back together, but the tabs will have permanent damage and repeated disassembly will most likely require replacement.

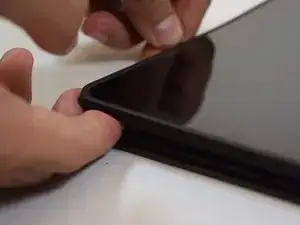
    • Using the metal spudger pry open the frame around the display.

    • It is easiest to start at the bottom left hand corner and work your way around. Once you have enough of the frame released you can use your hands to finish the rest.

  29. OjbrvNLUTwgQFOp1
    OjbrvNLUTwgQFOp1
    f2ZG1u6IW4P1BXiQ
    2ZHZXWGBw5rVYXRn
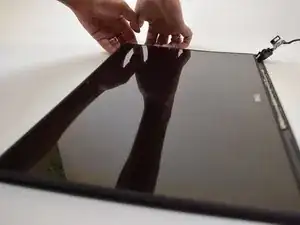
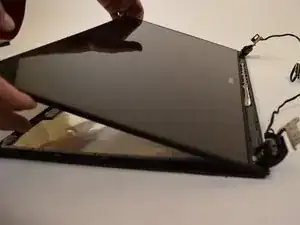
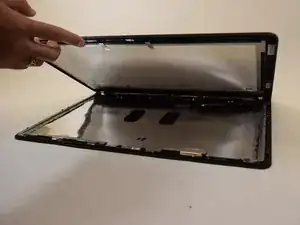
    • Lift the screen, rotating along the hinges, so that it will lie open.

  30. XHvS35U5N1g5HSLo
    XHvS35U5N1g5HSLo
    YfTRqHW1iZfvKNEt
    qnxnn3JnTsNSJHSd
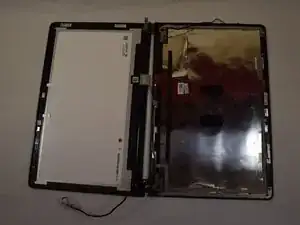
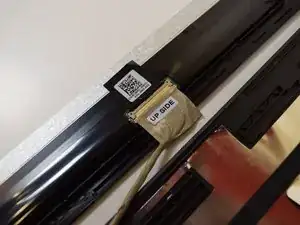
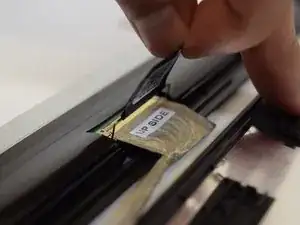
    • Locate the wire that connects the display to the back panel. There will be a sticker with a qr code on it.

    • Peel the the sticker and pull it back to disconnect the cables.

  31. xdGSdAFVCKE4hLYW
    xdGSdAFVCKE4hLYW
    jKoHYPbgTnjoeTOA
    LOS6fXZIa2vK13tS
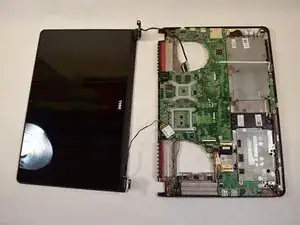
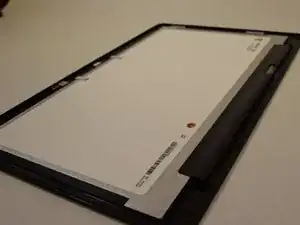
    • The display is now fully disconnected.

Trenton Greevebiester

Mitglied seit: 19/10/17

1536 Reputation

7 Kommentare

Its really good work and Professional one. You can also expect the same from Ncentric systems which are offering the Computer and Laptop Repairing in Hyderabad

nagarjuna karna -

Seems a bit rude of them to make you take out the battery and hard drive in order to get to the fans; I tried to open mine up to dust off the inside, but I dont have a Torx screwdriver on me. Looks like I'll have to come back when I have one

Gamera Ramen -

I was hoping to see the switch (reed?) for the lid opening and closing and where it is located.

bill1229 -
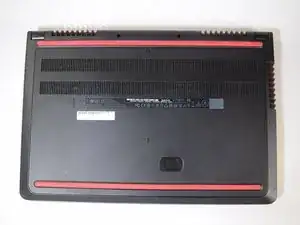
I have the same question, where is the reed/ lid switch located?

Rexzone Live -
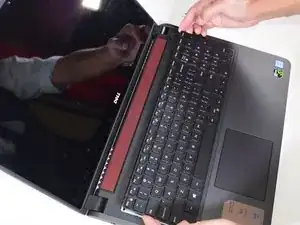
Anyone know the size of the screws on the top of the hinge?

Frederick White -
I have a question regarding the M2x5 screws holding the fans and hard drive in place — are they countersunk? Cant’ make out from the pictures

Thanks

Rajeev Rohatgi -

The LCD (on the 4k touchscreen model where the glass is pretty much edge to edge) is attached to the bezel frame by adhesive strips - a hairdryer and pry tool go a long way to separate and remove the adhesive strips. I had to finish the job off with adhesive remover but I had that on hand anyway as I was replacing the LCD due to fluid leakage.

leon -