Einleitung

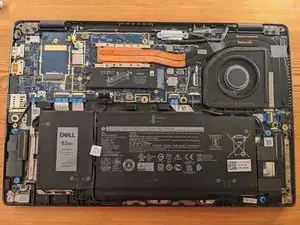
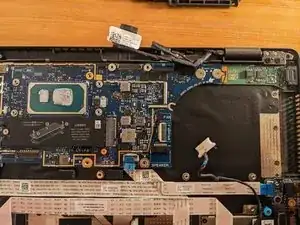
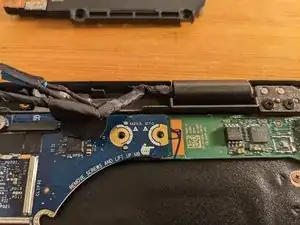
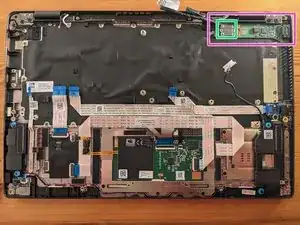
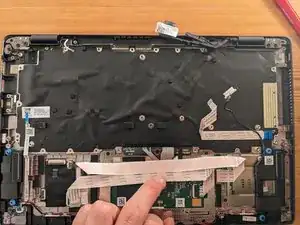
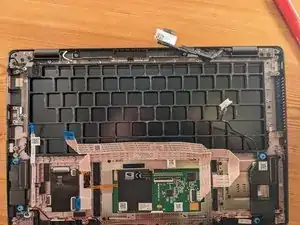
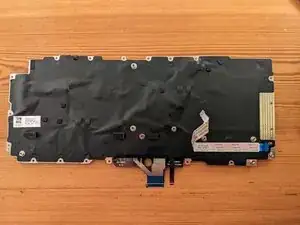
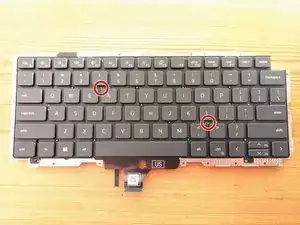
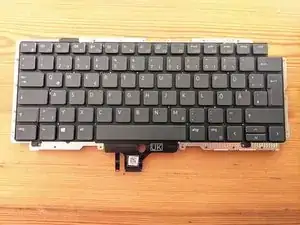
This guide will show you how to replace the keyboard. Because the keyboard can only be replaced from the insde this is close to a teardown.

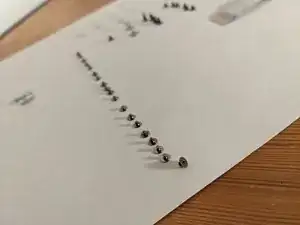
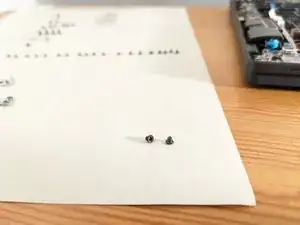
Don't be scared, its mostly unscrewing stuff. Work methodically and lay down screws in the order you used them.

If you have questions: hit me up.

  1. SDaUXvVCyUagrWWd
    SDaUXvVCyUagrWWd
    6jx1BEFYL4XZWqbY
    • remove 8x screws with PH1 Screwdriver

    • Use finger nail or operning pick between backplate and frame at the top of the device

  2. qOMEhVoydln2XyGq
    qOMEhVoydln2XyGq
    YnZSsU6BnuQnJ5ON
    UsHfHSEtK6dGWLqt
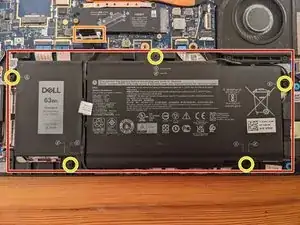
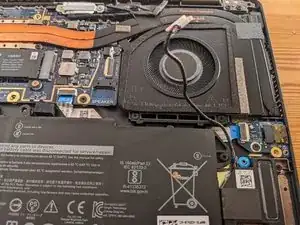
    • remove battery connector by pulling up. make sure the pulling strap is turned upwards

    • remove 5x screws with PH1

    • these are longer, do not mix them up!

  3. f1CDKJJOvBSkZeTi
    f1CDKJJOvBSkZeTi
    usopXFmD5TSVM2LV
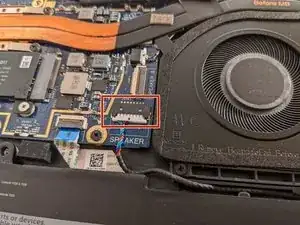
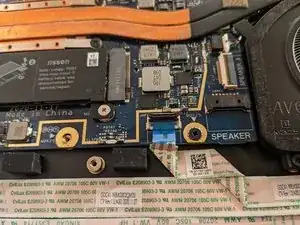
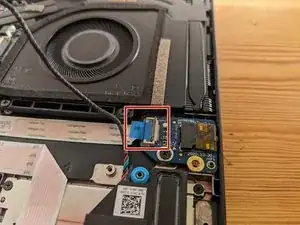
    • remove speaker cable by pulling towards yourself horizontally

    • lift out the battery vertically.

  4. IWWGKr2ZcWB1as6q
    IWWGKr2ZcWB1as6q
    PqlPsQmdHKpUmvnt
    yTZJAqTfTHFAJM6i
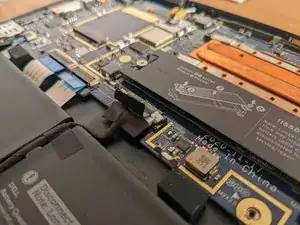
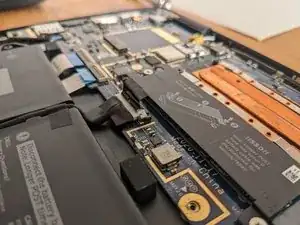
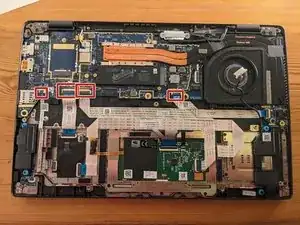
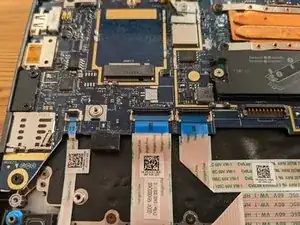
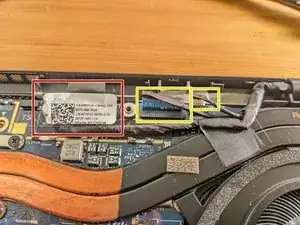
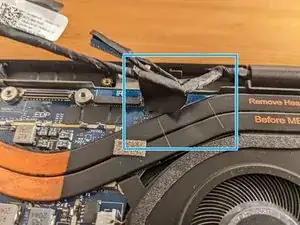
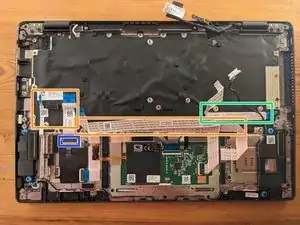
    • open ribbon cable connectors by lifting up and away from you the black securing latch

    • carefully lift up ribbon cables and pull towards yourself

  5. QLsTiqaLJjrZLeOg
    • Insert wisdom here.

  6. ALM5YV1SJKqJD2FP
    • pull horizontally to the rigt

  7. aucP6QLToOuVELbl
    aucP6QLToOuVELbl
    einnYfakSYMO6hO3
    kDQHeBOk4pRVbVJN
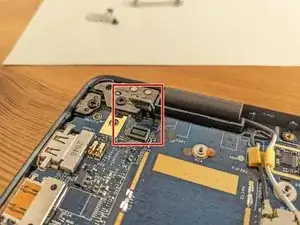
    • Use JIS00 or J00

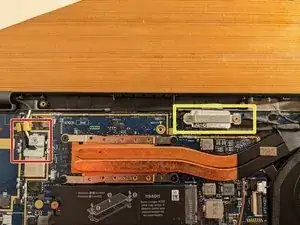
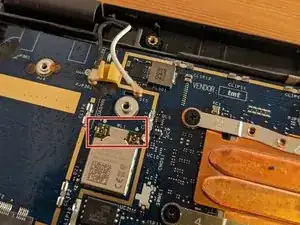
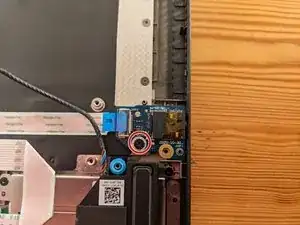
    • display connector

    • wifi antenna connector

  8. MXe4eCSeaRtwhFNm
    MXe4eCSeaRtwhFNm
    nTmJrFQEsPSHmJxY
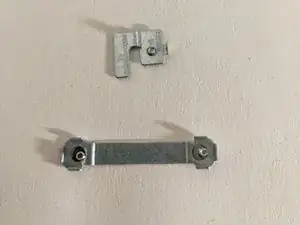
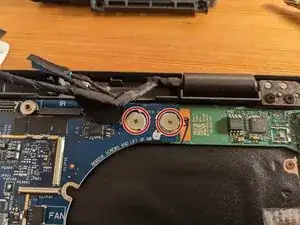
    • use JIS00 or J00

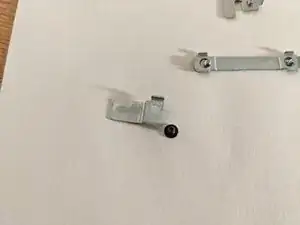
    • unscrew connector plate

  9. UETOqunfjFnww5kk
    UETOqunfjFnww5kk
    QhhGVlM1BCXwXUZ1
    hVEMMJLlFBaTSCKn
    • lift upwards vertically

    • pull out horizontally away from you

  10. 6RZYDCR3JUJB5StI
    6RZYDCR3JUJB5StI
    2POTfAUSPdToyVBC
    MsQMqE5RA46Shcxg
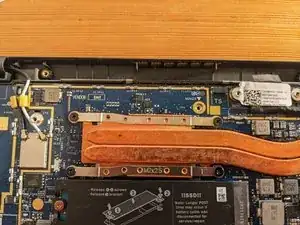
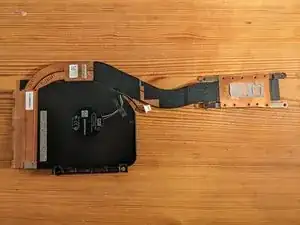
    • remove 6x screws using PH1

    • remove cable sticker from heat sink

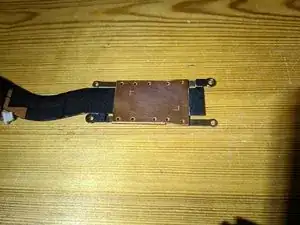
    • if the thermal paste has dried out the heat sink can be stuck on. carefully wiggle it horizontally until you can lift it up vertically

  11. LiOLYLIr3MKFLeu6
    • use PH1 for 2x mobo screws

  12. dYUKPSKCxFbMIqdW
    dYUKPSKCxFbMIqdW
    hodqk2G4O1VasVvx
    bPAPIRGIhbwjo4Wc
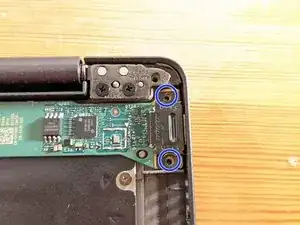
    • remove 4x USB Screws with PH1

    • these are longer, do not mix them up!

  13. 2YwB2B1HnfoxbsYC
    2YwB2B1HnfoxbsYC
    vBUXSWTaNwGLPUsL
    • remove 2x with PH1

  14. mUKEJQridjd6mZPH
    mUKEJQridjd6mZPH
    uoeGjHAlri5sRCgL
    q3d13JGEUjtMyDYN
    • start on the right side at the USB C daughter board.

    • lift up the motherboard where the fan used to be

    • you should be able disconnect the daughterboard and mother board

    • the USB C port on the left might be tight. Use your fingers to slightly bend the laptop casing outward to the left above the usb c port

    • lift out the motherboard vertically

    • lift out USB C daughter board vertically. use the frame bending trick if necessary

  15. u4wBTKpKMxVMaAJC
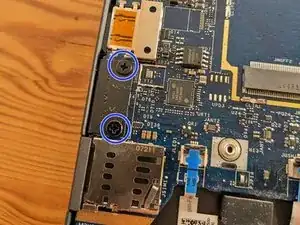
    • remove 1x screw with PH1

    • lift out daughter board vertically

  16. rnWKEpMC5hDqEXRE
    rnWKEpMC5hDqEXRE
    3NlRKF6UUVNL1Cxa
    • carefully unstick glued on ribbon cables. use are card and pull up at 45° angle

    • no need to remove headphone jack cable

    • disconnect ribbon cable

    • be extremly careful not to pull at bends in the ribbon cables

  17. kXFdJ2ljMBZKJcCf
    kXFdJ2ljMBZKJcCf
    jl3g2LlQqjBLbSRn
    uB5QGhyVtKTM4CNi
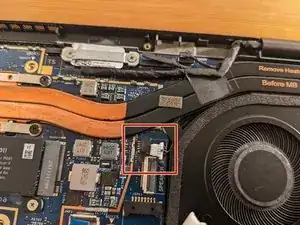
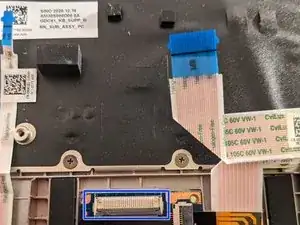
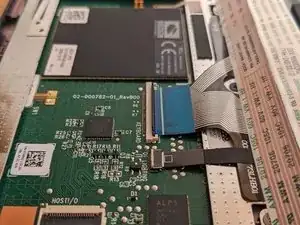
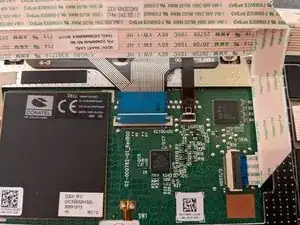
    • open connector as usual

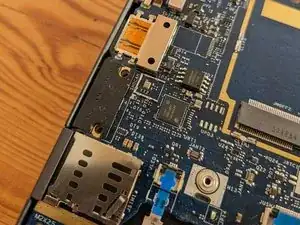
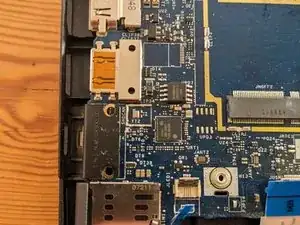
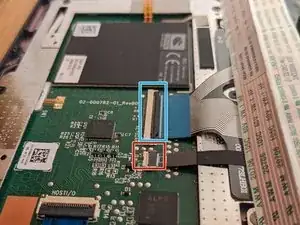
    • the smaller ribbon cable has a different securing mechanism, look at the second image. it is opend from the other side

    • open connector from smaller ribbon cable at the white flap. NOT on top of the ribbon cable!

    • pull out ribbon cables

  18. EXxqAYEL1DgS2MyE
    EXxqAYEL1DgS2MyE
    thVS4VlbtZHSHDOr
    O6TYimMpq3iJjGmw
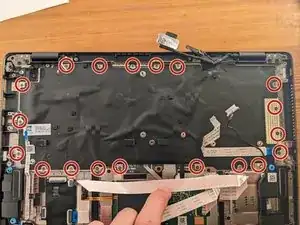
    • use JIS00 or J00 to remove 19x screws

    • go around perimeter of the backplate in a orderly fashion when removing the screws to not miss any

  19. cGxh2q5FVsQLnLQn
    cGxh2q5FVsQLnLQn
    bMXDL6eCTMPdGOEW
    • lift up keyboard vertically

    • be careful: ribbon cables might be sticky

  20. UZKSAhKY6NwRMwPV
    UZKSAhKY6NwRMwPV
    HDbdUMQjiaMDM3M2
    Lo6EV4YJwJqxAt2C
    • use PH1 to unscrew backplate from front of keyboard

  21. hrr1ycONY44wrCRC
    hrr1ycONY44wrCRC
    42jQLMKZH5aOxifV
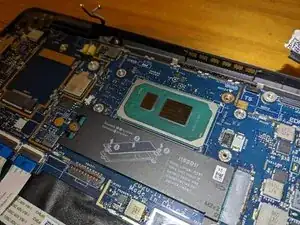
    • remove old thermal paste using isopropyl alcohol and a cloth

    • apply new thermal paste

  22. upwFt4dFU56uVAFM
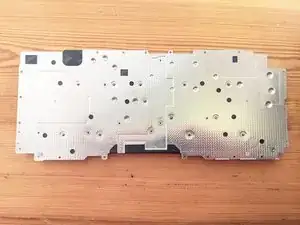
    • keyboard backplate

    • when you are done with reassembly do not panic, the first boot takes a little longer after disconnecting the battery

    • after reassembly press inbetween keyboard keys to klick together backplate and notebook frame

Abschluss

To reassemble your device, follow these instructions in reverse order.

fixer

Mitglied seit: 05/07/16

763 Reputation

0 Kommentare