Einleitung

  1. BSMMFJJAkVwhQqtm
    BSMMFJJAkVwhQqtm
    f6R3JDNcfSexSLN1
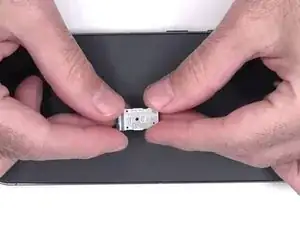
    • Using a SIM card eject tool remove the SIM holder and the SIM if present

  2. vl3WgOYxvlZbuRQK
    vl3WgOYxvlZbuRQK
    6LiQYCfVDTCtHYiV
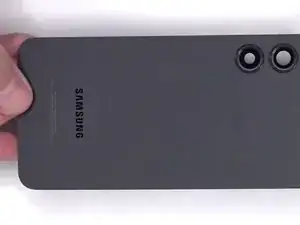
    • Using an opening pick and a suction handle, cut the underlying adhesive and remove the rear glass.

  3. 3fcrgNuTxRZgaDaQ
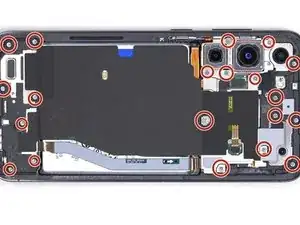
    • Remove the 20 #00 Phillips screws.

  4. fRFTdBqohIO1pIiK
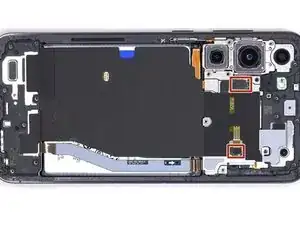
    • Unplug the two connectors connecting the wireless charging to the motherboard and remove it.

  5. ZPbIwOaKjyPuJdvA
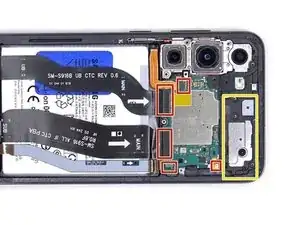
    • Disconnect the 5 connectors.

    • Remove the speaker.

  6. JUBoG1HgqZXfaCAZ
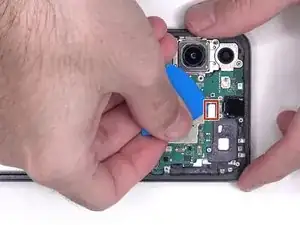
    • Unplug the connector of the front camera.

    • REMOVE THE FRONT CAMERA ONLY IF NEEDED BECAUSE IT'S GLUED TO THE SCREEN!

  7. LUBZb2bKRDTT1PTJ
    LUBZb2bKRDTT1PTJ
    hdwCKydtiZmhPa4M
    ETYuufZrZQFWVYmX
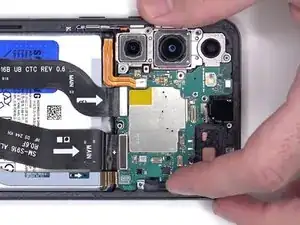
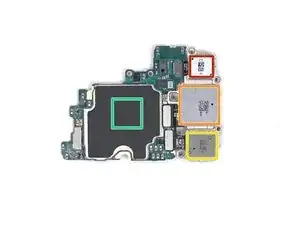
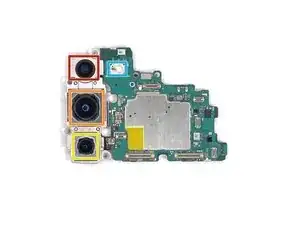
    • Using an opening pick pull up the motherboard.

    • 12 MP Ultrawide camera.

    • 50 MP wide camera with OIS.

    • 10 MP telephoto lens camera with OIS.

    • Under this there's the RAM with the CPU.

    • A secondary microphone and the flash light.

    May I know the location of the main board such as UFS, AMP CHIP, etc.?

    Stoza -

  8. 4rWRe4WVUKVJvmya
    4rWRe4WVUKVJvmya
    OnZbrToEivMWeEkj
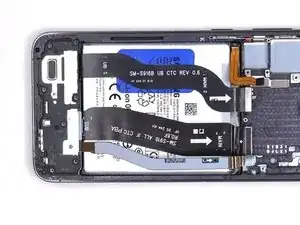
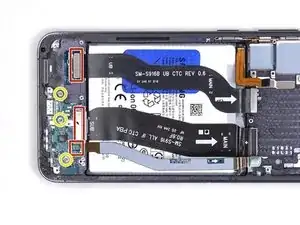
    • Use an opening pick to remove the speaker assembly.

    • Unplug the three connectors.

    • Unscrew the three Phillips #00 screws that secure the charging board and remove it.

  9. sAPS3lNHUk1miYj5
    sAPS3lNHUk1miYj5
    iPB2Ww6mRoSPjuLp
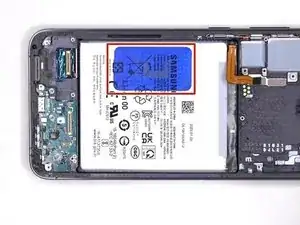
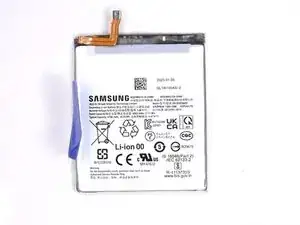
    • Using the tab provided, remove the battery.

Andrea Alfani

Mitglied seit: 20/04/22

5670 Reputation

0 Kommentare