Einleitung
Werkzeuge
-
-
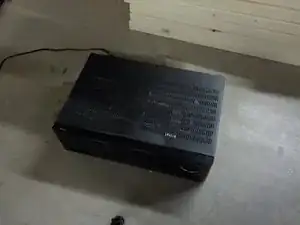
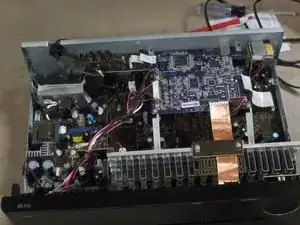
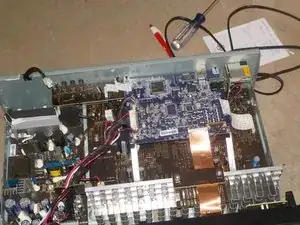
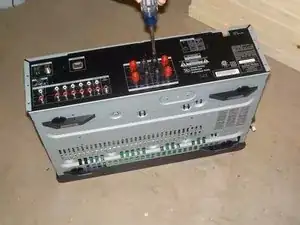
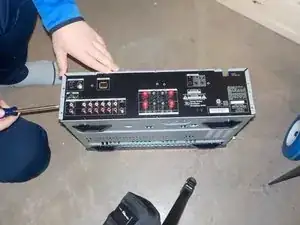
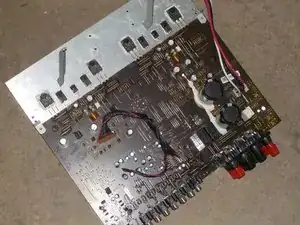
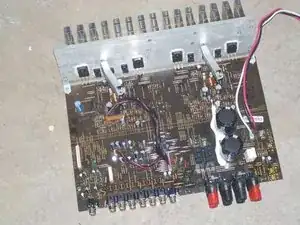
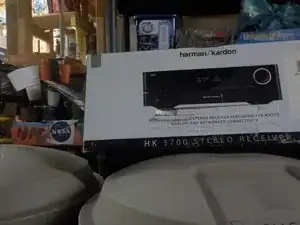
Here is the Harman/Kardon HK3700.
-
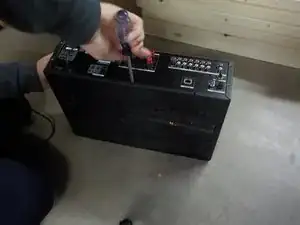
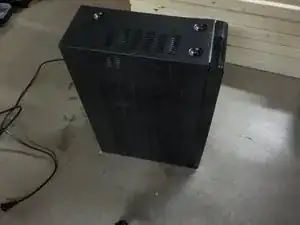
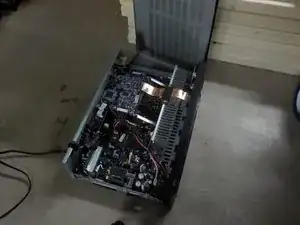
Using a P2 phillips screwdriver, you can remove all screws on the sides and back of the unit. After those are removed, you can remove the top cover by sliding it towards the back and then lifting away.
-
-
-
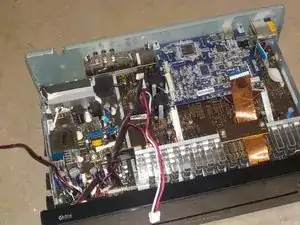
Just start by removing any cables that are accessible.
-
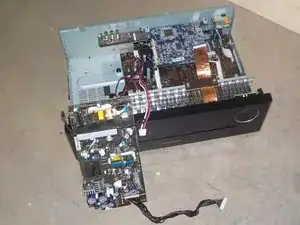
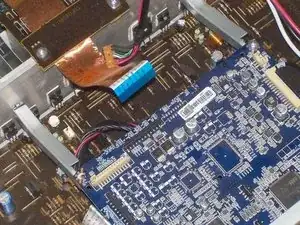
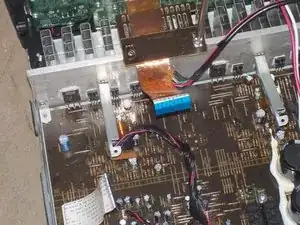
After the cables have been disconnected, go ahead and remove the 4 phillips screws holding down the power supply board and lift it away from the enclosure.
-
-
-
At this point, you can go ahead and remove all the screws from the back panel. This will make your life easier later.
-
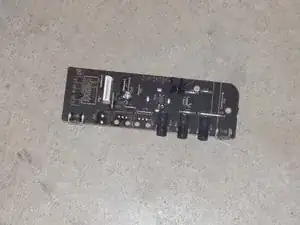
After the screws are removed, you can remove the IR Remote board.
-
-
-
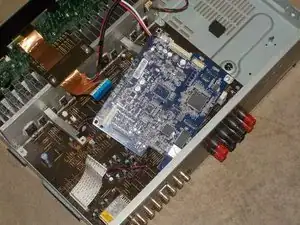
Remove the 2 screws holding the ethernet card down to the bracket. Then, if the back panel screws are removed and all cables are disconnected, you can remove the ethernet board from the device.
-
-
-
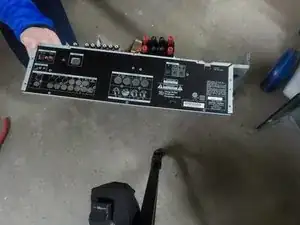
Remove the screws holding on the back panel from both sides.
-
After the screws are removed, go ahead and remove the back panel.
-
-
-
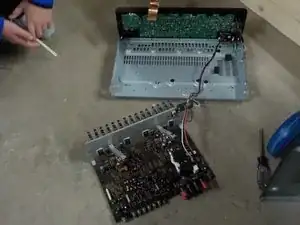
Remove all the screws holding down the main board and heat sink. Unplug the cable from the front panel if you can, or cut it if you can't. If you do cut it, it can be re-soldered later if you wish.
-
You can now remove the board from the frame.
-
-
-
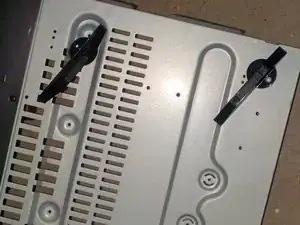
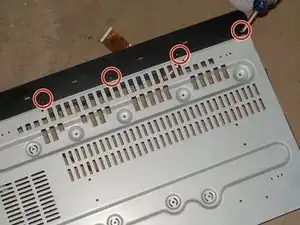
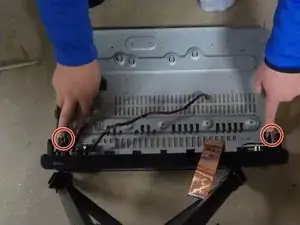
Remove the screws from the bottom of the frame holding the front panel on.
-
Also remove the 2 larger screws from the top holding the front panel on
-
After these screws are removed, you can remove the front panel and set the frame aside.
-
-
-
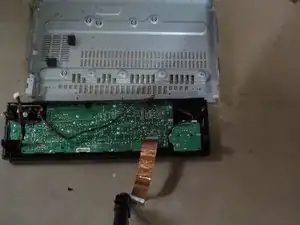
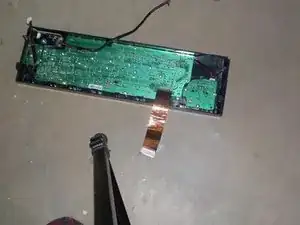
Remove all the cables you can access.
-
Remove all the screws from the back of the front panel. All the pieces then lift out of the front panel.
-
-
-
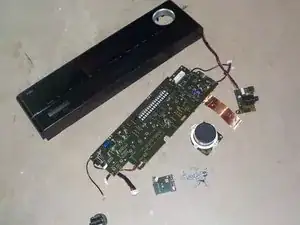
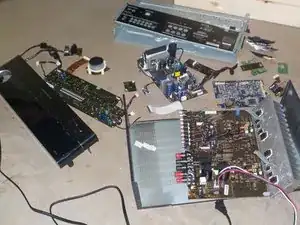
This is all the parts laid out. There isn't much more to say about it.
-
As a bonus, here is the original retail box for this unit. I just thought I should include it before recycling the box.
-
