Einleitung

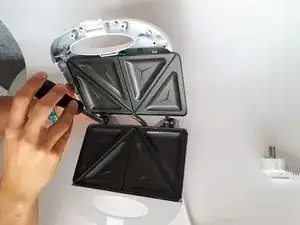
This product teardown will require pliers, a Phillips head screwdriver, a Y-head screwdriver, and a flathead screwdriver. Certain components will require some prying, so be prepared. You will also need some grip paste available, as some screws are placed very tightly in their spots.

  1. VOMTf2RgRBhAhP2o
    VOMTf2RgRBhAhP2o
    CDwYaiCTnUyxXEMG
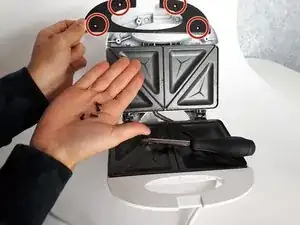
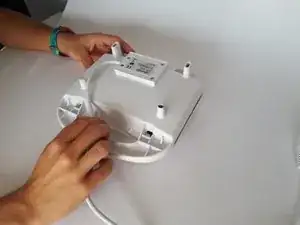
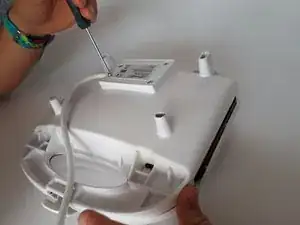
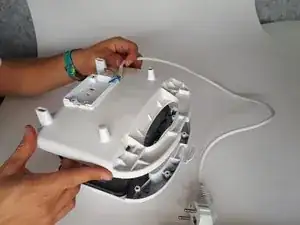
    • Unscrew the 10mm screws securing the plastic handle cover using a size PH1 screwdriver.

    • These screws are very loose and easy to remove.

  2. eq4IyerI1AHWRSph
    eq4IyerI1AHWRSph
    acCMGH5DZ4U32jSH
    VjktsIsXyEly2rIf
    • Unscrew the metal hot plates from the plastic covering using a size PH1 screwdriver.

    • The screws are 12 mm long.

  3. MViY2ASUZUckgdgA
    MViY2ASUZUckgdgA
    NBfgVWmLgSNQj6vp
    S5RFm3PLIRgOB35h
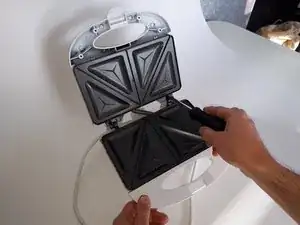
    • Unscrew the plastic handle cover using a Special Key Tri-wing.

    • One screw was very hard to unscrew, so grip paste had to be used.

    • The screws are 9 mm long.

  4. KtaVHgeHXCfIddkQ
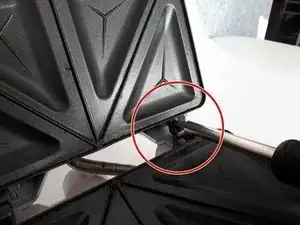
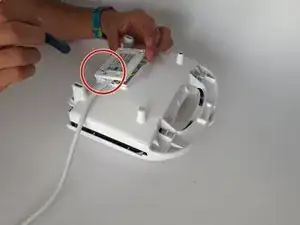
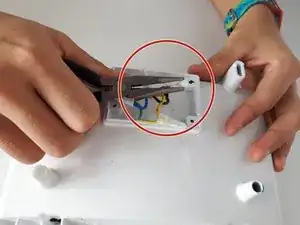
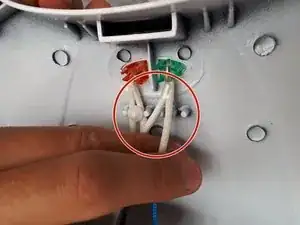
    • Remove the plug-in cord caps using a pair of pliers.

    • The metal caps have to be bent a bit to remove the plug-in cord caps, which means the metal caps will not work anymore.

  5. ptsXaXehxB5CiFoR
    ptsXaXehxB5CiFoR
    dfUeY3mF3GtvNOE2
    Bw5mTAEGSVEuSNEg
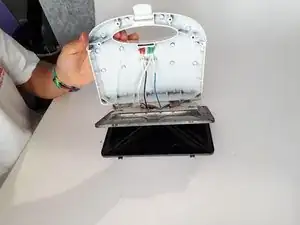
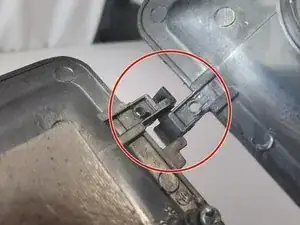
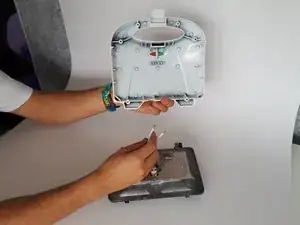
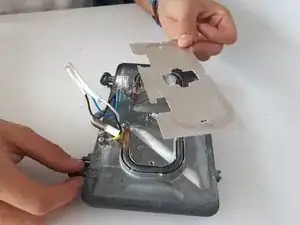
    • Now the metal plates are loose from the plastic cover. The plates need to be moved until the end of their hinge slots to slide them apart.

    • The hinges are very easy to take apart, once it is loose from the plastic cover.

  6. VyNLxFLDhveKvrS3
    VyNLxFLDhveKvrS3
    2yJSNaWZXwZHpOQl
    OVBvHUsT2J4OPUIY
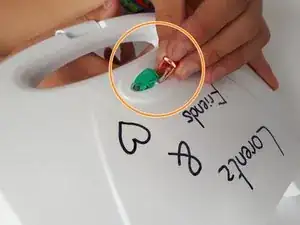
    • Separate the snap fit and remove the light covers.

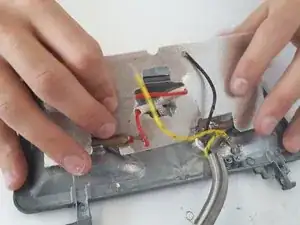
    • Remove the cords of the lights by pulling them out of their snap fit.

    • Remove the light covers by pushing them out of the plastic cover.

    • The lights are being taken out very easily with not much pressure.

  7. 1ESBWBgRMEb21uDP
    1ESBWBgRMEb21uDP
    MMBEWFWVLPxb1ukO
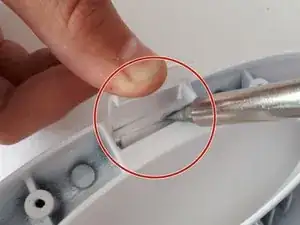
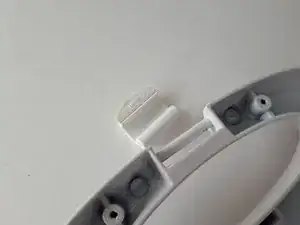
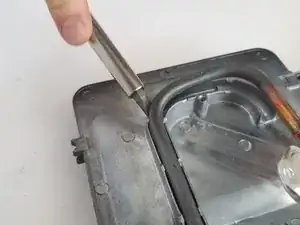
    • Remove the press latch by using a screwdriver; add some pressure to it to get the latch loose.

    • Removing the press latch is hard and requires extra effort.

  8. 6LRTqdnOdfyrFHAK
    6LRTqdnOdfyrFHAK
    WJWjbPPYQtFjxDvT
    jrnvpVsGPQFEK3RY
    • Unscrew the heating element covers using a size PH1 screwdriver.

    • Remove the heating element covers from the plates.

    • These screws are very loose and easy to remove

    • The screws are 5 mm long.

  9. xIM3lwGR4UNCJOEF
    xIM3lwGR4UNCJOEF
    UMA3vMnYuTD2itk4
    WV1IPawN22BsCsb6
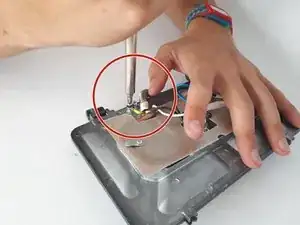
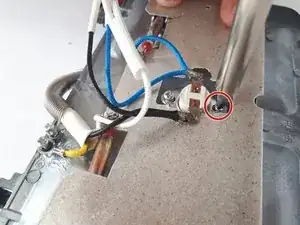
    • Unscrew the heating element wires from the hot plates using a PH1 screwdriver. The screws are 5 mm long.

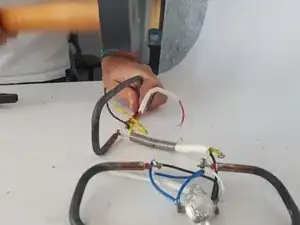
    • Remove the heating elements using a Phillips head screwdriver, and put this screwdriver under the heating elements.

    • Removing the heating elements requires some more pressure because they are put in with a tight snap fit. The heating element will also deform when removed.

Anna Stapor

Mitglied seit: 07/03/18

169 Reputation

0 Kommentare