Einleitung

  1. AVmSNWpnmEmvbmtO
    AVmSNWpnmEmvbmtO
    WKPNiRRUBv6B6ZAr
    lulWKmXRUYhPEmqO
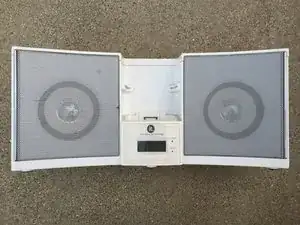
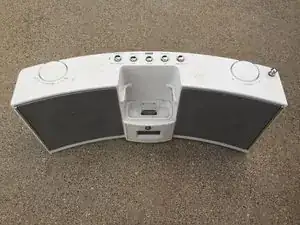
    • Before Teardown

    • Condition: Well used

    • Noted issue: static sound when adjusting volume.

  2. AvKOH6H2xLpJjeWI
    AvKOH6H2xLpJjeWI
    xp1mEkebfkfZ1NVi
    lWPYSGGkRWCIjKA1
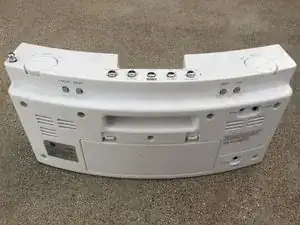
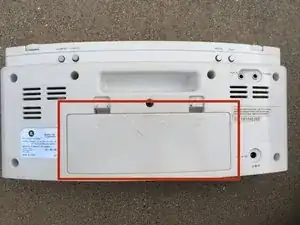
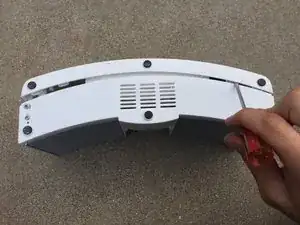
    • Remove back battery panels. There are two: the main panel, and the smaller back up panel behind the main.

    • Remove the 9 phillips screws.

  3. ykXn55d4EMmxDDZW
    ykXn55d4EMmxDDZW
    WxOW1yFXxV2cFxcV
    qHy4CfLKqBsYaPKb
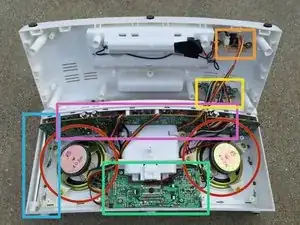
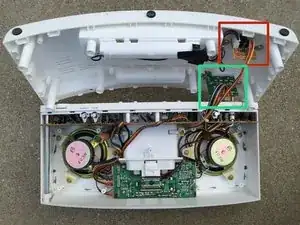
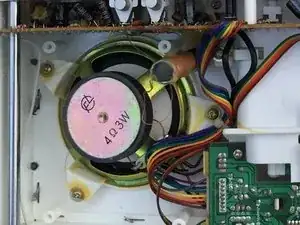
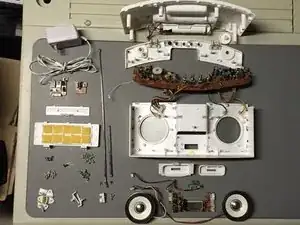
    • Speakers

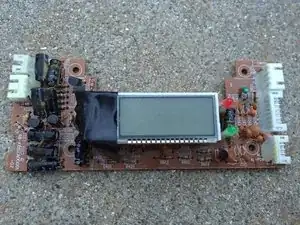
    • Display & Logic Board

    • Top panel buttons board

    • Audio Jacks

    • DC Power Connector

    • Antenna

  4. TaP5AMlS1mEibyIC
    TaP5AMlS1mEibyIC
    TeInecO2Z5F4M3SY
    SoUZEFdRevknfpTh
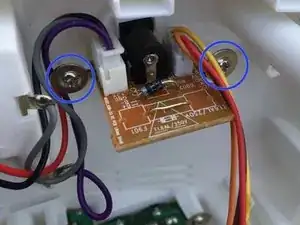
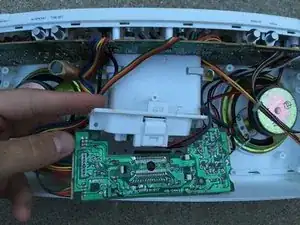
    • DC Power Board

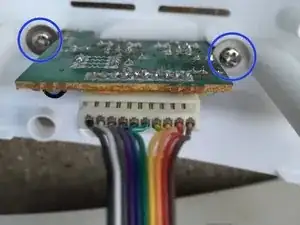
    • Audio Jacks board

    • Remove the two screws

    • The boards are glued in, so carefully pry them out of the casing.

  5. nvWurHHuq2cgtMKr
    nvWurHHuq2cgtMKr
    miwsxlUSSVhYgqJS
    XAlX4tERSkXaiwwR
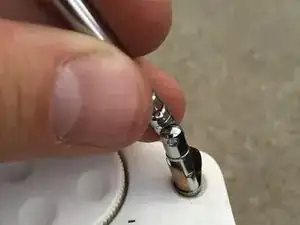
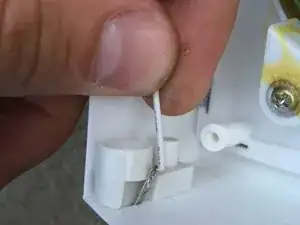
    • You can pull the antenna apart without opening the entire case. This is helpful if just part of the antenna is bent.

    • For full removal, remove the screw on the bottom of the box labeled "antenna", and slide the antenna out the top.

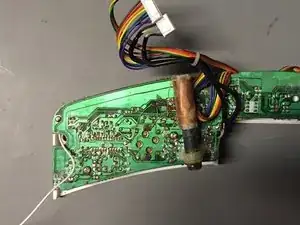
    • Coax cable connects the antenna to the tuning circuit on the upper PCB.

  6. avlX2mfsKHrKEQNB
    avlX2mfsKHrKEQNB
    HS4ibXEcMIZHuBHl
    QyKGNDk5W2IwbTWD
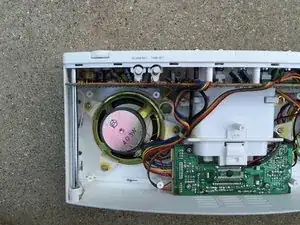
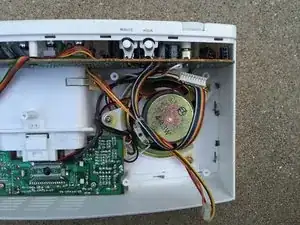
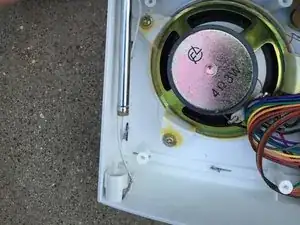
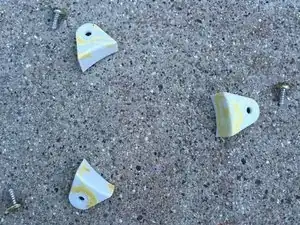
    • Remove three screws holding the three mounting brackets for each speaker.

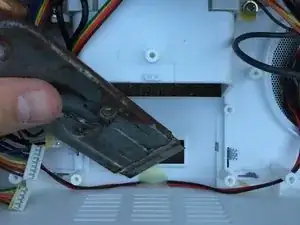
    • Use a blade to remove the glue holding the speaker wires in.

    • Carefully pry the speakers off their mounting points because they are glued in.

  7. uuPYTNvQVRTa1AVd
    uuPYTNvQVRTa1AVd
    LjtIpgQmZaZ1MUtW
    3BeghTvAJJwhEFLP
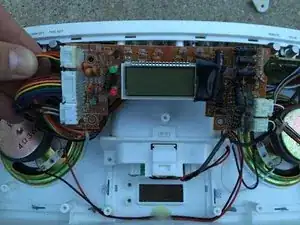
    • Removing the LCD Panel and motherboard.

  8. AGL2UovJJqvYXXNA
    AGL2UovJJqvYXXNA
    NNHHFdeYHOg6wwei
    PiIn5PIFlD5mOlFr
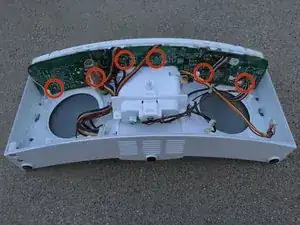
    • Remove 6 screws

    • Pry out the panel by hand

    • Careful of the volume and tuning nobs when pulling the board down

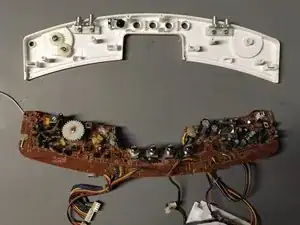
    • Check out that coil

    Hi, Just wanna ask. I have this same unit but mine has a busted resistors: 1) R902 and 2) R908. Can you please help me identify the value of these 2 busted resistors? Thank you so much in advance. You can reply through my e-mail: july_477@yahoo.com

    Leo -

    Hi leo. I don't have the product anymore, but resistors always have a color code on them. There are infographics available online that explain the color code. That's the best I can offer.

    Dylan -

  9. F3xTAjHjLS1j3sNS
    • Overall this product was pretty easy to take apart.

    • The internals were pretty easy to identify based on their location and appearance.

    • One drawback was that the speakers were glued in. The glue prevents rattling, but makes the speakers harder to get to. Some glue should be used when replacing the speakers.

    • 8/10 repairability

Dylan

Mitglied seit: 25/11/14

66 Reputation

0 Kommentare