Einleitung
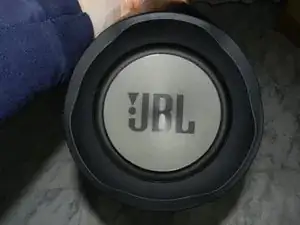
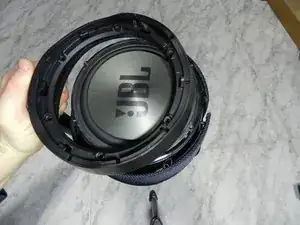
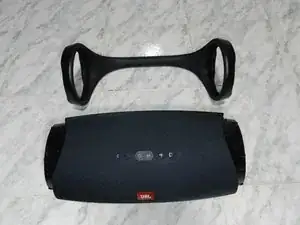
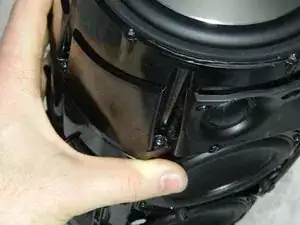
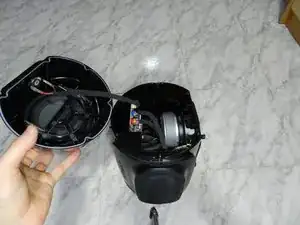
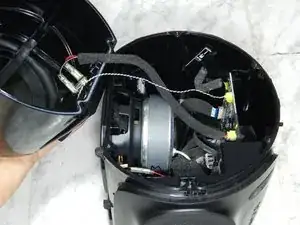
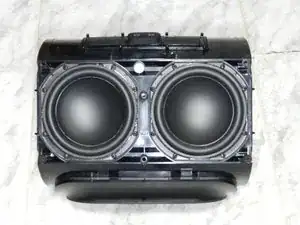
In this guide i will show you step by step how to teardown the JBL Boombox speaker (1° generation) to get to its main board.
Werkzeuge
-
-
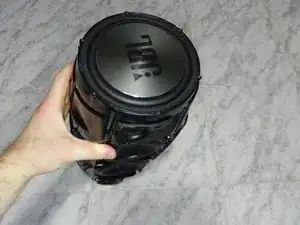
Tip: It can be easier if you rest the speaker against the floor and make it turn.
-
Turn the side wavy rings counterwise.
-
-
-
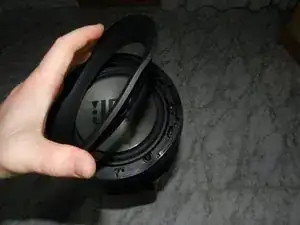
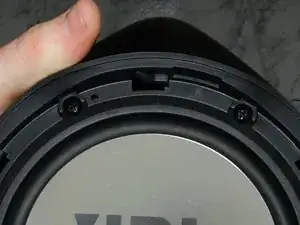
Once you get the ring, we can access the screws that are underneath, that hold the handle to the main body.
-
-
-
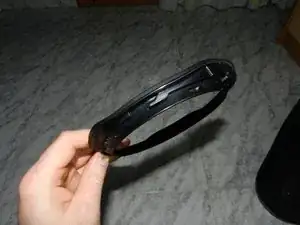
Without fear, but carefully, we pull form the plastics rings towards the speaker sides, until they´ll get out.
-
When they have left their position, we can pull from the handle upwards and to one side to get the opposite side.
-
-
-
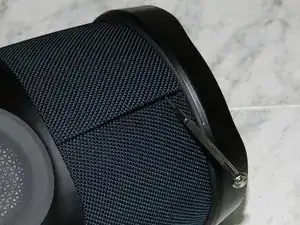
Underneath, introduce a slim opening pick (screwdriver, knife...) in the line of union that exist between the tow halfs of the cloth bezel.
-
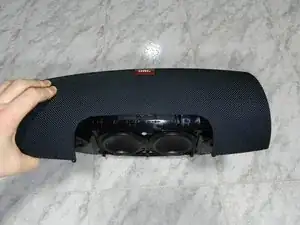
Lift/remove the remaining half of the rear part of the speaker to fit the screws (2 on each side)
-
Remove this screws
-
-
-
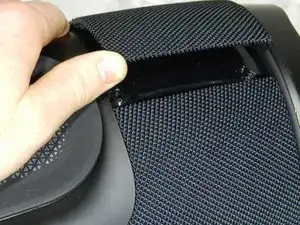
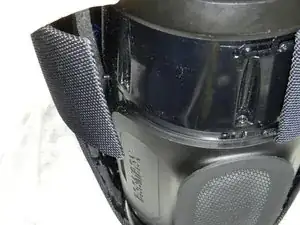
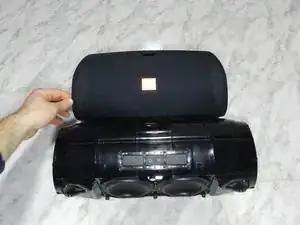
Once you get the screw that holds the cloth, we open it as we open a book.
-
Tip: It looks like it is going to break but it is not like that, it works as a spring and it can be opened without problem.
-
-
-
Crefully we lift the lids with the tweets.
-
We unplug the connectors form the board.
-
Tip: The connectors are sealed with glue. Pull carefully. I recommend to break first that glue in any way before removing the connector.
-
Note: I recommend to separate the tweets when you get them out, due they have cables with different lengths.
-
-
-
Once you remove the tweets, we can remove the sub-woofers. To do this we loosen the 8 screws that holds each sub-woofer.
-
Note: I recommend to separate them, due they hace cables with different lengths.
-
-
-
After the previous steps, we have access to the main board.
-
I do not hace more pictures, but once the board is out, you can also access the batery screws and the buttons top board and the rear plugs.
-
Note: The Bluetooth antenna is join to the case with doble face tape. I recommend to separate it first before extracting the board.
-
PS: Sorry for not having pictures of the process.
-
To reensamble your device, follow this guide in reverse order.
