Einleitung
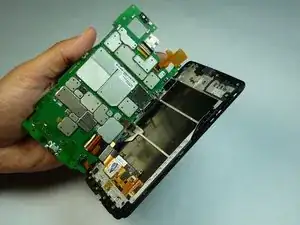
By following this guide you will be able to take the phone apart piece by piece and have access to the motherboard, camera back housing, rear and front cameras, as well as other components that can be fixed if needed.
Werkzeuge
-
-
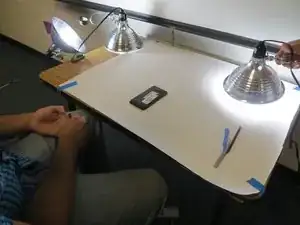
Place the Droid Maxx face up on a soft flat plastic surface with plenty of space to place your tools and small parts of the equipment.
-
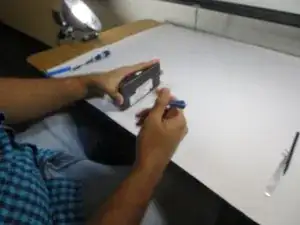
Lift the Droid Maxx and turn it in a 90-degree angle to your left while you are holding it by the sides with one hand. Maintain the same position all times unless indicated otherwise in subsequent steps.
-
-
-
Find the volume buttons located towards the center of the Droid Maxx.
-
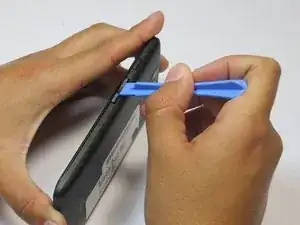
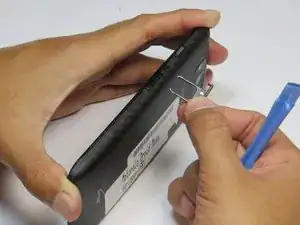
With your free hand, take the Spudger and insert it between the upper gap, closest to the screen, of the volume buttons and the Droid Maxx case.
-
Using the flat part of the Spudger’s Tip and pressing firmly against the Droid Maxx case until you hear a “snap” sound
-
With your free hand, remove the buttons carefully with your two fingers and make sure to keep the motion until the piece is completely out of your Droid Maxx. Do not bend or force the part since it also serves as a tray for placing a SIM Card.
-
-
-
Tilt the Droid Maxx towards your right so you can see the edge of the rubber back case and keep this position.
-
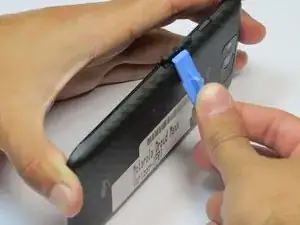
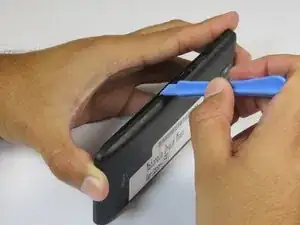
Take the Spudger and press the tip against the space between the rubber case and the Droid Maxx frame. Slide the Spudger’s edge along the surface until you hear a “snap” sound.
-
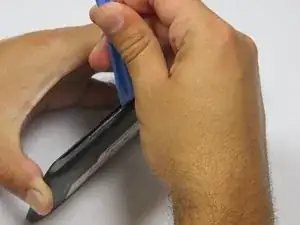
Work your way to the top of the Droid Maxx with the Spudger and use your holding hand’s fingers as support while you remove the upper part of the rubber back case. Rotate the Droid Maxx to facilitate your movement if necessary. Do not go along the bottom to remove the case.
-
Once the top part of the case is separated from the frame, grip the bottom part of the rubber case with your finger and slide the case down to remove it completely.
-
Place the rubber back case in a nearby place where it will not interfere with your arms motion.
-
-
-
Lay the Droid Maxx face down on the plastic surface to start removing the screws.
-
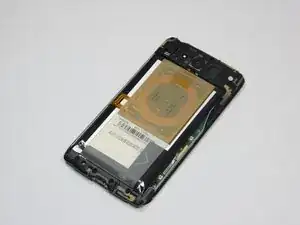
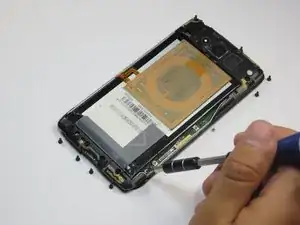
Take the Torx T5 Screwdriver and carefully remove all the screws in the Droid Maxx’s motherboard. Note that there is a total of eight (11) black screws spread across the motherboard, four (4) at the top and four (4) at the bottom, and also two (2) silver screws located to the right lower part of the Droid Maxx.
-
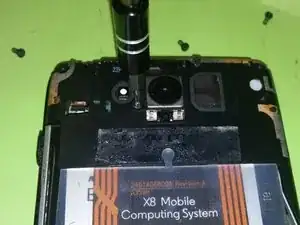
There is(1) screw holding the camera housing. Use a T4 screwdriver for this one screw.
-
After removing all the screws, lift hold the Droid Maxx as in step 2
-
Locate two (2) tabs in the camera plastic housing , one (1) at each corner of the Droid Maxx
-
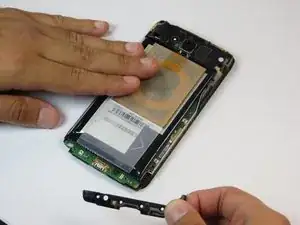
Take the Flathead driver and gently lift both tabs to release the camera housing. Be careful because these plastic tabs are very delicate and can break easily.
-
-
-
Now you are all set! These steps along with images should serve as guide to disassemble your Motorola Droid Maxx in a safe manner. The following guides will indicate how to replace parts of your Droid Maxx such as the camera or battery.
-
Keep in mind that in order to replace any of the aforementioned parts you will be redirected to this general section.
-
17 Kommentare
Please help identify the WIFI chip location on Droid Maxx XT1080M
Hello,
Could someone help identify which EMI shield covers the WIFI chip on the Motorola Droid Maxx XT1080M board, as seen in the following picture? I need to fix an intermittent WIFI problem (WIFI cannot be enabled.)
Thank you very much,
Eric
Hi, did you ever figure this out? I am having the same issue.
7039cm -
The t4 doesn't fix the camera housing.
I need to see the removal and replacement of the cable to attach the new screen assembly to the board.
