Einleitung

  1. 1LSEhw2LeIXHrsIc
    1LSEhw2LeIXHrsIc
    FkDeKE5PUAgrHYF3
    O4YJdPO4qJg2VdWF
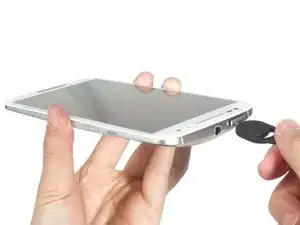
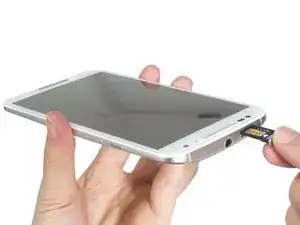
    • Remove SIM card tray.

  2. RWf1JbDiD46YZoGG
    RWf1JbDiD46YZoGG
    mFlI3TC5HMHVEhPE
    MpZcebJyjJ6OxZWx
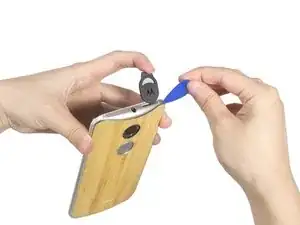
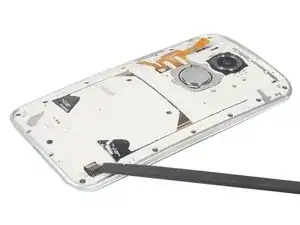
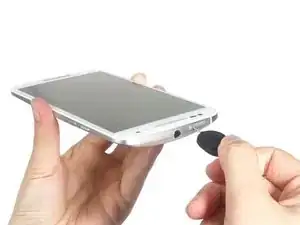
    • Insert the eject pin into the hole inside of the port and push to open a gap between back cover and frame.

    • Place the guitar pick into the gap.

  3. 35fmGeAUfL3kkXZK
    35fmGeAUfL3kkXZK
    I5ZSP15Gp5PPEBOk
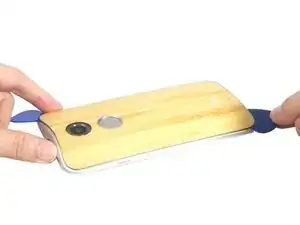
    • Slide the guitar pick to cut the adhesive sticker under the cover. It's a little strong. Finally, peel off the soft back cover.

    To remove this cover easily, it is better to have a thermal blower on hand,to soften the glue.

    planob2 -

  4. 2GK1JlVMaDGPmHHr
    2GK1JlVMaDGPmHHr
    RFMEM5PB4PoILeGG
    • Remove those two rubber cover.

  5. JnFaWLOcgnpr54Ml
    JnFaWLOcgnpr54Ml
    d3ont6AkwJ4ljSmH
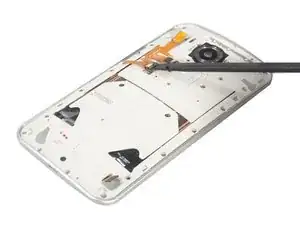
    • Release the side button flex connector and battery connector respectively under the rubber cover.

  6. o1AAX6KJZInPUNWH
    o1AAX6KJZInPUNWH
    nfYPayTXQtFNNunm
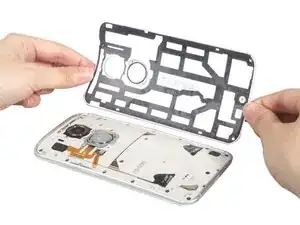
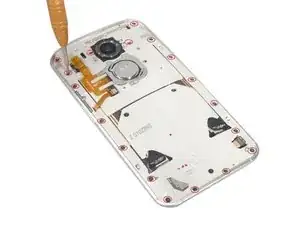
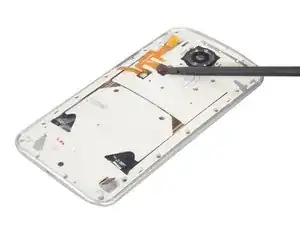
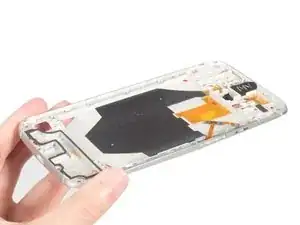
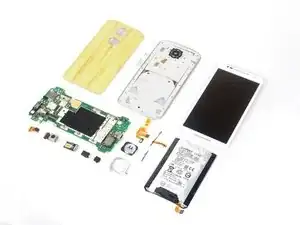
    • Twist off all 18 screws on the middle housing and remove it easily.

  7. sWpO2F1HBMRJDJSi
    sWpO2F1HBMRJDJSi
    ewfxZNriSlAGXGtv
    VqhPp4JXT5WoEvVm
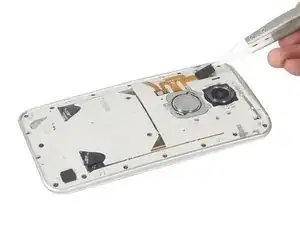
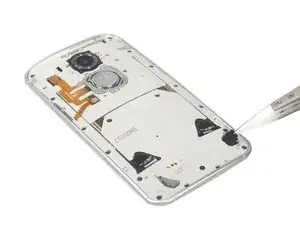
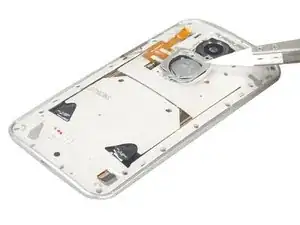
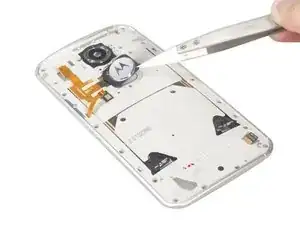
    • Remove the logo.

  8. na1BvsdOjKOAYmbM
    na1BvsdOjKOAYmbM
    OHINqgUPW2sAUHrU
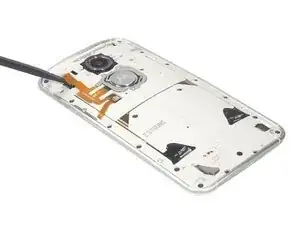
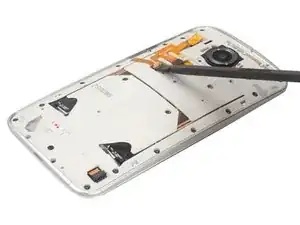
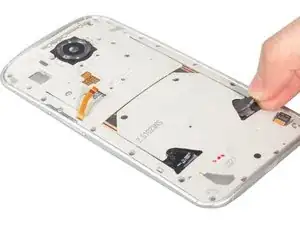
    • Get the flex loosen from battery

  9. dNitQiCOCVCSZODa
    dNitQiCOCVCSZODa
    J1IsXnNvY1SkRTd6
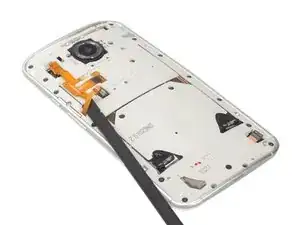
    • Get the flex loosen from the battery.

  10. 5lbCLQSJEYbkFRUS
    5lbCLQSJEYbkFRUS
    YrCHXQtSewlyfoyU
    VAfEsmYYDDShXOAB
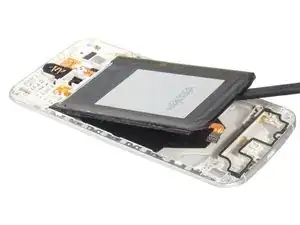
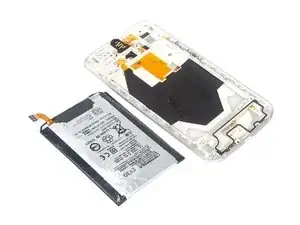
    • Pull the battery sticker and pry up the battery.

  11. Yibs4Slc2QFBiAZw
    Yibs4Slc2QFBiAZw
    CAOGjDD4jHKGqNfp
    UZpRkuLMdiWRZSvQ
    • Twist off the screw and pry up the securing bracket.

  12. sBmIbi3ZmTKC1yd4
    • Remove the side buttons flex.

  13. khlgWa1VRsRJbOvo
    khlgWa1VRsRJbOvo
    Wq6T2WlRghRDNOAL
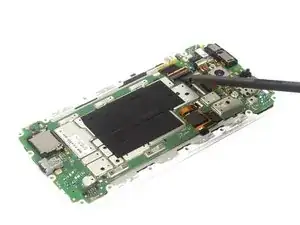
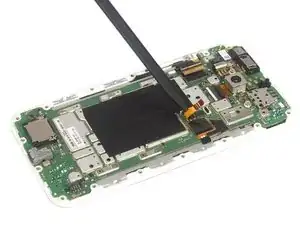
    • Release LCD connector.

  14. uIK1XXoZxXEImvXe
    uIK1XXoZxXEImvXe
    XiV4ZlvMM5Rc4QwV
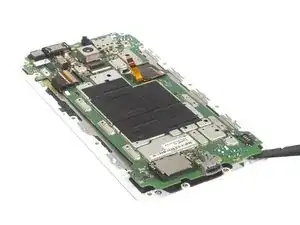
    • Release digitizer connector.

  15. nMkv4CSfkQLZgbpW
    nMkv4CSfkQLZgbpW
    kPPECBx5IaWMCaEf
    ftdYCZZ3Q3Zus5eS
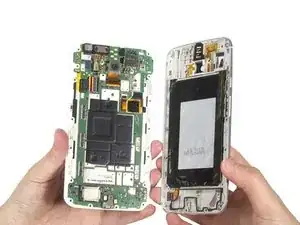
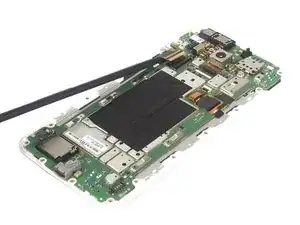
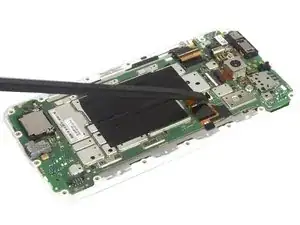
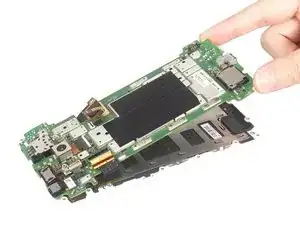
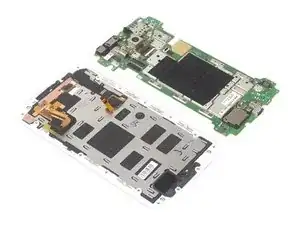
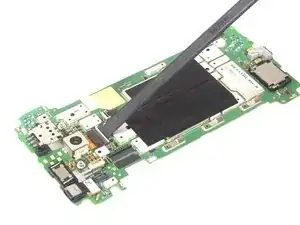
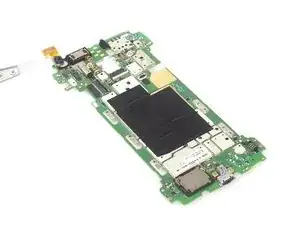
    • Pry up the motherboard and remove it carefully. At that time, we can separate the LCD screen from motherboard and get it alone.

  16. tQql6wqvmP5PCwqJ
    tQql6wqvmP5PCwqJ
    At5vEXYgxPBsJQ6A
    2rNFAp4yXThSlJPn
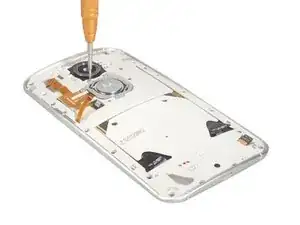
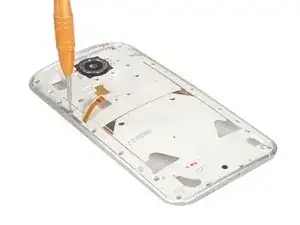
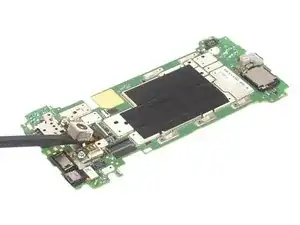
    • Release the connector and remove the rear camera.

  17. hItpKksSiMhX2x4I
    hItpKksSiMhX2x4I
    CuIStATGYTXY2GOH
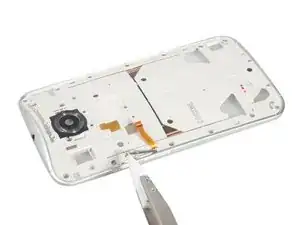
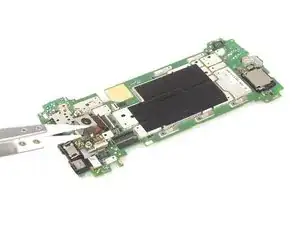
    • Remove front camera.

  18. FNToM2dPGHwdRL5x
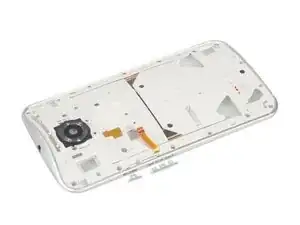
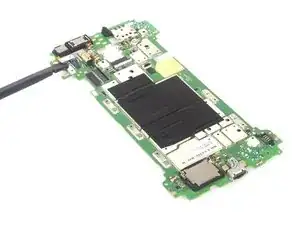
    • Done.

Sophia

Mitglied seit: 25/03/14

43756 Reputation

8 Kommentare

Poking out the back cover through the SIM slot does NOT work on the leather backed version. I almost poked a hole through the leather but thankfully it held together. Maybe applying a heat gun to soften the glue would make this work.

tharty416 -

When I reassembled my Moto X 2nd gen. after a battery change, I lost audio to the speaker. Audio jack works fine. Nothing is torn, but definitely something loose or not connected. I don't know where to look. Could you please help guide me to where it might be? Thanks!

phamtoan -

I have a solution to the speaker not working after putting the phone back together.

The speaker wasn't connecting with the metal tabs on the phone back panel due to my replacement battery being a little thicker.

I was able to bend the speaker contact pins to connects with the relevant connectors and it started working. Slightly hacky but worked. I have posted pictures https://plus.google.com/+BenSycha/posts/...

Ben Sycha -

@wasrel Where did you purchase a replaccement battery and was it new?

Doug Hellinger -

Same problem. What is the answer?

alekskoptev -

I found a solution, look at my reply to phamtoan.

Ben Sycha -

thanks. it works again. made it with a little piece of metal film
alekskoptev -

What is the screw type (the thread size and length) for the screws that hold the phone together? I somehow messed up the screw heads beyond repair, even though I had a correct screw driver :(

Lena Zhivun -