Einleitung
Olympus' m:robe MP3 players had a short run: Fall 2004 to sometime in 2006. They were comparable enough to iPods at the time (in fact this model used the same CPU as the iPod mini), with a similar price tag and functionality. However poor marketing in addition to Olympus deciding to stay mainly within the imaging and digital voice recording markets saw to the end of the m:robe's production.
This model, the MR-100, was a pretty standard mp3 player, capable of playing media in MP3 and WMA formats stored on its (physically)-tiny 5GB hard disk. It had a two-tone display and some surprisingly well done touch-sensitive controls. On top of that the interface was clear and understandable. In fact, the only drawback I saw in the product was its horrendous PC software for transferring files. Although I did recently discover that its battery has a total lifespan of about 2 years or less.
The battery's mortality may be looming on the horizon, but for the time being there are alternatives to media management and functionality of the device. Namely, that of Rockbox.org, who develops custom firmware for many brands of MP3 players and provides their software free under the General Public License.
Overall, I've found this to be quite a charming little device that, in it's day, was a very nice alternative to an iPod.
More information on the m:robe series of MP3 players can be found on Wikipedia.
Werkzeuge
-
-
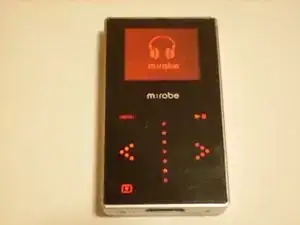
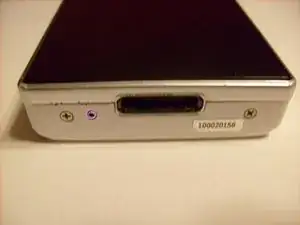
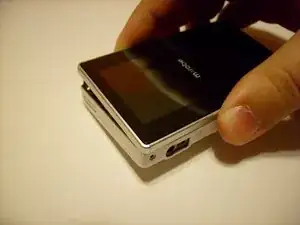
The Olympus m:robe MR-100. You have no idea how difficult it was to get this shot with all of the machine's lights on at once.
-
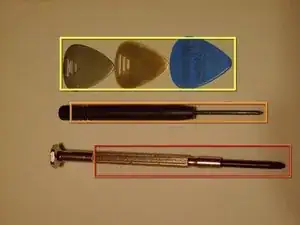
Second photo shows you the tools you will need:
-
Your standard small philips screwdriver.
-
A tiny philips (about a step up from an eyeglass screwdriver, although one of those might work aswell).
-
A couple of Spudgers or plastic opening tools. As you can see, I used Guitar pics, which work pretty well. I suggest thin metal or some cheap plastic ones that you don't mind breaking.
-
-
-
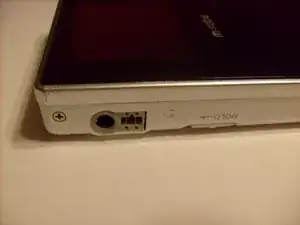
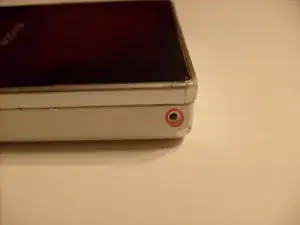
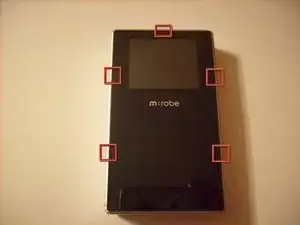
Lets get Started! You will find four tiny screws around the edge of the m:robe: One on either side of the screen, and two on the bottom. For these you will use the smaller screwdriver.
-
You may have noticed I have a screw loose! Or rather, missing altogether. These screws are tiny and very hard to find if dropped on the floor. Remove them low over a flat, clear work space and set them off to the side somewhere safe. They are all the same size so it doesn't matter if you mix them up.
-
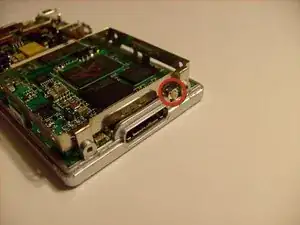
Take note of the reset button on the bottom edge.
-
-
-
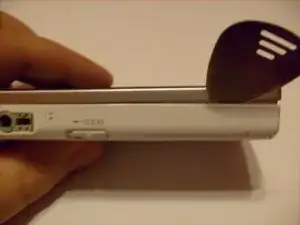
Now it's time to insert your prying tool. I'm not an expert here, but it works pretty much the same way it does for iPods. Only here there are just a few brackets and they are fairly sturdy, so they won't break very easily. If you have any doubts about techneque, check out an iPod guide such as this one.
-
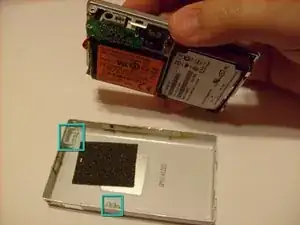
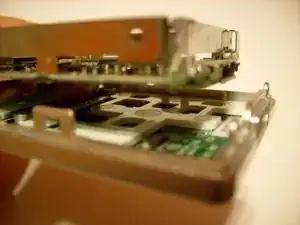
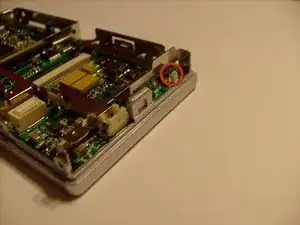
Before you begin, take note the locations of the 5 brackets that are on the inside of the device, which I have marked here.
-
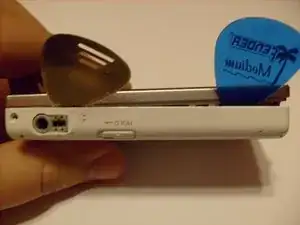
I suggest starting on the side with the headphone jack. Start by inserting one tool just under a centimeter from the bottom end. Gently wiggle and slide the pic up toward the hold switch. In the process, you should hear two soft clicks. Once you've wiggled yourself a gap, swap it for a placeholder (I used a thin metal pic to pry, and a cheap plastic to hold it open).
-
Then move your primary tool to the opposite side of the device and repeat; Only this time, start toward the top and work your way down. You will likely hear two more clicks. From here you should have a considerable gap from one side - through the bottom - and to the other.
-
Leave your placeholder where it is and begin prying on the top edge. This should lead to the fifth and final click.
-
-
-
Lifting primarily from the device's left side, you may begin to pull off the face of the device. Watch and be careful to let the headphone jack slide away from it's opening in the back plate.
-
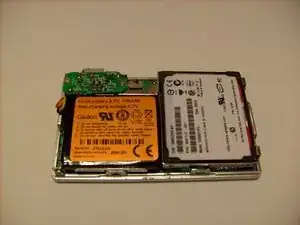
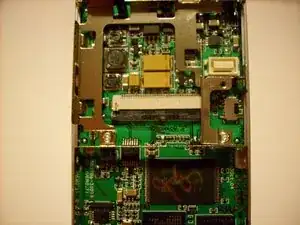
The cover lifts free revealing that all of the internals are stacked on the face of the machine!
-
Notice that the frames of the power button and hold switch are affixed to the back plate.
-
Admire the tight, efficient (looking at least) engineering.
-
-
-
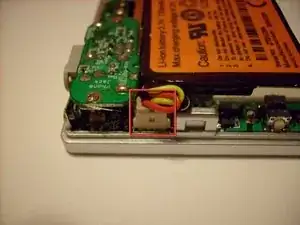
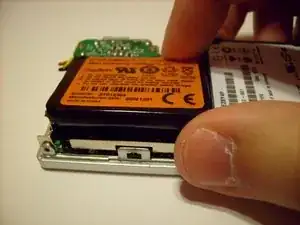
Here is the connector for the battery. It's a fairly simple connector, pulling out with just a little effort. I suggest lifting the battery up before detaching the cable.
-
You will find a good place for grip is the bottom corner where my thumb is.
-
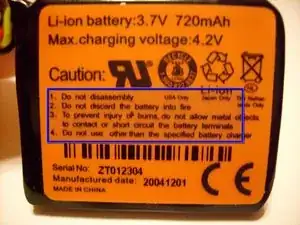
Head the warnings, ignore the engrish.
-
-
-
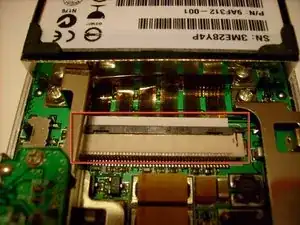
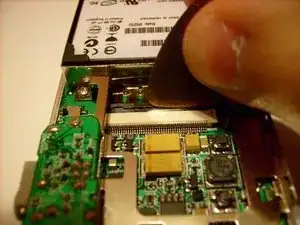
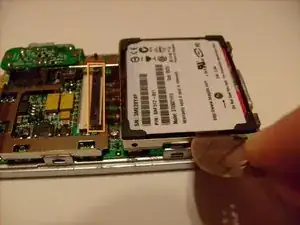
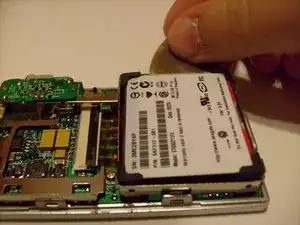
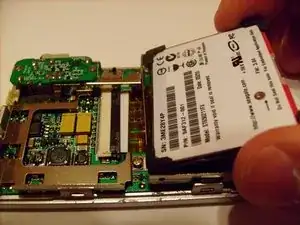
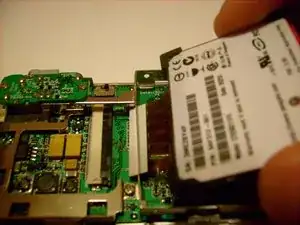
Moving on. Here is the connector for the HDD's ribbon cable. The black portion slides out (towards the hdd) to release the cable.
-
Using a pic (or other narrow item) gently push the black slide outward (toward the drive). If you have long fingernails, you can likely just use your fingers.
-
(Note the open position of the connector in the third image.)
-
Now we nudge the hdd out of it's frame. I can't show you with my little camera, but there is a notch on either side of the hdd. Reach a separator tool into there and lift carefully.
-
-
-
Alter from side to side until you can get a good grip with your fingers.
-
Gently pull the hdd up and back, allowing the cable to slide out.
-
Go slowly to minimize instances of the cable touching the logic board.
-
-
-
These rubber pads will slip off easily if you're not careful. If you need to take them off, remember their corner and orientation because they are not all shaped the same.
-
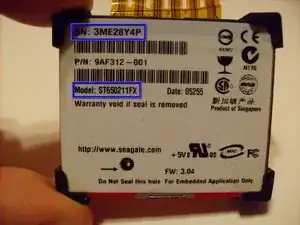
These two numbers come in handy if you ever need to replace your drive.
-
...As does the product name.
-
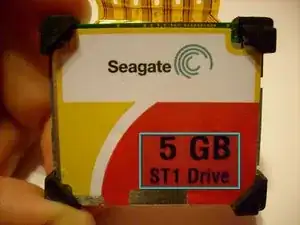
I like the label design but it seems unnecessary for something that isn't intended to be seen.
-
-
-
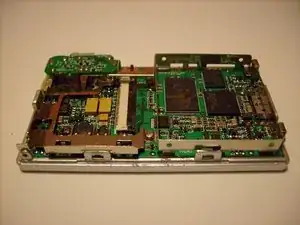
Ahh, the logic board, take a moment to admire it.
-
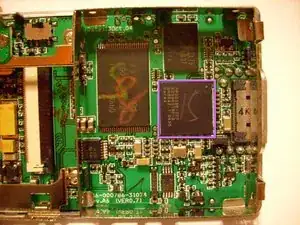
Here we have the PP5020 manufactured by PortalPlayer, the same CPU used in the old iPod Mini. You know, predecessor to the Nano. Anybody remember those things?
-
I assume the other two chips are the GPU and Flash memory, but I really don't know much about those things.
-
-
-
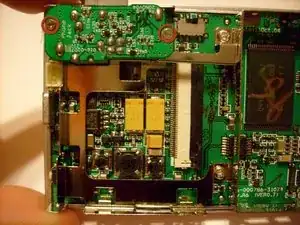
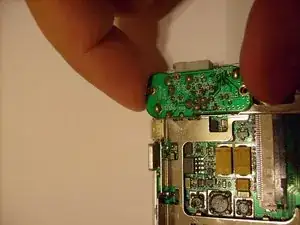
To remove the headphone jack, we first must remove two tiny screws.
-
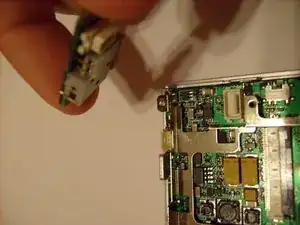
Gently lift the headphone board off of the logic board. They are held together by an interesting-looking white jack. This will take a little effort, but not so much that you'll end up breaking the board.
-
-
-
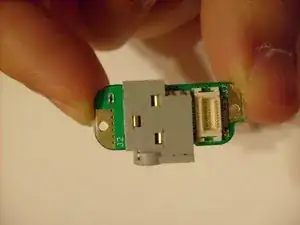
The underside of the headphone module, and what resides beneath.
-
Unfortunately, this is as far as I dare to go. It is possible to lift the logic board from the screen and interface board, but I'm not brave enough. Mainly because it's held together by a very short ribbon cable that looks very difficult to reattach. Most possible repairs for this device need not go that far anyway. If you have one of these and the interface or screen is non-functional, it's probably actually a better idea to just invest in a new MP3 player.
-
I will, however, give you a glimpse of the other side...
-
-
-
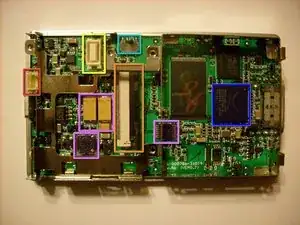
Lets take a minute to note the locations of key components.
-
Battery connector (pic. 1). Reset button (pic. 2), and power button (pic.3)
-
HDD cable connector
-
Headphone module connector
-
Hold switch
-
Our old friend, the PP5020
-
Other cool looking things whose purpose is not apparent.
-
-
-
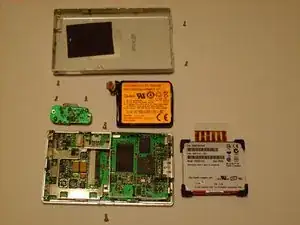
And here, finally, we have all of the components.
-
(I may cover some reassembly notes in the future. Expect the update here.)
-
3 Kommentare
how to repiear batry wire
You're probably better off just buying a new battery. They're easy to find on Ebay. Just search "olympus mr100 battery" or use this link: http://tinyurl.com/goo4dqx
DTN -
Many Thanks for your nice information..it is very helpful..Regards
