Einleitung
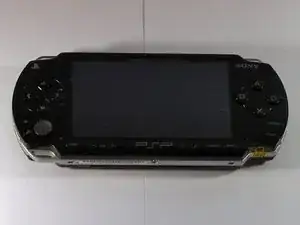
After a solid four year run, this old PSP has seen better days. Countless bumps and grazes and now it's pretty much inoperable. So, what better time to teardown a pricey product than when it's broken beyond repair?
If you're here, you love a bit of circuitry, so let's get to it.
This is a relatively long teardown, so buckle up!
NOTE: Please be aware that this teardown is not intended for re-assembly.
Werkzeuge
-
-
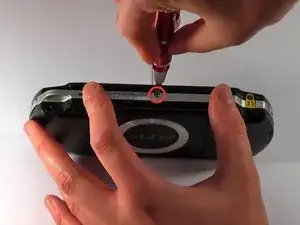
This is the easy part, place the PSP upside down, on its top side.
-
There's only one screw to take out here. Since I'm no genius when it comes to screw sizes, I'll let you pick the right one from your set of twenty.
-
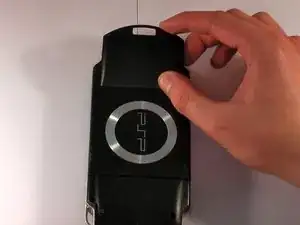
Remove the battery cover.
-
-
-
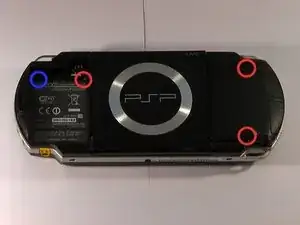
Start by removing the three screws highlighted by the red circles.
-
Take care when removing the forth screw, as it's slightly tighter than the rest. This screw is highlighted in blue.
-
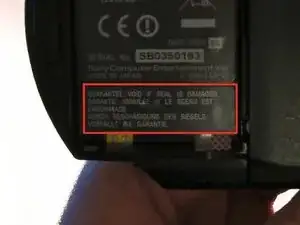
This is the point of no return, if you choose go on, you're voiding your warranty. So, carefully peel back the warning sticker all the way off.
-
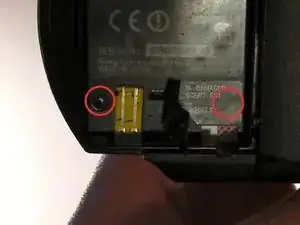
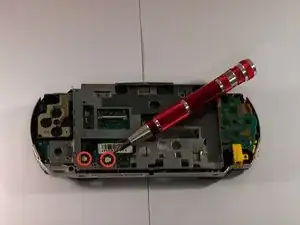
You'll find two small screws concealed below the label, remove those screws.
-
-
-
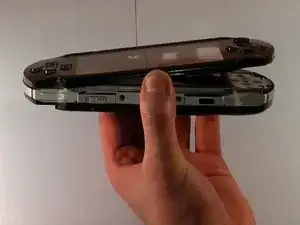
You can now start to carefully pry the top cover from the unit, using the spudger. Start from right to left, leveraging slowly.
-
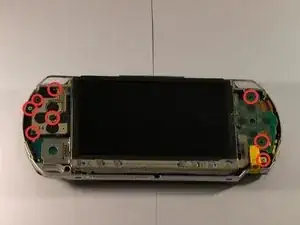
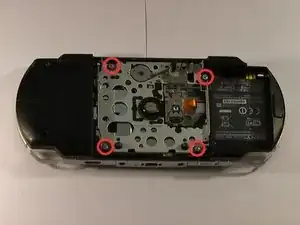
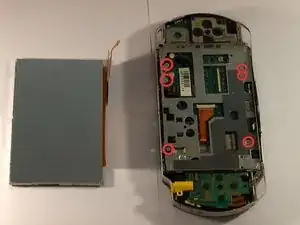
Contrary to what this picture might suggest, this PSP hasn't contracted chickenpox. Each red circle indicates a screw that you need to remove.
-
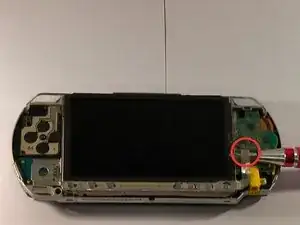
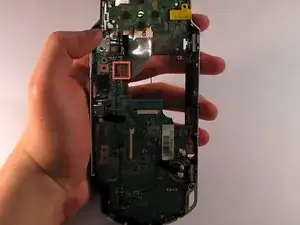
Carefully unclip the connector circled in red.
-
-
-
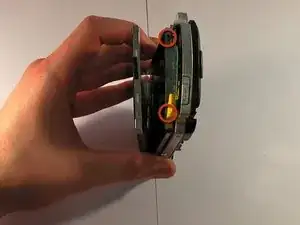
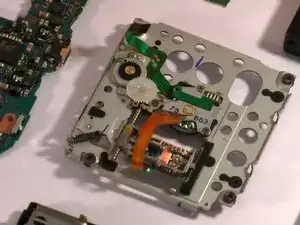
Open the UMD slot. With the screen facing towards you, unclip the locks at the bottom right outer-side of the hinge, and the bottom left, inner-side of the hinge. Remove this component.
-
Remove the four newly revealed screws, in any order. If you're afraid of commitment, you might like to assign each screw a number between 1-4, and decide using a random number generator. Remove this component.
-
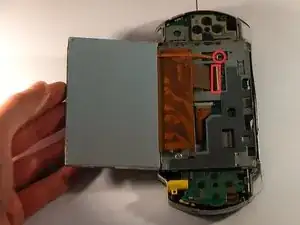
Place the PSP face up, with the joystick side on the right. There are two lock clips located on the right side of the LCD, unhinge these. Remove this component.
-
-
-
Now don't get all gung-ho, be careful when detaching the LCD, as it's attached with two connectors. You can unlock these connectors by pulling back the brown latches VERY carefully.
-
Same deal again, go crazy with remove the screws highlighted in red... Crazy in a calm and collected way. Remove this component.
-
Disconnect these two cables.
-
-
-
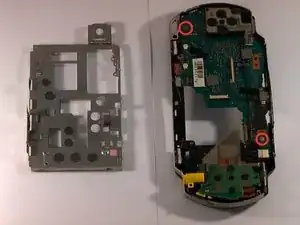
Remove the screw labelled in red (to the top right of the device, the other is incorrectly labeled in the image). These are holding down the main circuit board.
-
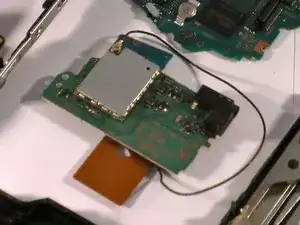
Almost there, if you've come this far, I commend you on your effort! Again, carefully pry open the cable lock and remove the WiFi component.
-
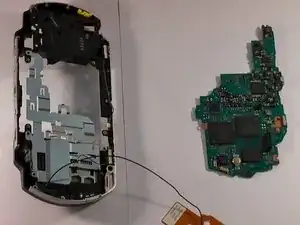
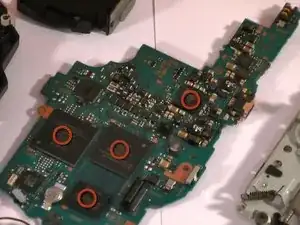
Remove the circuit board, this might be the most important step. Sit back and gaze at the chips for at least 5-8 minutes. NOTE: You can come back to this step at any point.
-
-
-
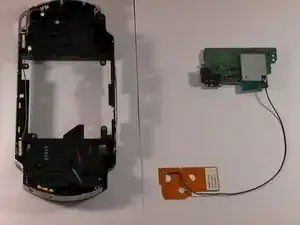
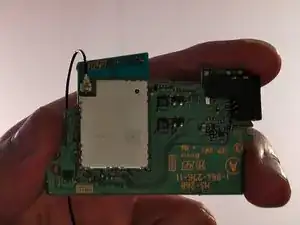
You can now remove the WiFi board and chip, along with the metal plate.
-
The chip Sony used in the original PSP could pick up wireless G bands, which made it a nippy handheld network device for its time.
-
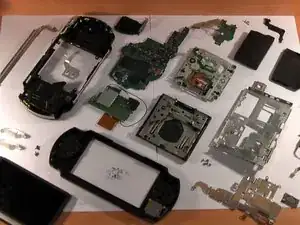
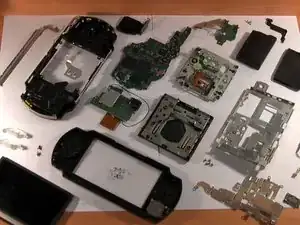
At the time, £280 worth of circuitry, wires, metal and plastic. Beautiful sight.
-
-
-
You're all done, this step is just to bring the steps in this teardown to an even number :)
-
Mmm... circuits. SIDE NOTE: I'm not certain, but I think that the chips circled in red control the DRM for the device ;)
-
P.s. Apologies for the relatively low-res images, but it's the best my camera could muster.
-
7 Kommentare
What about repairability score
fghjsfj -
Written by ifixit = repairability score
not Made By ifixit = no repairility score
So I just did this and I love the result. I actually had a PSP-3001 so the step with the clips was confusing but I figured it out! I can't believe I took apart a PSP worth $411! It was so funnnn
Leonardo Jovani v. lazer it working as I press down what makes it light up n just got my gran tursimo working but it blackscreen again should I return n get used again frm same seller or repair with sony? email me gioo239@gmail.com or text me 239-203-8318
